
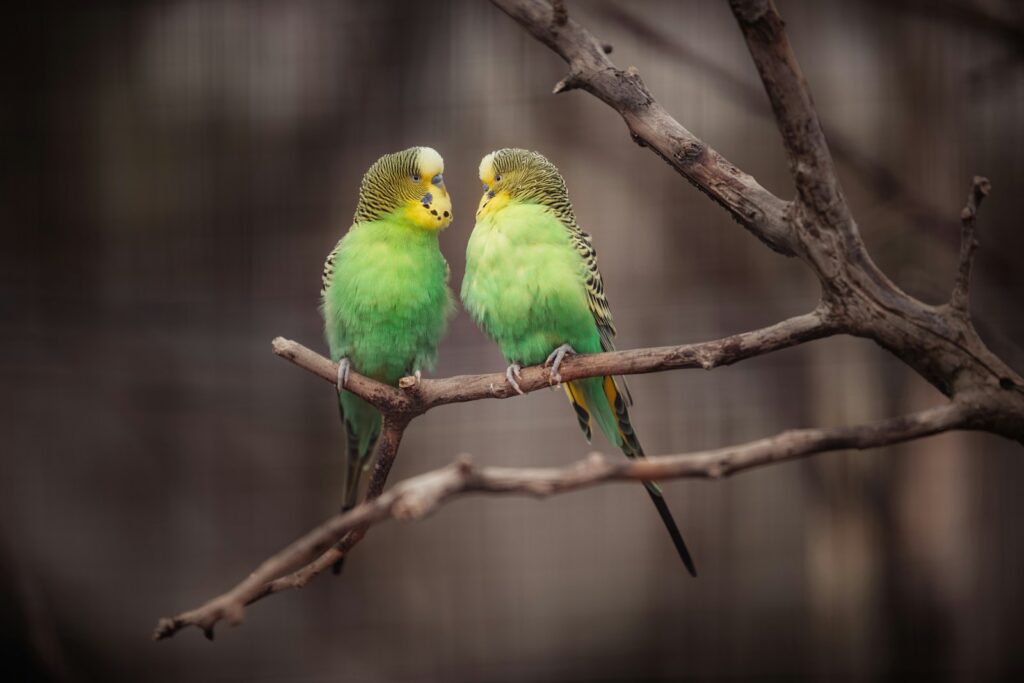
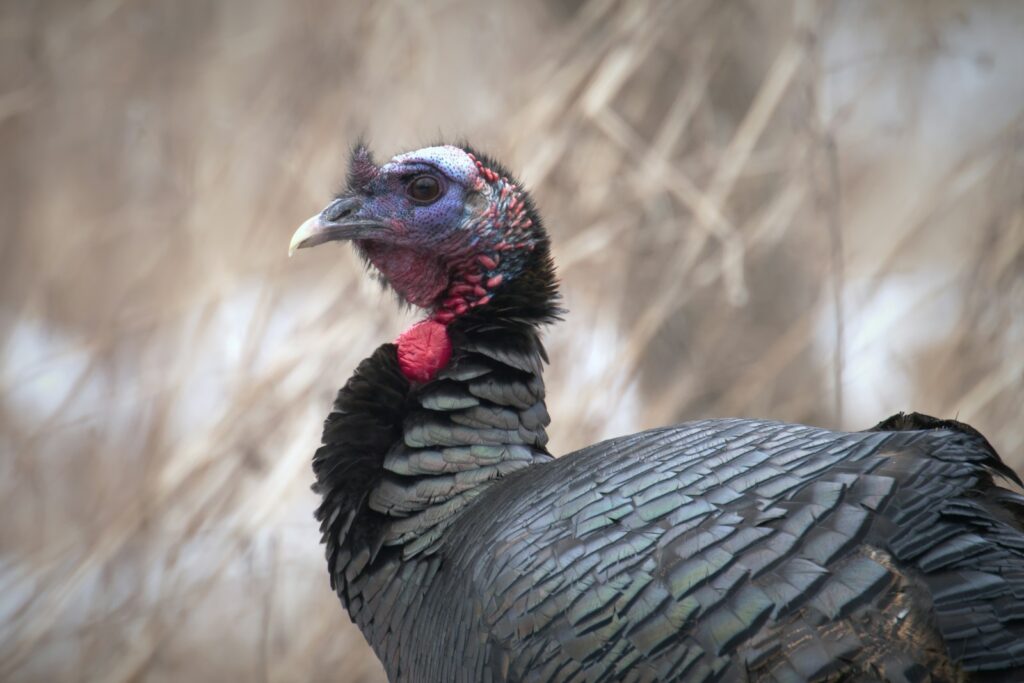
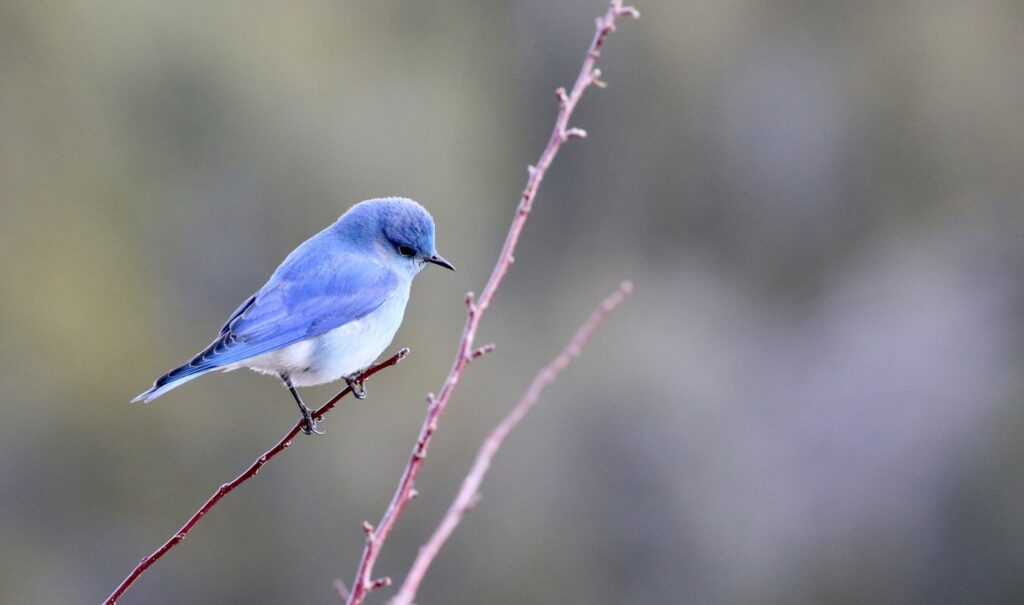
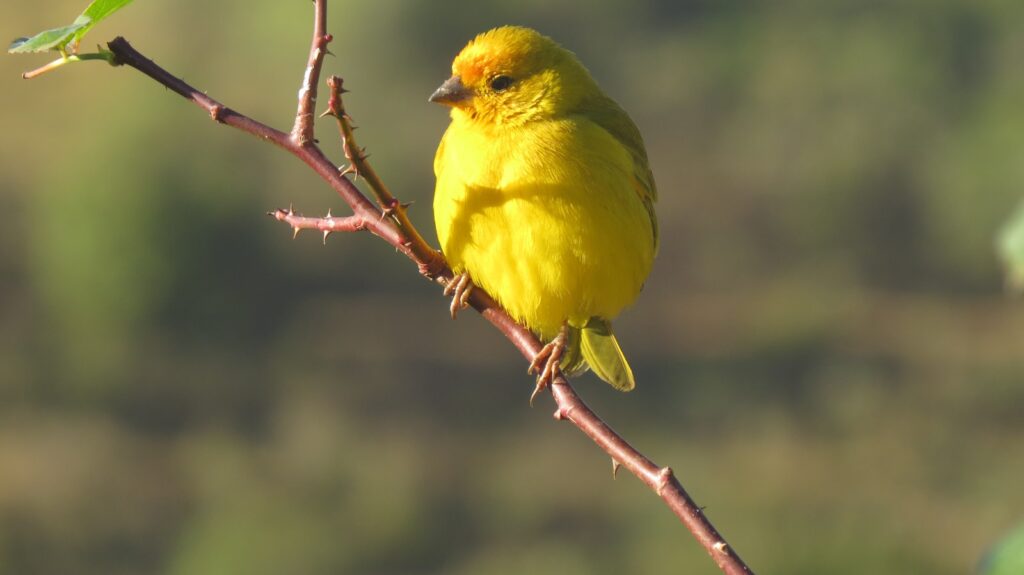
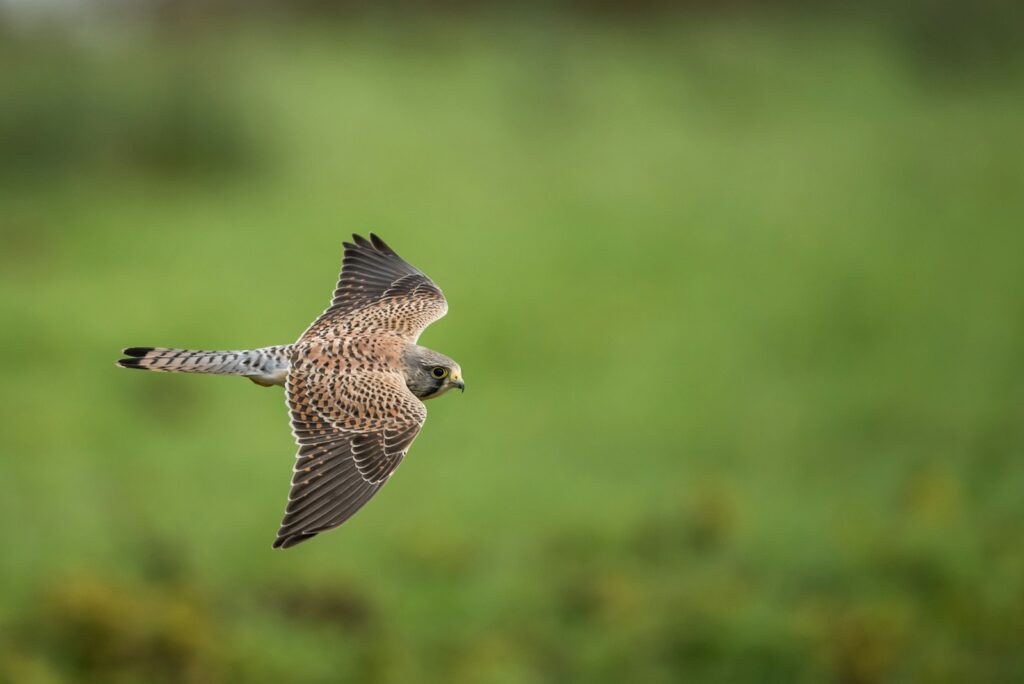
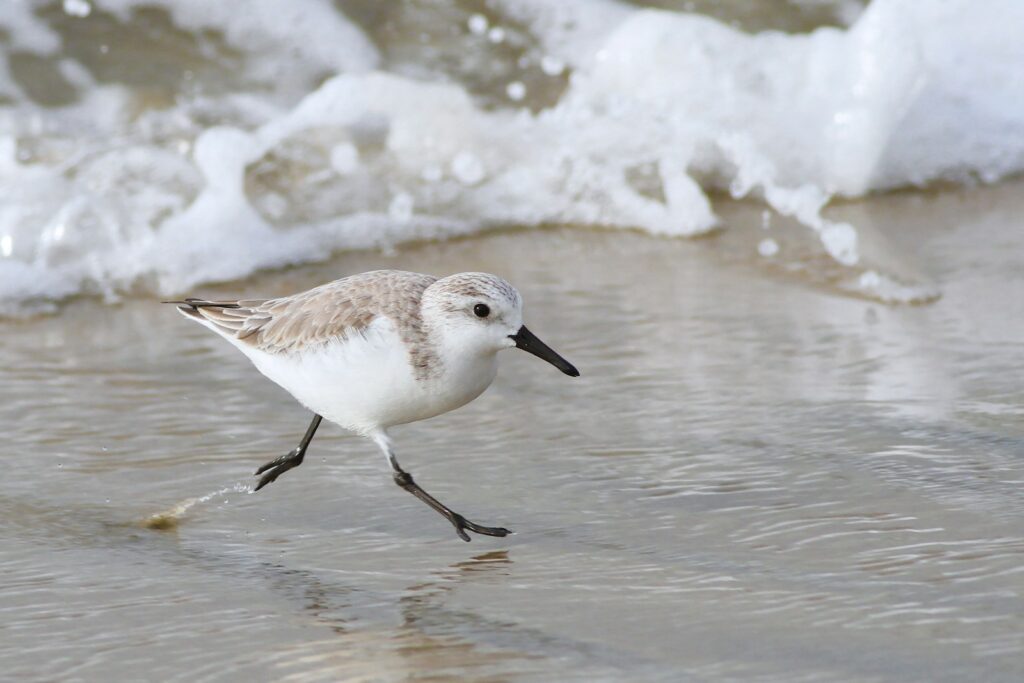
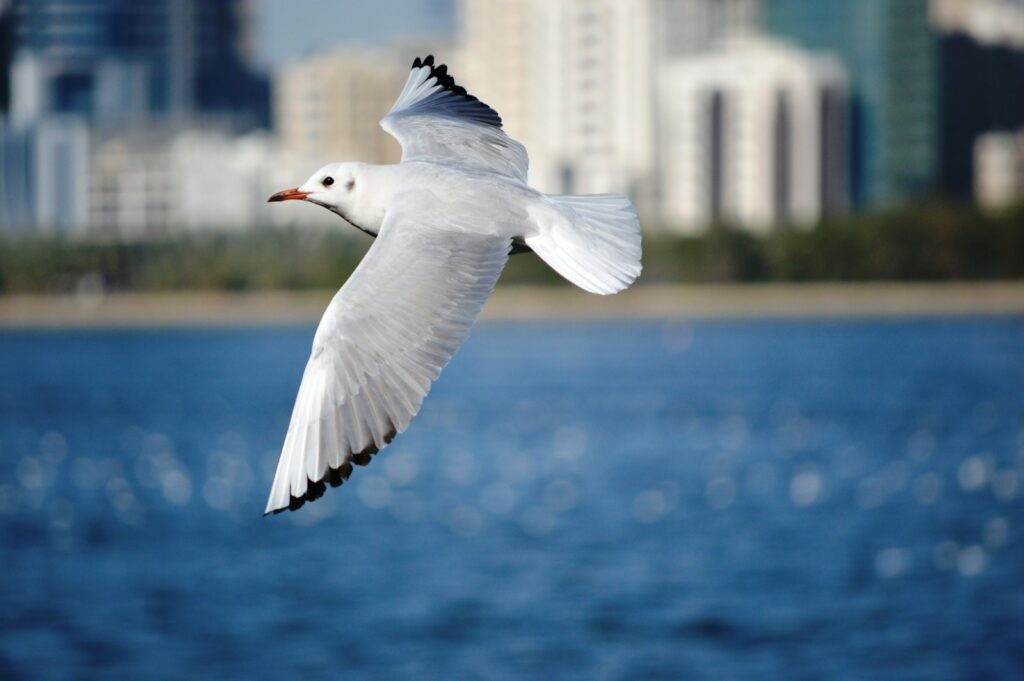
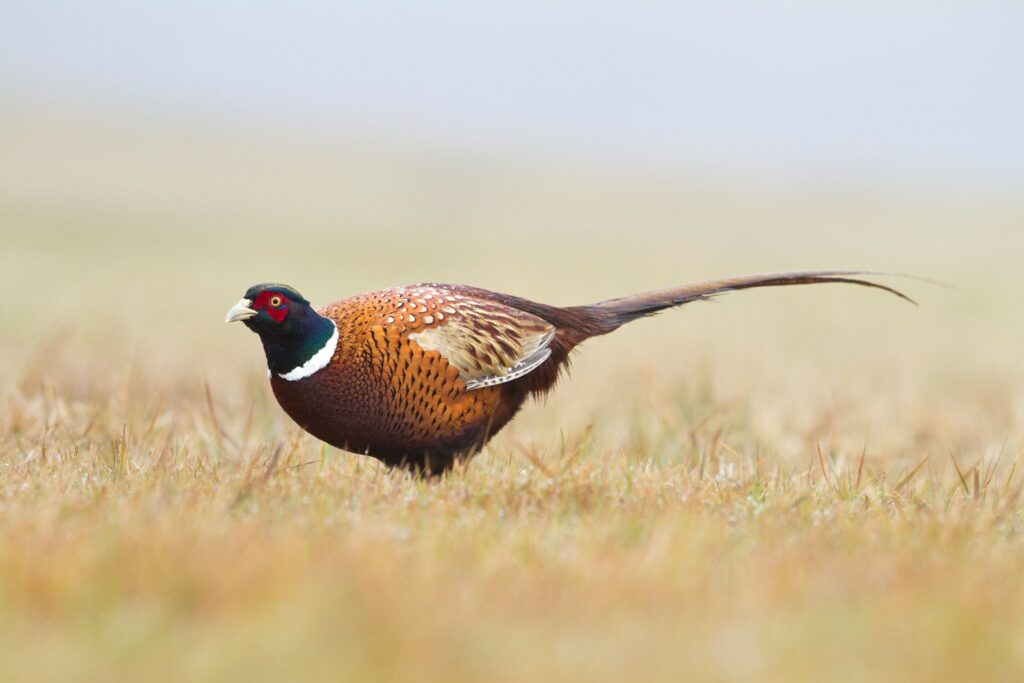
For wildlife photographers, capturing birds in their natural habitat without disturbing them presents a unique challenge. Birds are naturally wary of human presence, often flying away at the first sign of movement or unfamiliar shapes. A bird blind—a camouflaged shelter that conceals photographers from their subjects—offers the perfect solution to this dilemma. By building your own DIY bird blind, you can get remarkably close to birds, capturing intimate moments and behaviors that otherwise remain hidden. This comprehensive guide will walk you through everything you need to know to construct an effective, affordable bird blind that will elevate your bird photography to new heights.
Understanding the Purpose and Benefits of a Bird Blind
A bird blind serves as a hidden observation post that allows photographers to remain concealed while maintaining a proximity to birds. Unlike commercial wildlife hides that can cost hundreds or even thousands of dollars, a DIY blind can be built for a fraction of the price while being customized to your specific needs and local environment. The primary benefit of using a blind is the ability to photograph birds exhibiting natural behaviors without human-induced stress or disturbance. Birds quickly grow accustomed to the stationary structure, treating it as just another part of the landscape, which allows for incredible photographic opportunities. Additionally, a well-designed blind protects from the elements, allowing for extended photography sessions in varying weather conditions.
Planning Your Bird Blind Design
Before gathering materials, carefully consider what type of blind will best suit your photography needs. Permanent blinds offer superior stability and weatherproofing but limit your mobility and require permission if built on public land. Portable blinds provide flexibility to follow seasonal bird movements but typically offer less protection and stability for equipment. Consider the local bird species you want to photograph—ground-feeding birds require different blind positioning than canopy-dwellers. The climate in your region will also influence your design choices; photographers in rainy areas need better waterproofing, while those in hot climates should prioritize ventilation. Sketch your design on paper, including dimensions that accommodate your height when seated, your equipment, and allow for a comfortable range of movement.
Essential Materials for Building a Basic Blind
Gathering the right materials before beginning construction will streamline the building process and ensure durability. For a standard portable blind, you’ll need a frame structure—PVC pipes work excellently due to their lightweight nature, affordability, and ease of assembly. Camouflage fabric or a camo tarp will serve as the outer covering; look for materials that are waterproof, quiet (non-rustling), and match your local environment. Various connectors for your frame material (T-joints, elbows, and cross-connectors for PVC) will form the structural joints. Additionally, gather bungee cords or zip ties for securing fabric to the frame, tent stakes or ground anchors for stability, and mesh fabric for viewing windows that won’t reflect light. Optional but useful additions include weatherproof spray for fabric treatment, a camping stool for comfort during long sessions, and black fabric for the interior to reduce reflections.
Tools Required for Construction
Having the appropriate tools on hand will make your blind construction process smoother and more efficient. At minimum, you’ll need a measuring tape to ensure proper dimensions and symmetry in your structure. A PVC pipe cutter or hacksaw is essential for cutting frame materials to precise lengths. Scissors or a utility knife will be necessary for cutting fabric and mesh to the appropriate sizes. A hole punch or awl helps create reinforced holes in fabric for ties or grommets. For more elaborate blinds, consider having a drill with appropriate bits for creating mounting holes or ventilation. A rubber mallet proves useful for securing stakes or gently adjusting PVC fittings without damaging them. Finally, keep fabric pins or large clips available for temporarily positioning material before final attachment.
Building the Frame Structure
The frame forms the backbone of your bird blind, providing shape and stability. Begin by cutting your PVC pipes to the planned dimensions—typically 4-5 feet wide, 4-5 feet deep, and 5-6 feet tall for a single-person blind, though taller photographers may need additional height. Assemble the base rectangle first, connecting pipes with corner joints to form a stable foundation. Next, attach vertical supports at each corner using T-connectors or elbow joints. Create the top frame similar to the base, connecting it to the vertical supports to complete the cube or rectangular prism structure. For additional stability, consider adding diagonal cross-braces on the sides and roof of the frame. Test the stability of your frame by gently shaking it; if it seems wobbly, add additional bracing or reinforcement at weak points.
Creating Viewing and Camera Ports
Strategic viewing and camera ports are crucial elements that differentiate a functional blind from an ineffective one. Position your main camera port at your seated eye level, creating an opening approximately 8-10 inches wide and 4-6 inches tall—large enough for lens movement but small enough to maintain concealment. Create smaller viewing ports at different heights and on multiple sides of the blind to allow for wildlife spotting without moving the main camera. Line each port with black mesh fabric to prevent birds from seeing movement inside while allowing clear photography without reflections. For maximum versatility, design adjustable ports using hook-and-loop fasteners or zippers that can be opened to different sizes based on your lens requirements. Remember to reinforce the edges of each port to prevent tearing during extended use.
Applying Camouflage and Weatherproofing
The effectiveness of your blind largely depends on proper camouflage that blends seamlessly with the surrounding environment. Drape your chosen camouflage material over the entire frame, allowing extra fabric at the bottom to spread outward, breaking up the blind’s silhouette. Secure the fabric to the frame using zip ties, bungee cords, or safety pins, ensuring it’s taut enough to prevent flapping in the wind but loose enough to create natural folds and shadows. Consider adding natural materials like branches, leaves, or grass specific to your location for enhanced concealment, but be careful not to damage local habitats when gathering these materials. Apply waterproof spray to all exterior surfaces if your fabric isn’t already treated, paying special attention to seams and areas around viewing ports. For blinds intended for long-term use, create a slight pitch on the roof to allow rainwater runoff and prevent pooling.
Adding Comfort Features for Extended Sessions
Comfortable photographers capture better images, especially during the extended waiting periods often required for bird photography. Install a small, stable platform or shelf inside the blind to support your camera when not in use, preventing ground moisture from damaging expensive equipment. A collapsible camping stool with adjustable height provides comfort without adding significant weight to portable designs. For hot weather photography, incorporate ventilation panels with mesh covers on opposite sides of the blind to create cross-ventilation while maintaining concealment. Consider adding silent-opening storage pockets to interior walls for keeping accessories, water bottles, and snacks within easy reach. For blinds intended for dawn or dusk photography, attach small strips of reflective tape to interior edges to help you locate controls and equipment in low light without using disruptive flashlights.
Making Your Blind Portable

A truly versatile bird blind should be easily transportable to different locations as bird activity shifts seasonally. Design your frame with detachable sections using push-button connectors or threaded PVC fittings that can be quickly disassembled without tools. Create a dedicated carrying case from heavy-duty fabric with internal compartments to organize frame pieces, fabric, and accessories, preventing loss of small components. Keep total weight manageable by using lightweight materials and eliminating non-essential features—ideally, the entire setup should weigh under 20 pounds for one-person portability. Design your assembly process to be completed by one person in under 15 minutes with clear markings on frame pieces to indicate correct positioning. For photographers who frequently change locations, consider adding backpack straps to your carrying case for hands-free transportation to remote photography sites.
Site Selection and Blind Placement

Strategic placement of your blind is just as important as its construction for successful bird photography. Research your target species’ habits before setting up, noting feeding areas, perching preferences, flight paths, and active times of day. Position your blind with the sun behind it when possible, allowing for front or side lighting on your subjects rather than shooting into bright backlight. Place the blind at least 24 hours before your planned photography session to allow birds to become accustomed to its presence—many experienced photographers set up blinds several days in advance. Consider natural features that might enhance your compositions, such as attractive perches, water sources, or flowering plants that attract birds. Respect wildlife by maintaining appropriate minimum distances from nests and ensuring your presence doesn’t block access to critical resources or create stress.
Blind Etiquette and Wildlife Ethics
Responsible use of photography blinds involves adhering to ethical wildlife photography practices. Always prioritize the well-being of your subjects over getting a specific shot, watching for signs of stress such as alarm calls, repeated flushing, or abandonment of feeding. Enter your blind quietly during periods of low bird activity, typically early morning or late evening, to minimize disturbance. Remain still and quiet while inside, as sudden movements or loud noises can frighten birds even when you’re concealed. Never bait wild birds with food solely for photography purposes, as this can create unhealthy dependencies and alter natural behaviors. On public lands, check local regulations regarding temporary structures and obtain any necessary permits before setting up your blind. When photographing with others, establish clear communication protocols using silent hand signals or text messages to coordinate movements without disturbing wildlife.
Maintenance and Storage Solutions
Proper maintenance extends the life of your DIY blind and ensures it remains functional for years of photography. After each use, thoroughly clean your blind of mud, plant material, and moisture before storage to prevent mold growth and material deterioration. Inspect the frame regularly for cracks or stress points, especially at connection joints where repeated assembly and disassembly create wear. Check fabric coverings for tears, worn areas, or UV damage, making repairs promptly with appropriate patching materials or waterproof tape. Store your blind in a cool, dry place away from direct sunlight when not in use, as UV exposure can degrade camouflage patterns and weaken synthetic fabrics. For seasonal storage, consider disassembling permanent blinds and protecting components individually rather than leaving structures exposed to harsh weather conditions.
Advanced Customization Options
Once you’ve mastered basic blind construction, consider enhancements that can improve functionality for specific photography scenarios. For photographers in extreme environments, create double-wall insulation using two layers of fabric with an air gap between them to regulate temperature in both hot and cold conditions. Install silenced hook-and-loop fasteners on all openings to eliminate the disruptive noise of traditional zippers when making adjustments. Create a specialized ground blind with a lower profile and horizontal camera port for photographing ground-feeding species at eye level. Design modular extension pieces that can be added to your basic blind to accommodate additional photographers or equipment for teaching sessions. For dedicated installations, consider adding a camouflaged solar panel to power small device chargers or heating elements during winter photography without needing to carry additional batteries.
Conclusion: Patience and Practice
Building your own bird blind represents just the beginning of your journey toward capturing exceptional avian images. The true art lies in developing the patience to wait quietly for extended periods, observing and anticipating behaviors that create compelling photographic moments. With each session in your blind, you’ll gain insights into local bird species, refining both your blind design and photography techniques based on real-world experience. Remember that even the most perfectly constructed blind requires time for birds to accept its presence—sometimes requiring multiple visits before achieving optimal results. As you master the art of concealment and observation, you’ll be rewarded with increasingly intimate glimpses into bird behavior that few people ever witness. Your DIY blind will quickly become one of your most valuable photography tools, enabling images that showcase the beauty and complexity of bird life while respecting the creatures that inspire your art.