
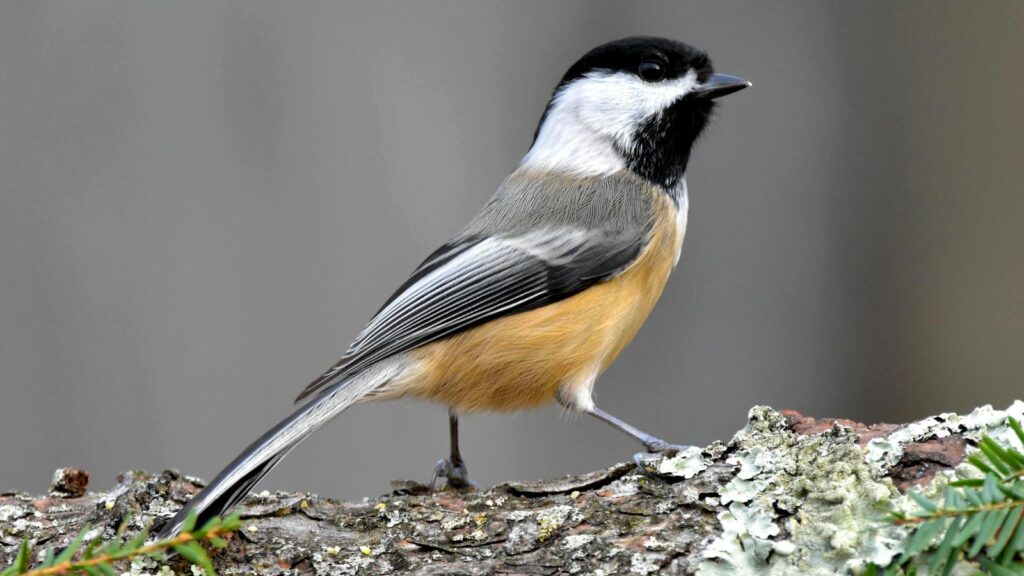
Black-capped chickadees are among North America’s most beloved backyard birds, known for their curious nature and distinctive “chick-a-dee-dee-dee” call. These small, energetic birds are year-round residents in many regions, bringing life to gardens even during the coldest winter months. While chickadees can be somewhat particular about their nesting sites, providing the right birdhouse can attract these charming visitors to your yard. This article explores how to create a DIY birdhouse specifically designed to appeal to chickadees, from selecting the right materials to proper placement and maintenance.
Understanding Chickadee Nesting Preferences
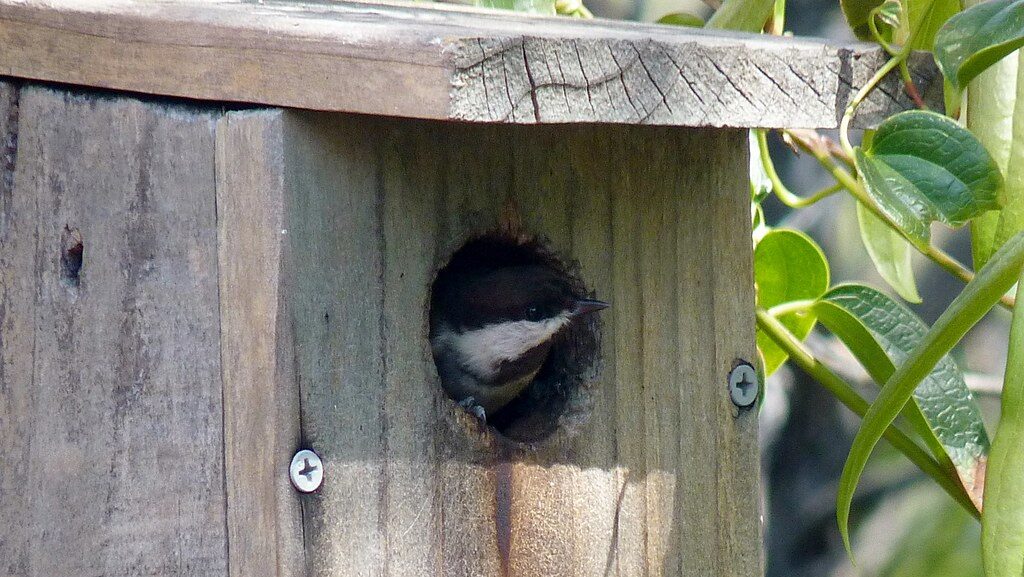
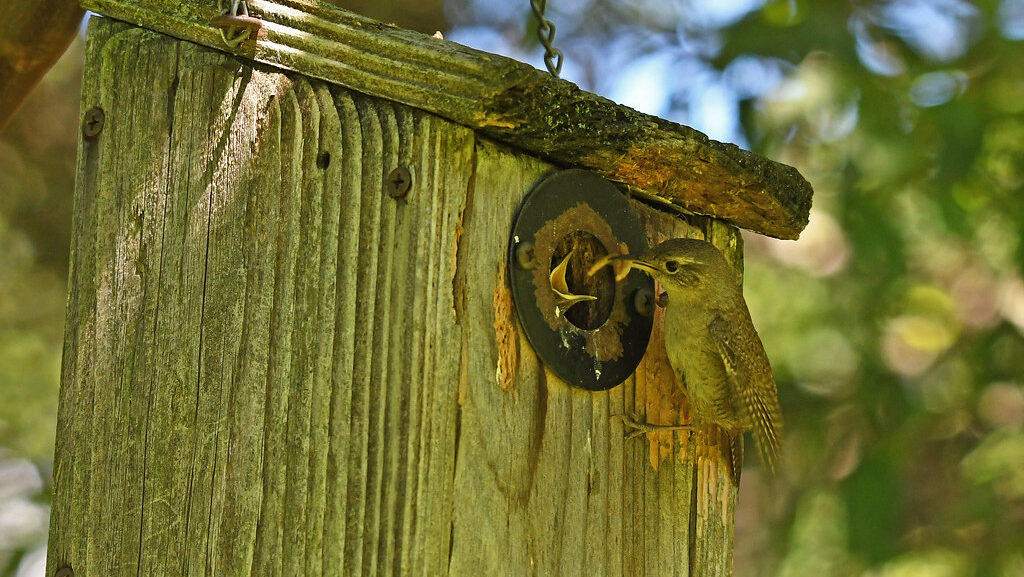
Chickadees are cavity nesters, naturally seeking out abandoned woodpecker holes or natural tree cavities for building their nests. In the wild, these birds prefer deciduous woodlands with mature trees that provide both food sources and potential nesting sites. When designing a birdhouse for chickadees, it’s important to mimic these natural conditions as closely as possible. Chickadees typically prefer small, enclosed spaces with specific dimensions that make them feel secure while deterring larger, more aggressive bird species. They’re also quite particular about entrance hole size—too large, and predators or competitor birds may enter; too small, and the chickadees themselves can’t access the nest.
Selecting the Right Materials
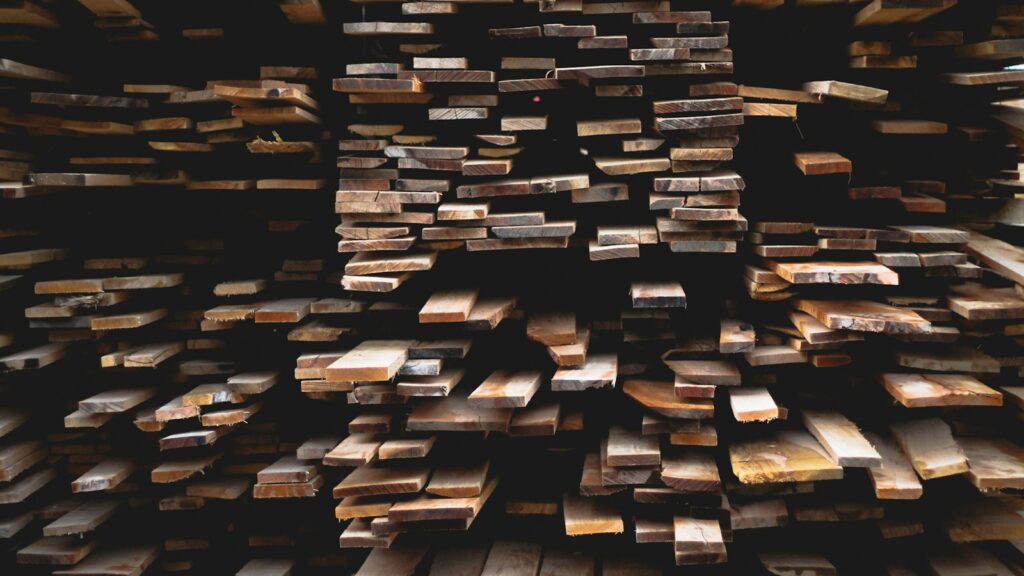
The best material for a chickadee birdhouse is untreated wood, which provides natural insulation and breathability. Cedar, pine, or redwood are excellent choices, with cedar being particularly advantageous due to its natural resistance to decay and insects. Avoid using pressure-treated lumber, as it contains chemicals that could harm the birds. The wood should be at least ¾-inch thick to provide adequate insulation against both hot and cold weather extremes. Metal and plastic birdhouses, while durable, can become dangerously hot in summer and cold in winter, creating unsuitable conditions for nesting birds. Recycled wood from pallets or old furniture can work well, provided it hasn’t been treated with harmful chemicals.
Essential Birdhouse Dimensions for Chickadees
Chickadees require specific dimensions for a comfortable and safe nesting space. The interior floor should measure approximately 4 inches by 4 inches, providing enough room for a nest without being so large that it attracts larger bird species. The depth from the entrance hole to the floor should be between 6 to 8 inches, allowing adequate space for the nest and growing nestlings. The entrance hole should be precisely 1⅛ inches in diameter—this size is perfect for chickadees while excluding larger competitors like house sparrows. The overall height of the birdhouse should be around 8 to 10 inches, with a slightly sloped roof to encourage rainwater runoff.
Tools and Materials Needed

Creating a chickadee birdhouse requires only basic woodworking tools and materials. You’ll need a saw (hand saw or power saw), a drill with various bits including a 1⅛-inch hole bit, measuring tape, sandpaper, screws or galvanized nails, and a screwdriver or hammer. Additional helpful items include wood glue for extra stability, exterior-grade wood screws that won’t rust, and 100-grit sandpaper to smooth rough edges. As for materials, you’ll need one 6-foot board of 1×6 cedar or pine lumber, which provides enough wood for the entire birdhouse. Optional materials include linseed oil for weatherproofing (avoid paint or chemical sealants) and a mounting bracket if you plan to attach the birdhouse to a post rather than a tree.
Step-by-Step Construction Guide
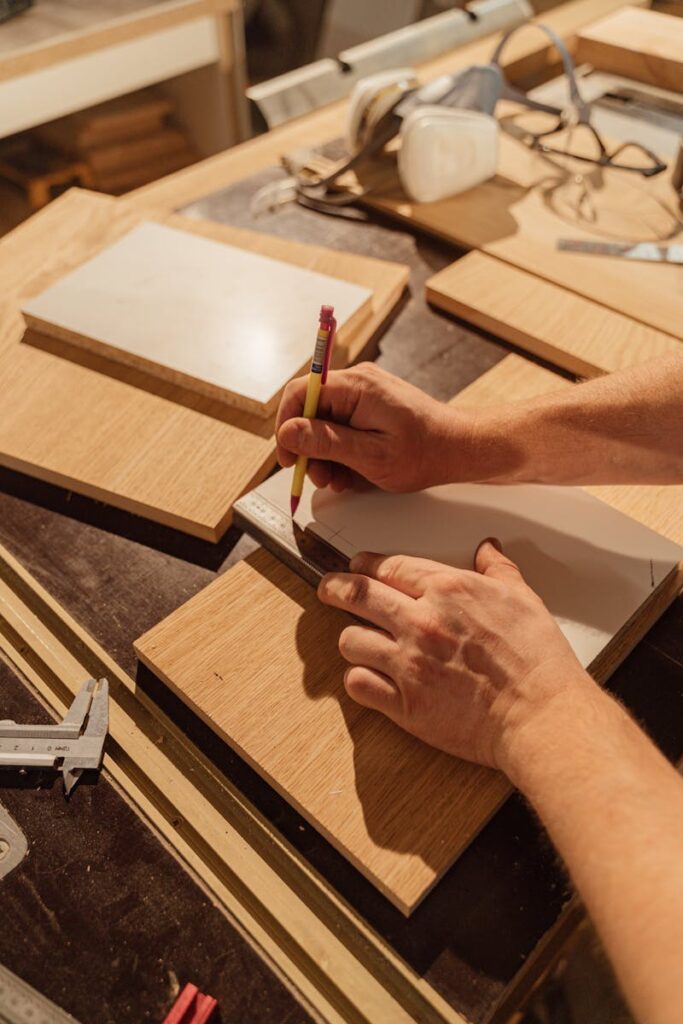
Begin by cutting your lumber according to the recommended dimensions: one 4″×4″ piece for the floor, two 4″×8″ pieces for the sides, two 6″×8″ pieces for the front and back (with the front piece extending higher to create a sloped roof), and one 6″×8″ piece for the roof. Next, drill a 1⅛-inch entrance hole in the front piece, positioned about 6 inches from what will be the bottom of the birdhouse. Sand all edges smooth, especially around the entrance hole, to prevent injury to the birds. Assemble the birdhouse by attaching the sides to the floor, then attaching the front and back pieces, and finally adding the roof. To ensure proper drainage, drill several ¼-inch holes in the floor. Add ventilation by drilling similar small holes near the top of the sides, just under the roof line.
Adding Bird-Friendly Features

Several special features can make your birdhouse even more attractive to chickadees. Include a small groove or series of shallow cuts below the entrance hole on the inside of the front panel, creating a “ladder” to help fledglings climb up to exit the nest when they’re ready. Avoid adding a perch to the entrance, as this only assists predators and competitor birds while chickadees don’t need or use them. Consider adding a predator guard—a small metal plate around the entrance hole—to prevent woodpeckers or squirrels from enlarging the opening. For easy cleaning, create a hinged side or roof panel that can be opened after the nesting season. Remember to leave the interior wood rough and unfinished, as this helps chickadees cling to the walls when entering and exiting.
Weatherproofing Your Birdhouse
While durability is important, the safety of the birds must be the priority when weatherproofing your chickadee birdhouse. Apply natural linseed oil to the exterior only, avoiding any interior surfaces where fumes might harm the birds. Ensure the roof has adequate overhang to direct rainwater away from the entrance hole and joints. Drill several small drainage holes in the bottom of the house to prevent water accumulation, which can chill eggs or nestlings. Create ventilation holes near the top of the sides to allow hot air to escape during summer months. If using screws rather than nails for construction, consider covering exposed screw points inside the house with wood putty to prevent injury to the birds.
Optimal Placement for Chickadee Attraction
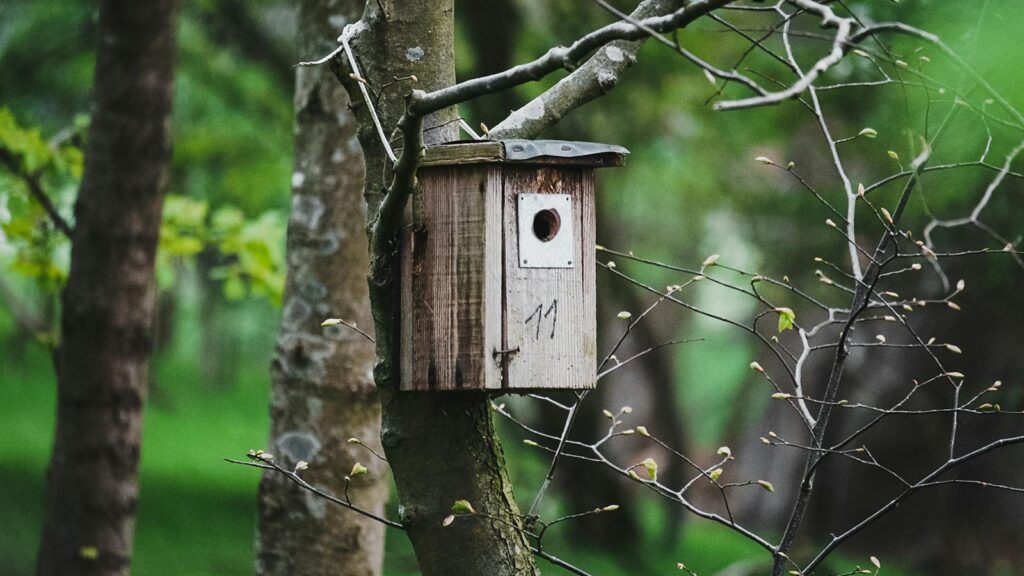
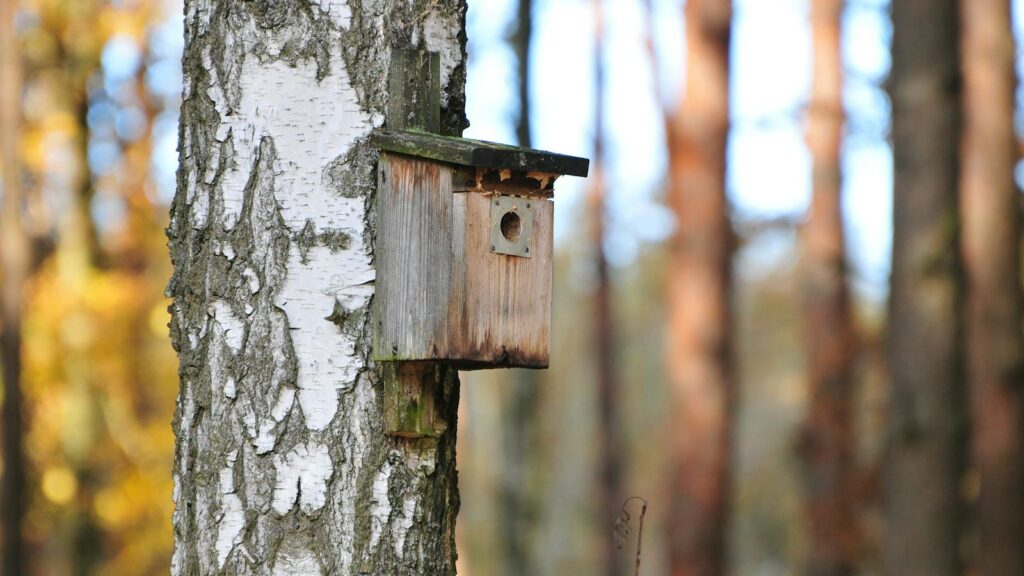
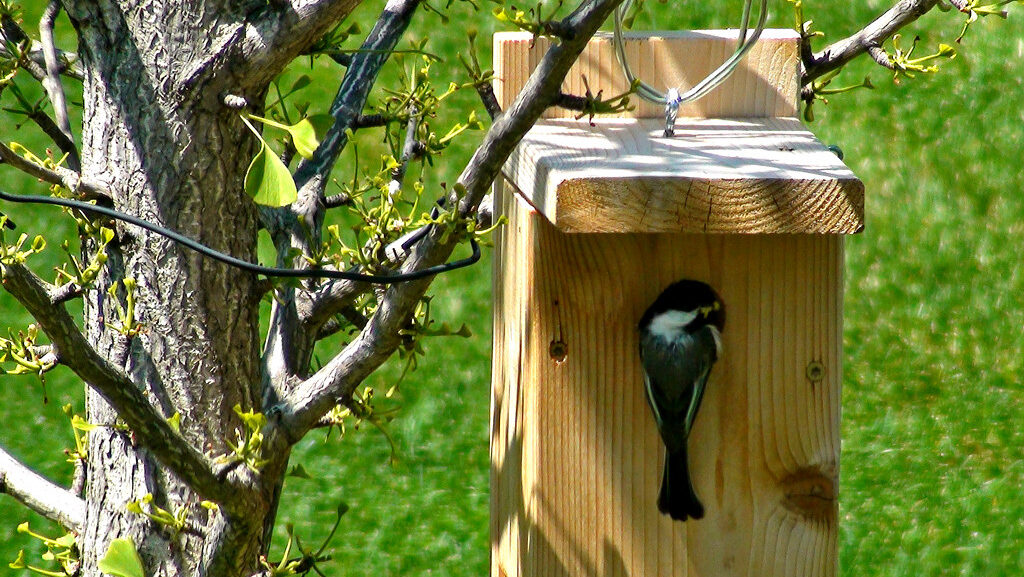
Proper placement of your chickadee birdhouse significantly impacts its chances of attracting residents. Mount the birdhouse 5 to 15 feet above the ground, with the entrance hole facing east or southeast to catch morning sun while avoiding intense afternoon heat and prevailing winds. Position the house at least 25 feet from bird feeders to reduce traffic and disturbance around the nesting site. Chickadees prefer partial shade, so placing the birdhouse near (but not directly against) trees or large shrubs provides both cover and convenient perching spots. Ensure there are no branches directly in front of the entrance hole that could provide easy access for predators like cats or raccoons.
Timing Your Birdhouse Installation
For the best chance of attracting nesting chickadees, install your birdhouse by late winter or very early spring. Chickadees begin searching for nesting sites as early as February in southern regions and March to April in northern areas. Installing the house several months before the breeding season allows birds to become familiar with it during their territory establishment phase. Unlike some migratory species, chickadees are year-round residents in most of their range, so they may investigate potential nesting sites throughout the year. Some chickadees may even use birdhouses as roosting spots during cold winter nights, making them already comfortable with the location when breeding season arrives.
Understanding Chickadee Nesting Behavior
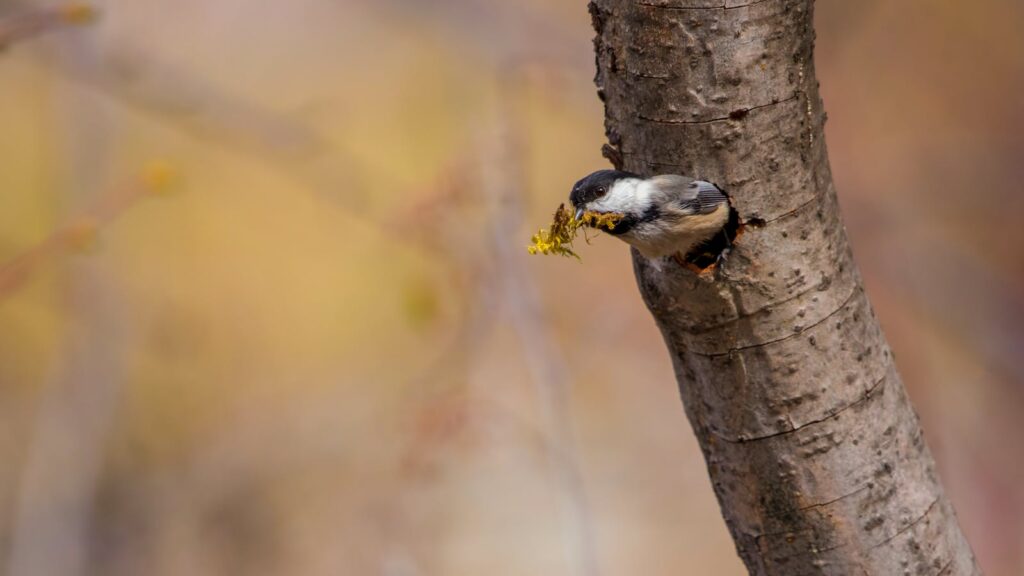
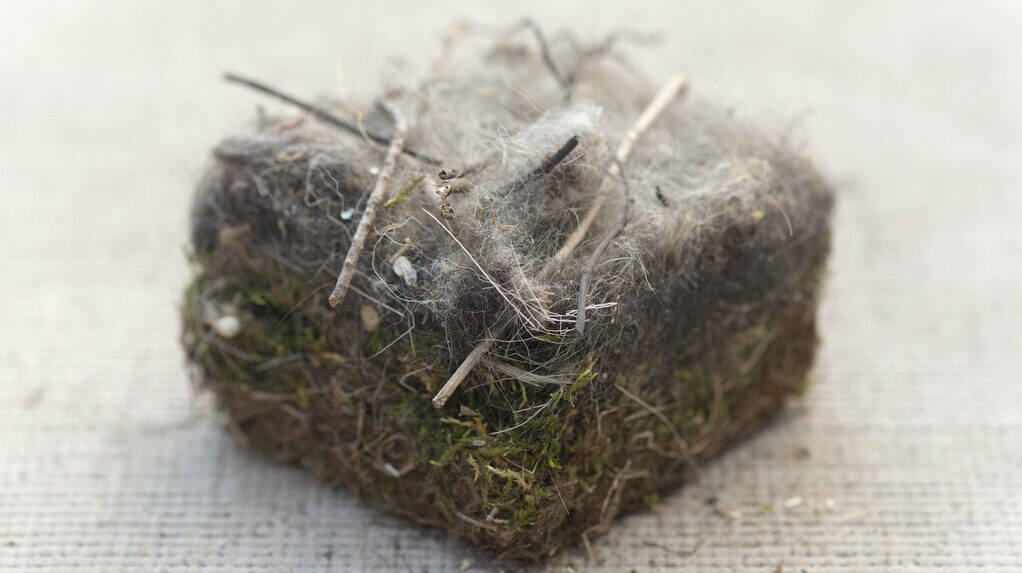
Chickadees typically begin nest building in early spring, with the female taking the lead in construction while the male stays nearby, offering protection and occasional assistance. The nest itself is a marvel of engineering—a soft cup made of moss, plant fibers, and animal fur or feathers. Female chickadees lay one egg per day until their clutch is complete, usually 5-8 eggs total, and incubation begins after the last egg is laid. The incubation period lasts about 12-13 days, with the female doing most of the sitting while the male brings her food. After hatching, both parents feed the nestlings continuously for about 16-18 days until they fledge, making over 400 feeding trips per day during the height of nestling development.
Maintaining Your Chickadee Birdhouse
Proper maintenance ensures your birdhouse remains attractive and safe for chickadees year after year. After each nesting season ends (typically by early summer), wait a few weeks to ensure all birds have fledged, then open the cleanout panel and remove old nesting material. Scrub the interior with a solution of one part bleach to nine parts water, rinse thoroughly, and allow to dry completely with the panel open. Check for any damage, loose screws, or widened entrance holes, making repairs as needed before the next breeding season. During winter months, consider blocking the entrance hole with a small piece of wood to prevent non-native species like house sparrows from establishing winter roosts and claiming the box before chickadees begin nesting.
Tracking and Recording Chickadee Activity

Keeping records of chickadee activity at your birdhouse can be both rewarding and valuable for citizen science. Note the date when chickadees first show interest in the house, when nest building begins, and when you first observe feeding behavior indicating hatched young. These observations can be submitted to projects like NestWatch, run by the Cornell Lab of Ornithology, which tracks trends in bird reproduction across North America. When observing, maintain a respectful distance of at least 30 feet, using binoculars if possible, and limit your monitoring to brief periods a few times per week. Never open the birdhouse for inspection while it contains eggs or nestlings, as this can cause the adults to abandon the nest.
Common Problems and Solutions
Despite your best efforts, you may encounter some challenges with your chickadee birdhouse. If chickadees show interest but don’t nest, consider relocating the house to a quieter area with less human traffic or moving it farther from bird feeders where larger, more aggressive birds congregate. If house sparrows or wrens take over the birdhouse, don’t remove their nests while active (this is illegal for native species), but consider relocating the house next season or adjusting the entrance hole size. Predator problems can be addressed by adding metal predator guards around the entrance hole or on the mounting pole. Persistent moisture issues might require additional drainage holes or repositioning the house to receive less direct rainfall.
Conclusion: The Rewards of Housing Chickadees
Creating a DIY birdhouse for chickadees offers multiple rewards beyond the satisfaction of a successful woodworking project. Hosting these charismatic birds provides a window into the fascinating world of wild bird behavior, from courtship to fledging. Chickadees also serve as natural pest control, consuming thousands of insects including many garden and tree pests during the breeding season. Perhaps most valuable is the connection to nature that chickadees foster—their willingness to nest near humans makes them perfect ambassadors to the bird world, particularly for teaching children about wildlife. With the proper design, placement, and care, your handcrafted chickadee birdhouse can provide generations of birds with safe nesting sites while bringing countless hours of birdwatching enjoyment to your family.