
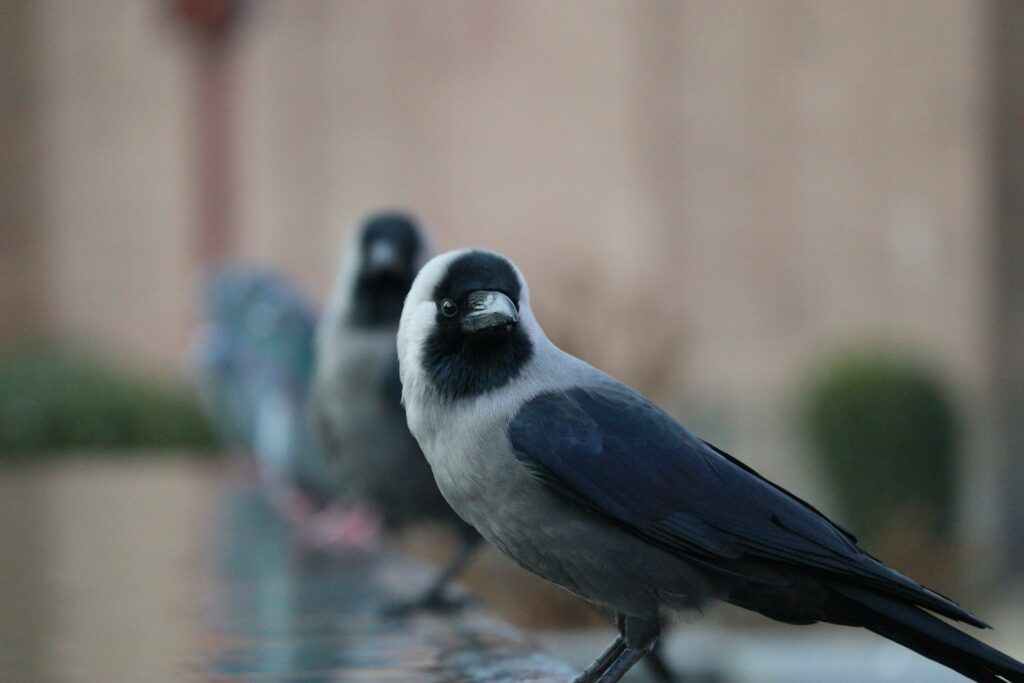
Bird photography is one of the most rewarding yet challenging genres in wildlife imagery. Capturing these magnificent creatures in their natural habitats requires not only patience and field craft but also a solid understanding of your camera’s technical capabilities. Unlike stationary subjects, birds are often in constant motion – soaring through skies, darting between branches, or diving for prey in split seconds. The perfect shot demands a delicate balance of settings that can freeze action while maintaining image quality. In this comprehensive guide, we’ll explore the optimal camera configurations that will help transform your bird photography from frustrating near-misses to frame-worthy captures that showcase these remarkable animals in their full splendor.
Understanding Your Camera’s Shooting Modes
When photographing birds, choosing the right shooting mode forms the foundation of your technical approach. While many photographers rely on full Auto mode, this rarely delivers optimal results for the unique challenges of bird photography. Aperture Priority (A or Av) mode gives you control over depth of field while the camera handles shutter speed calculations, making it useful for perched birds in consistent lighting. Shutter Priority (S or Tv) mode lets you lock in a fast shutter speed while the camera adjusts aperture, ideal for birds in flight against evenly lit skies. For truly unpredictable scenarios with changing light, Manual mode with Auto ISO provides the perfect balance – you maintain control of both aperture and shutter speed while the camera adjusts ISO to maintain proper exposure as lighting conditions shift.
Selecting the Optimal Shutter Speed
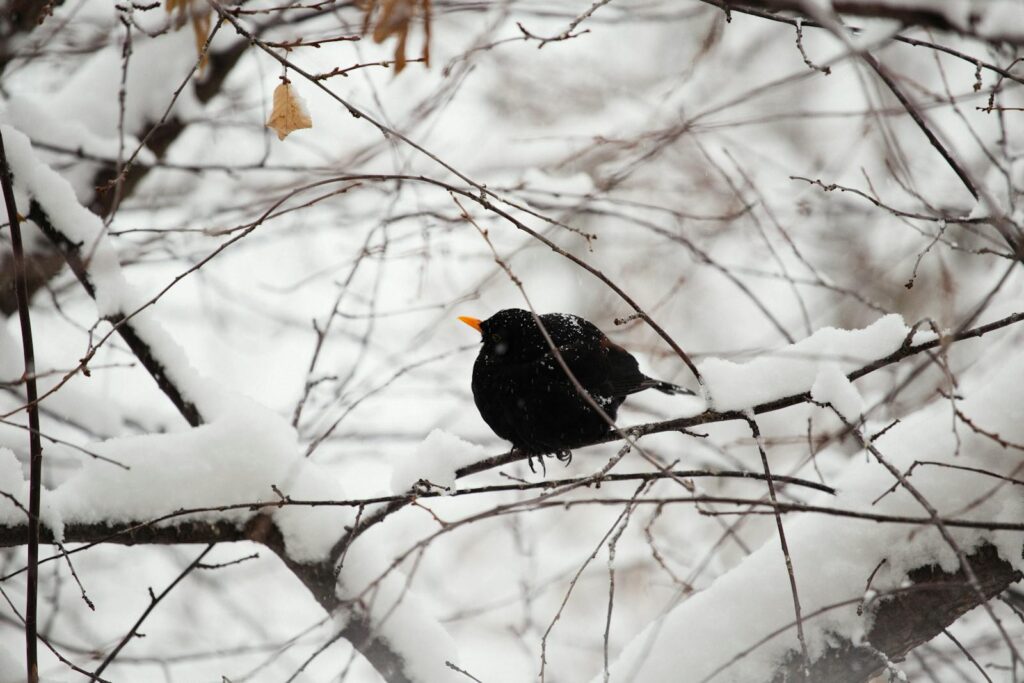
Shutter speed is arguably the most critical setting for bird photography as it determines whether you freeze motion or capture blur. For stationary or perched birds, you can often get away with speeds as slow as 1/250th of a second, especially with image stabilization technology. However, for birds in flight or any active behavior, faster speeds become essential – typically 1/1000th of a second or quicker to freeze wing motion and capture sharp details. Extremely fast-moving species like hummingbirds may require speeds of 1/2000th to 1/4000th to completely freeze their rapid wing beats. Remember that environmental factors like wind can increase bird movement, requiring you to adjust accordingly with faster shutter speeds. As a practical rule of thumb, start with 1/1000th for general bird flight photography and adjust based on your results and the specific species you’re targeting.
Choosing the Right Aperture
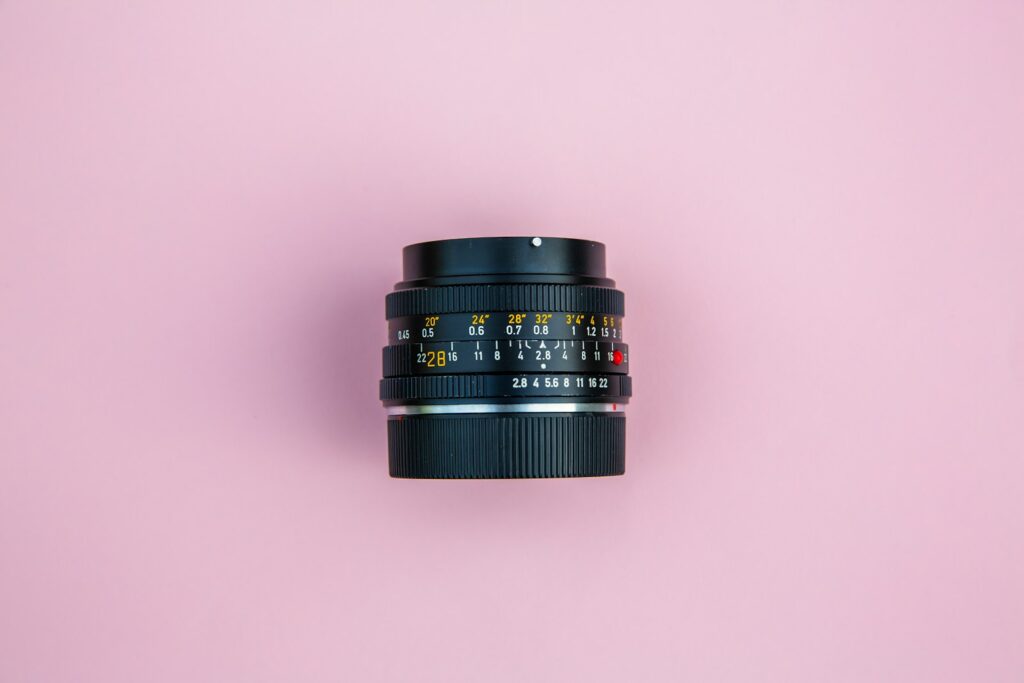
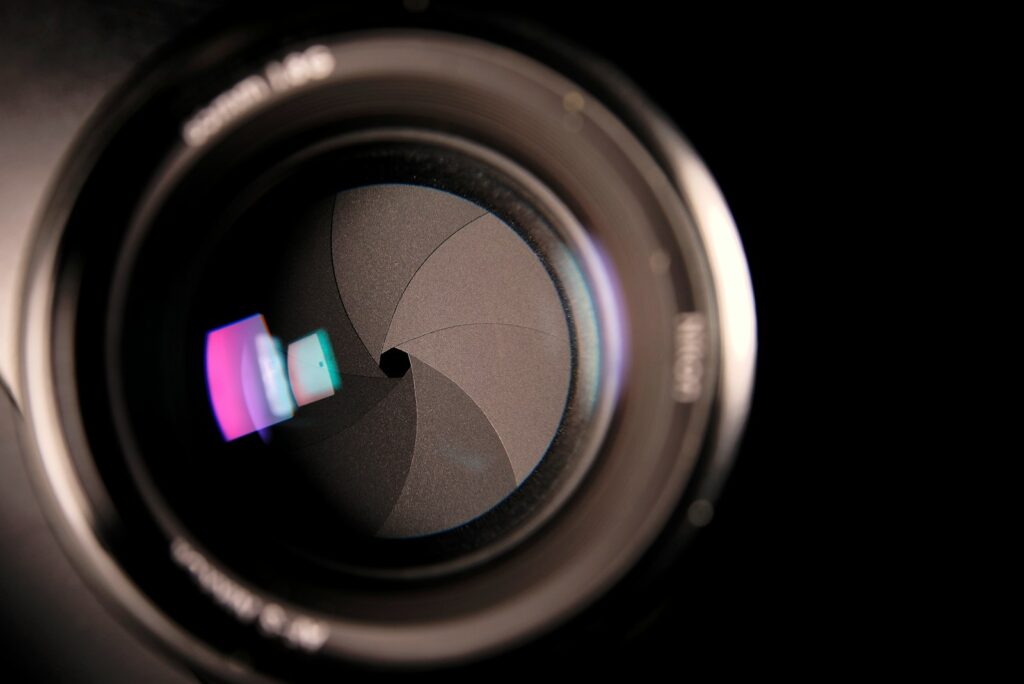
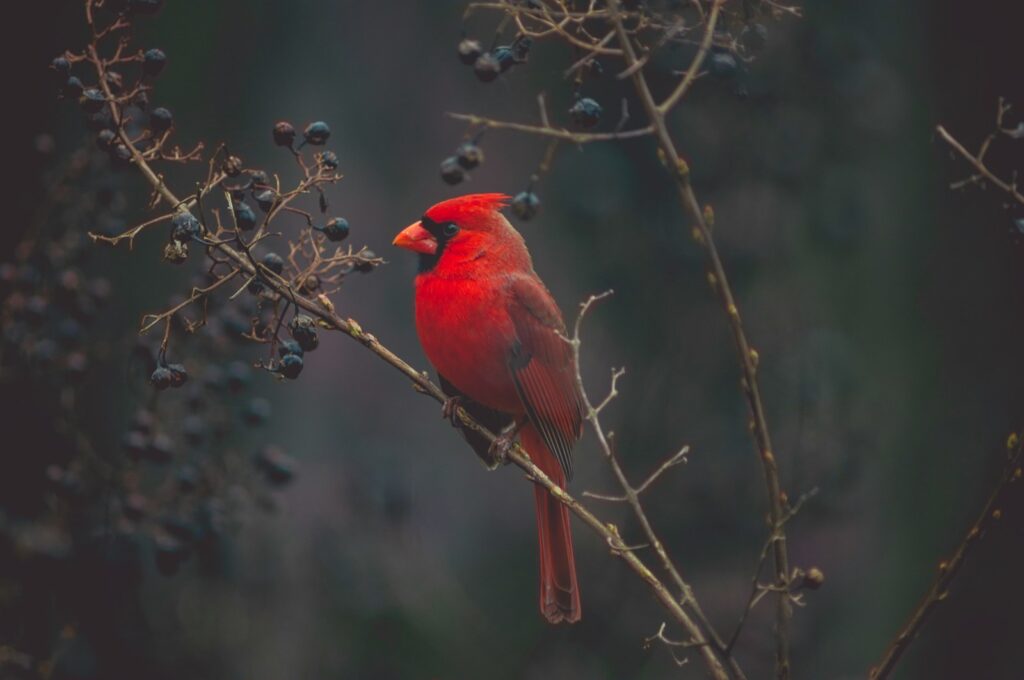
Aperture selection impacts both exposure and depth of field, requiring thoughtful consideration for bird photography. Most bird photographers prefer shooting with their lenses wide open (lowest f-number) or close to it for several reasons. First, the wider aperture lets in more light, enabling faster shutter speeds in challenging lighting conditions. Second, it creates pleasing background blur (bokeh) that helps isolate the bird from potentially distracting environments. For most telephoto lenses, an aperture between f/4 and f/6.3 often represents the sweet spot that balances sharpness with sufficient light gathering. When photographing birds with significant depth (like birds in profile or groups of birds), consider stopping down slightly to f/7.1 or f/8 to extend your depth of field enough to keep the entire subject sharp. Remember that every lens has an optimal aperture range where it performs best, so testing your specific equipment is worthwhile.
Managing ISO Settings Effectively
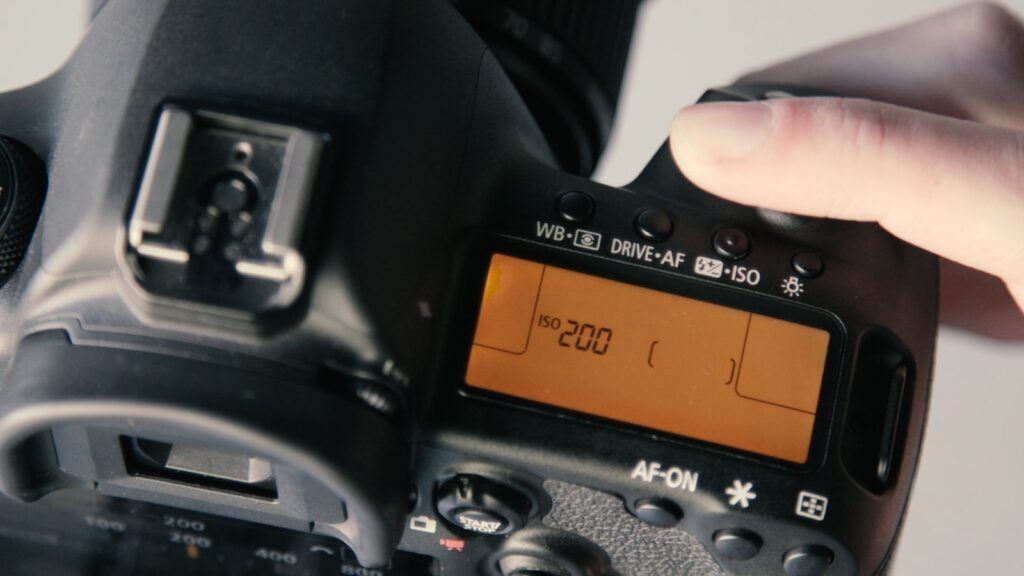
ISO management involves finding the delicate balance between gathering sufficient light and controlling digital noise. Begin with the lowest native ISO your camera offers (typically 100 or 200) in bright, favorable lighting conditions to maximize image quality. As light diminishes, be prepared to increase ISO rather than compromising on shutter speed, as a noisy sharp image is generally preferable to a clean blurry one in bird photography. Modern cameras perform remarkably well at higher ISOs – many professional wildlife photographers routinely shoot at ISO 1600, 3200, or even higher when necessary. Consider using Auto ISO with minimum shutter speed limits to maintain exposure while establishing a floor for handholding or action-freezing speeds. It’s also worth testing your specific camera’s high ISO performance to determine your personal threshold for acceptable noise levels under different conditions.
Mastering Autofocus Techniques
Autofocus capabilities make or break bird photography, particularly for birds in flight or during active behaviors. Most modern cameras offer several autofocus modes, with Continuous AF (called AF-C on Nikon or AI Servo on Canon) being essential for tracking moving birds. This mode continuously adjusts focus as long as you maintain pressure on the shutter button or back-button focus control. For focus point selection, many experienced bird photographers prefer using a smaller cluster of focus points rather than a single point (too limiting) or all points (too unpredictable). Back-button focusing, which separates focus activation from the shutter release, gives you greater control when tracking erratic bird movements. For particularly challenging situations like birds against complex backgrounds, pre-focusing on an anticipated perch or flight path can dramatically improve your success rate.
Optimizing Metering for Bird Subjects
Proper metering is crucial for bird photography, particularly given the challenging exposure scenarios birds often present. Spot metering can be effective when birds have high contrast plumage or are set against bright skies, allowing you to meter specifically from the bird’s body rather than being influenced by the surrounding environment. Matrix/Evaluative metering works well for evenly lit scenes but may struggle with backlit situations or when birds occupy a small portion of the frame. Exposure compensation becomes an essential tool regardless of metering mode – adding positive compensation (+0.3 to +1.0) for dark birds against bright backgrounds or negative compensation for light-colored birds against darker settings. Understanding your camera’s histogram is invaluable for verifying proper exposure in the field, helping you avoid blown highlights or crushed shadows that cannot be recovered in post-processing.
Utilizing Burst Mode and Buffer Management
Bird behavior is often unpredictable, making continuous shooting (burst mode) an essential technique for capturing decisive moments. Set your camera to its highest frame rate to increase your chances of capturing the perfect wing position, head angle, or interaction between birds. However, be mindful that higher-quality file formats like uncompressed RAW will fill your camera’s buffer more quickly, potentially causing the camera to slow down during extended bursts. To manage this limitation, consider using compressed RAW formats if available, which maintain most image quality while reducing file size. Memory card speed also plays a crucial role in buffer clearing efficiency – investing in faster cards (higher UHS rating) allows your camera to write images more quickly and resume full-speed shooting. Develop the discipline to shoot in controlled bursts rather than holding down the shutter continuously, which helps maintain buffer availability for truly critical moments.
Stabilization Techniques and Settings
Image stabilization technology dramatically improves the keeper rate in bird photography, particularly when using longer focal lengths or shooting in challenging light. Most modern telephotos offer lens-based stabilization (called VR, IS, or OS depending on manufacturer), while many current camera bodies include sensor-based stabilization as well. For birds in flight, use the specific stabilization mode designed for panning (typically Mode 2 on most lenses), which corrects vertical movement while allowing horizontal tracking. When photographing from a stable tripod, some stabilization systems should be turned off as they may actually introduce subtle movement, though check your specific lens documentation as newer systems often detect tripod use automatically. Remember that while stabilization helps combat camera shake, it doesn’t freeze subject movement – maintaining appropriate shutter speeds remains essential even with stabilization active.
White Balance Considerations
While white balance can be easily adjusted when shooting in RAW format, getting it approximately right in-camera improves your ability to evaluate images in the field. Auto White Balance (AWB) generally performs admirably in most daylight situations, but early morning and late evening golden hours often benefit from the Cloudy or Shade presets to preserve the warm golden tones that make these times special for bird photography. Some photographers prefer setting a custom Kelvin temperature, typically between 5200K and 6000K for consistent results across varying lighting conditions. When photographing birds in deeply shaded forest environments, be particularly attentive to white balance as these settings often introduce strong color casts that can mask the natural colors of plumage. Creating a custom white balance using a gray card can be valuable in these challenging lighting environments.
Choosing the Optimal File Format

RAW format is strongly recommended for serious bird photography as it captures the maximum amount of data and provides substantial flexibility for post-processing adjustments. The expanded dynamic range of RAW files is particularly valuable when photographing birds with high-contrast plumage or in challenging lighting situations like backlit subjects. While JPEG offers advantages in terms of smaller file sizes and faster shooting before hitting buffer limitations, the compressed format significantly reduces your ability to recover details in highlights and shadows. If storage or buffer constraints are concerns, consider using compressed RAW formats that maintain most of the editing flexibility while reducing file size. For professional work or photography destined for large prints, uncompressed RAW maximizes image quality despite the storage requirements. Many cameras now offer hybrid shooting approaches that capture both RAW and JPEG simultaneously, providing quick-sharing files alongside archival-quality versions.
Custom Settings for Different Bird Photography Scenarios
Creating and storing custom setting banks for different bird photography scenarios can dramatically improve your ability to respond quickly to changing opportunities in the field. Program one configuration optimized for birds in flight with settings like continuous AF, higher shutter speeds (1/2000+), and a focus mode tailored to tracking moving subjects. Create another preset for perched birds that prioritizes image quality with lower ISO, optimal aperture for your lens, and potentially single-point focus for precise placement. A third useful preset might target birds in low light conditions, with adjusted ISO limits and specialized noise reduction settings. Many advanced cameras allow saving these configurations to quick-access buttons or custom mode dials, enabling near-instantaneous switching between dramatically different shooting scenarios. This preparation eliminates fumbling with settings when time-sensitive opportunities arise, dramatically increasing your keeper rate.
Adjusting Settings for Different Bird Behaviors
Different bird behaviors demand specific setting adjustments to capture their essence effectively. For diving birds like kingfishers or ospreys, pre-focus on the water surface and use the fastest shutter speeds your lighting allows, typically 1/2000 or faster, to freeze the dramatic splash and action. When photographing birds displaying courtship behaviors, which often involve rapid movements and elaborate postures, prioritize maintaining a fast enough shutter speed to freeze the action while ensuring sufficient depth of field to keep the entire display in focus. For feeding behaviors, particularly with birds like hummingbirds at flowers, consider using flash with high-speed sync to freeze motion while maintaining natural-looking light. Birds engaged in territorial disputes move extremely quickly and erratically, making expanded focus points and the highest possible burst rate essential to capture the intensity of these interactions.
Hardware Considerations That Impact Settings
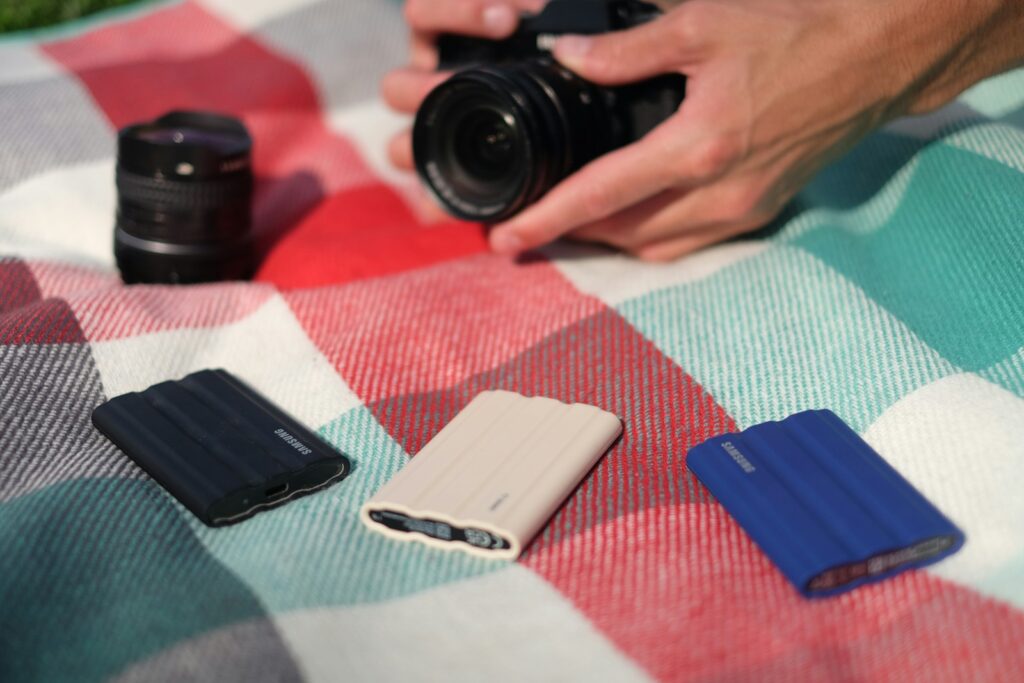
Your camera and lens capabilities directly influence the settings available to you for bird photography. Higher-end camera bodies with superior high-ISO performance allow you to shoot with faster shutter speeds in challenging light while maintaining acceptable image quality. The maximum aperture of your lens establishes a ceiling on available light, making faster lenses (f/2.8 or f/4) tremendously advantageous for bird photography compared to variable aperture alternatives that might limit you to f/5.6 or smaller at telephoto ranges. Teleconverters (1.4x or 2x) extend your reach but reduce maximum aperture and often impact autofocus performance, requiring adjustments to your typical settings. The buffer capacity and card write speed of your camera system determine how many continuous frames you can capture before the camera slows down, a critical factor when photographing action sequences that might require dozens of consecutive images to capture the perfect moment.
Adapting Settings for Different Lighting Conditions
Bird photography often requires shooting in whatever light nature provides, making adaptability essential. In harsh midday sun, be particularly vigilant about avoiding blown highlights in white plumage by using negative exposure compensation and consulting your histogram frequently. During golden hour, the warm, directional light provides exceptional opportunities, but rapidly changing intensity means regularly reassessing exposure settings or relying more heavily on Auto ISO. Overcast conditions offer soft, even lighting ideal for revealing plumage details, but the reduced light intensity typically necessitates higher ISO values or wider apertures. Backlit situations create dramatic rim lighting that can showcase feather details beautifully, but require spot metering on the bird itself and often positive exposure compensation to avoid silhouetting. Fog and mist create atmospheric conditions that add mood to bird images but reduce contrast and brightness, requiring adjustments to your contrast settings either in-camera or during post-processing.
Conclusion: Developing Your Personal Settings Workflow
The true art of bird photography emerges when technical mastery becomes second nature, allowing you to focus entirely on the subject and composition. While these recommended settings provide an excellent foundation, the most successful bird photographers develop personalized approaches based on their specific equipment, shooting style, and the birds they frequently encounter. Regular practice and systematic experimentation with different configurations will help you discover which combinations produce your best results. Keep a field journal noting successful settings for different species and conditions, accelerating your learning curve. Most importantly, remember that settings are ultimately tools serving your creative vision – their purpose is to capture the beauty, behavior, and essence of birds in their natural environments. With persistence and refinement of your technical approach, your bird photography will continue to evolve, revealing ever more compelling images of these fascinating creatures.