
Nature offers an endless array of opportunities for photographers to capture stunning images of birds in their natural habitats. One particularly effective technique to elevate your bird photography is the use of natural framing—utilizing elements in the environment to create borders around your subject. This approach not only adds depth and context to your images but also draws the viewer’s eye directly to the bird. In this comprehensive guide, we’ll explore how to effectively use natural frames to transform your bird photography from ordinary to extraordinary.
Understanding Natural Frames in Photography
Natural framing is a compositional technique where elements in the environment surround or partially surround your subject, creating a frame within your photograph. In bird photography, these frames might include tree branches, leaves, tall grasses, rock formations, or even other wildlife elements. When used effectively, natural frames provide context about the bird’s habitat while simultaneously directing attention to your feathered subject. The technique creates a sense of depth in your images, transforming what might otherwise be a flat, documentary-style photo into something with dimensionality and narrative quality. Additionally, natural frames often add aesthetic balance to compositions, making them more pleasing to the eye and more engaging for viewers.
Benefits of Using Natural Frames

Incorporating natural frames into your bird photography offers numerous advantages that can significantly enhance your images. First, frames create a sense of depth and dimension, transforming a two-dimensional photograph into one that appears to have layers and spatial context. They also help isolate your bird subject, making it stand out even in busy or complex environments where it might otherwise blend in. Natural frames add environmental context, telling a more complete story about the bird’s habitat and behavior than a simple portrait might convey. From a technical perspective, frames can help mitigate challenging lighting conditions by providing some shade or balance in high-contrast situations, giving you more flexibility when shooting in difficult environments.
Finding Natural Framing Opportunities
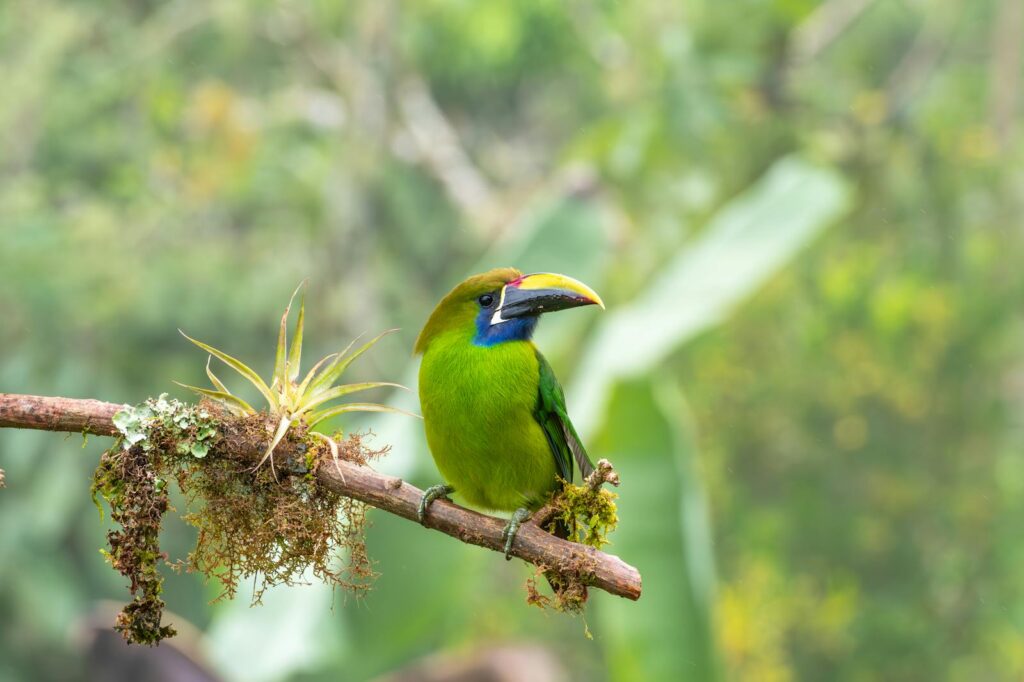
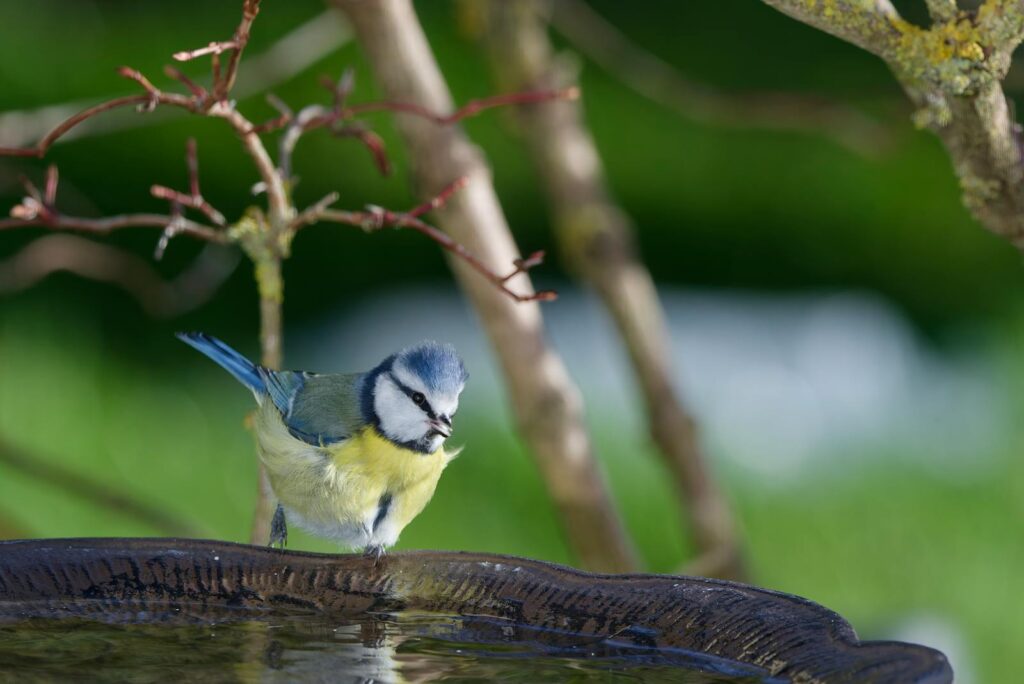
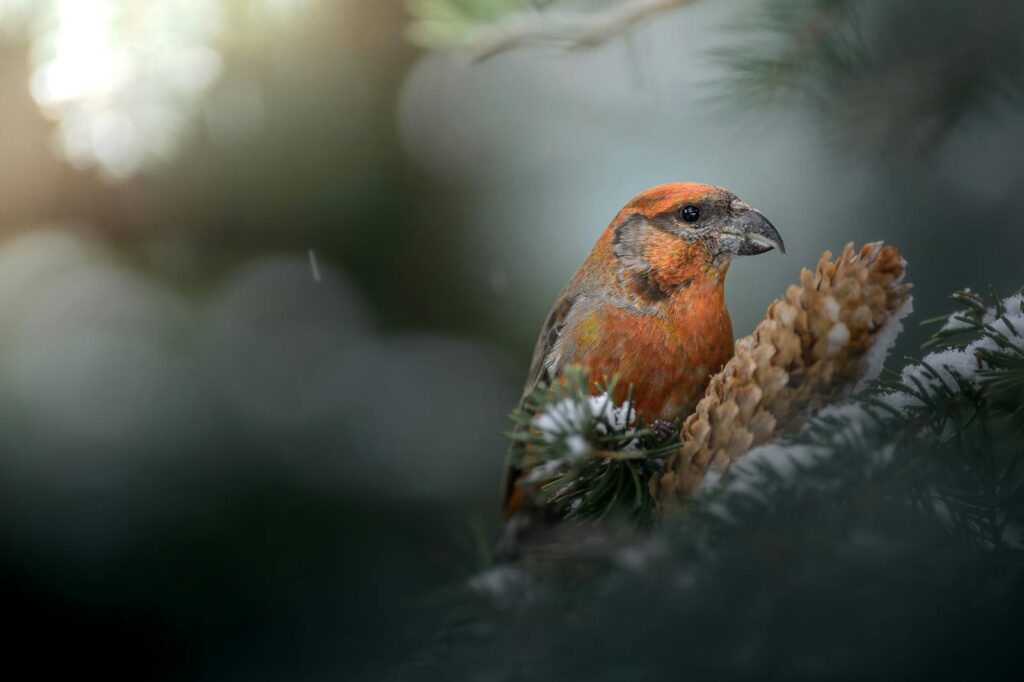
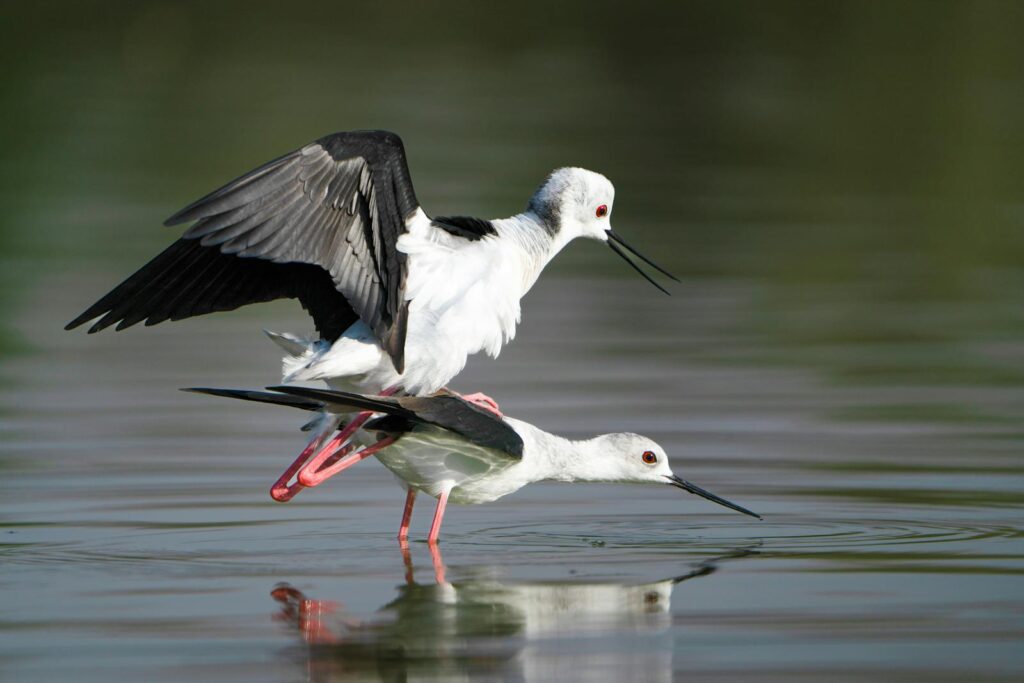
Successful bird photographers develop a keen eye for potential natural frames in any environment. In forest settings, look for openings between trees, gaps in foliage, or curved branches that create archways through which birds might fly or perch. When photographing near water, consider reflections, reeds, or waterside vegetation that can frame waterfowl. Even in seemingly barren environments like deserts or plains, rock formations, distant mountains, or sparse vegetation can provide subtle framing elements. The changing seasons offer different framing opportunities—spring brings fresh foliage, summer offers lush greenery, autumn delivers colorful leaves, and winter creates striking bare branch patterns that can frame birds beautifully. Always scan your environment thoroughly before settling on a shooting position, as the perfect natural frame might be just a few steps away in any direction.
Essential Equipment Considerations
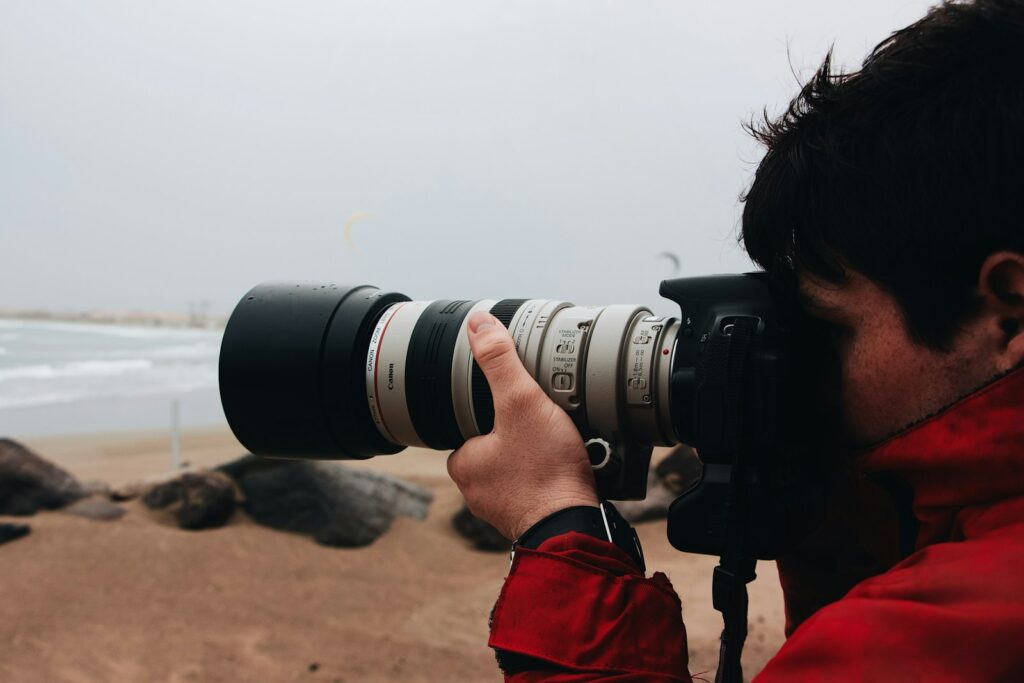
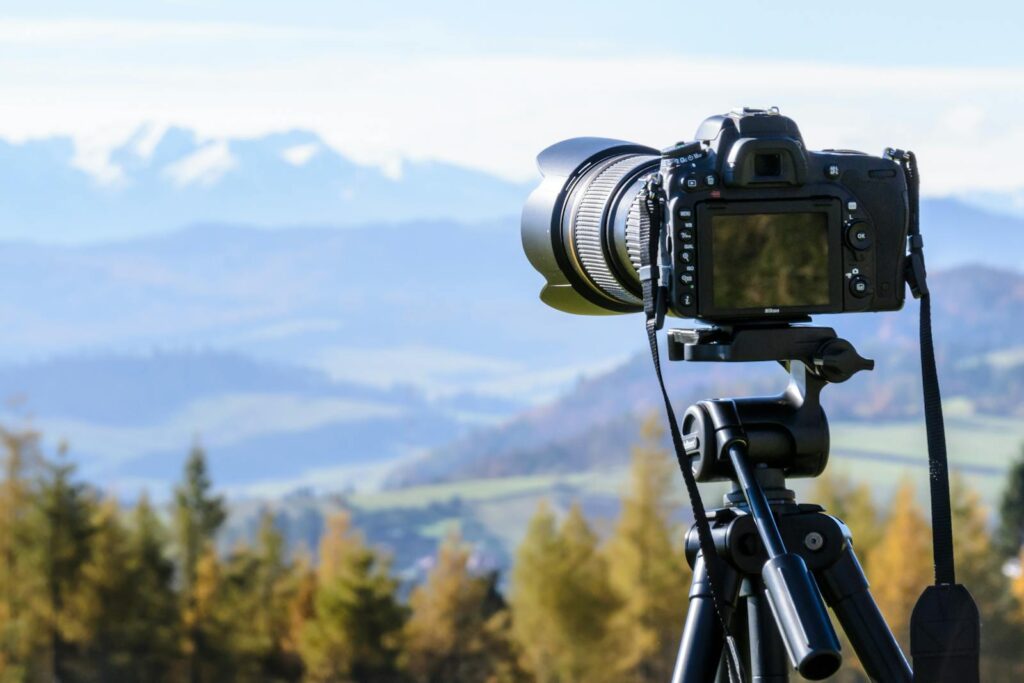
While natural framing is primarily a compositional technique, certain equipment choices can help you execute it more effectively. Long telephoto lenses (300mm and beyond) are typically essential for bird photography, but when using natural frames, consider how different focal lengths affect the relationship between the frame and subject. Sometimes a slightly wider focal length allows you to incorporate more of the framing elements while still keeping the bird at a suitable size in the image. A sturdy tripod is particularly important when working with natural frames, as maintaining precise composition while waiting for the perfect bird position can be challenging without stable support. Variable aperture lenses offer flexibility—wider apertures can blur the framing elements while keeping the bird sharp, creating a sense of depth, while smaller apertures bring both frame and subject into focus when that aesthetic is preferred.
Mastering Depth of Field for Natural Frames
Understanding and controlling depth of field is crucial when working with natural frames in bird photography. A wide aperture (low f-number like f/2.8 or f/4) creates a shallow depth of field, keeping your bird subject sharp while rendering the framing elements softly blurred, which can create a dreamy, artistic effect that draws attention directly to the bird. Conversely, a narrower aperture (higher f-number like f/8 or f/11) increases depth of field, bringing both the frame and the bird into focus, which works well when the framing elements contain interesting details worth highlighting. The distance relationships between your camera, the framing elements, and the bird subject also affect depth of field—framing elements very close to your lens will appear more blurred than those nearer to the bird. Experiment with different aperture settings and camera-to-subject distances to find the perfect balance for each unique framing situation you encounter.
Techniques for Foreground Frames

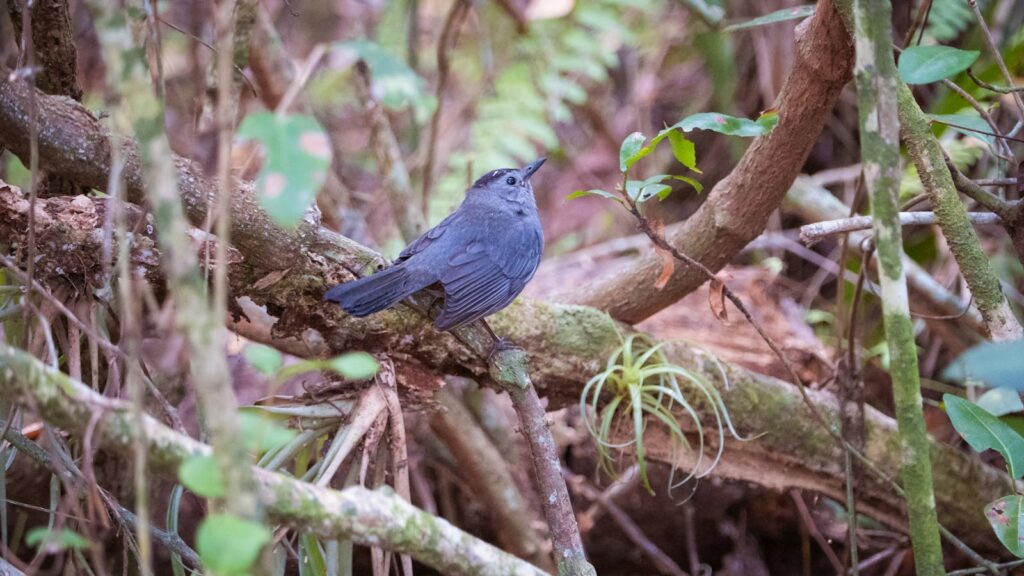
Foreground frames—elements positioned between your camera and the bird—can create particularly compelling compositions with a strong sense of depth. When using foreground elements, position yourself so these elements partially encircle your subject without overwhelming it or causing distracting overlaps with important features like the bird’s eye or distinctive markings. Shooting through natural “windows” in vegetation or branches works particularly well, allowing you to create a vignette effect that concentrates attention on the bird. The careful use of selective focus is essential with foreground frames—typically you’ll want to use a wide enough aperture that the foreground elements are recognizable in shape but softly blurred, creating a sense of looking through them to discover the bird. Be mindful of how foreground elements affect your camera’s autofocus system—using single-point focus mode allows you to precisely target the bird rather than having the camera accidentally focus on nearby framing elements.
Working with Background Frames
Background frames are elements that appear behind your bird subject, creating a sense of enclosure or highlighting the subject through contrast. A classic example is photographing a bird perched at the entrance of a tree cavity, where the darker cavity interior frames the bird from behind. When working with background frames, pay careful attention to separation between your subject and the frame—you’ll typically want some separation to make the bird stand out, achieved through either physical distance or contrast in color, brightness, or sharpness. Background frames often work well when they create negative space around the bird, such as a small bird perched against a large, bright sky opening between tree branches. The positioning of your bird within the background frame significantly affects the image’s balance and flow—generally, placing the bird off-center within the frame creates more dynamic compositions than perfectly centered positioning.
Utilizing Side Frames for Balance
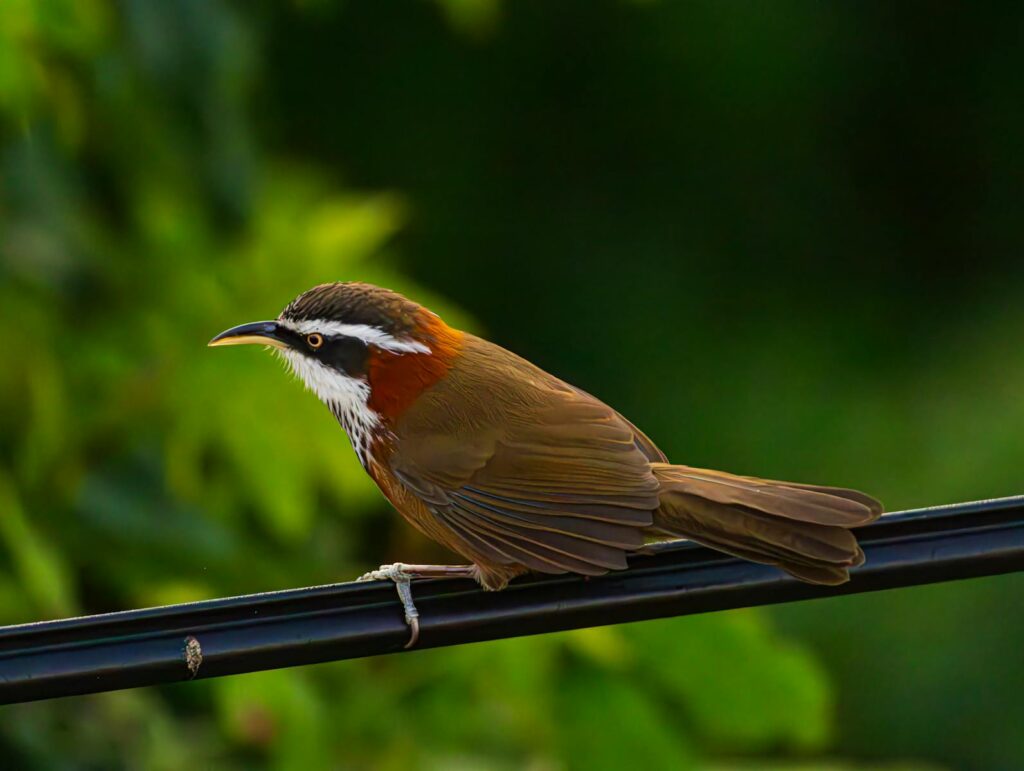
Side frames are elements that border your bird subject on one or both sides without necessarily forming a complete enclosure. This framing technique creates a partial border that can add balance and prevent the eye from wandering out of the image. When using side frames, consider the principle of visual weight—a small bird may need more substantial framing elements to balance it within the composition, while larger birds like herons or eagles can be balanced with more delicate framing elements. Side frames work particularly well when they follow the natural directional flow of your image, such as branches that curve toward a bird or lead the eye in the direction the bird is facing. Asymmetrical side framing often creates more dynamic compositions than perfectly symmetrical arrangements, giving your image a more natural, less contrived feeling that suits wildlife photography.
Anticipating Bird Behavior for Perfect Frames
Creating compelling framed bird photographs requires not just awareness of environmental elements but also an understanding of bird behavior to anticipate perfect framing moments. Research your target species to learn their preferred perches, flight patterns, feeding habits, and daily routines—this knowledge helps you position yourself where natural frames and bird activity are likely to align. For instance, songbirds often have favorite singing perches they return to repeatedly, giving you time to find ideal framing positions. Territorial species frequently patrol the same boundaries, allowing you to identify natural frames along their regular routes. When photographing birds in flight, knowledge of their typical approaches to nesting sites or feeding areas lets you pre-compose shots with natural frames they’re likely to pass through. Patience becomes your greatest ally—once you’ve identified a promising natural frame, waiting quietly for the bird to move into the perfect position usually yields better results than constantly repositioning yourself and potentially disturbing your subject.
Seasonal Considerations for Natural Frames
Each season offers unique natural framing opportunities that smart bird photographers can leverage for distinctive images. Spring brings fresh green foliage, flowering branches, and increased breeding activity, creating opportunities to frame birds among blossoms or with nesting materials. Summer’s dense foliage provides abundant framing options, though the challenge becomes finding clean sight lines through the thick vegetation; look for natural windows or use the edges of leaf clusters for partial framing. Fall introduces spectacular color transformations, allowing for frames of golden, red, or orange leaves that contrast beautifully with many bird species, especially when backlit. Winter strips away foliage to reveal architectural branch structures that create stark, graphic framing elements, while snow and ice formations offer unique framing possibilities not available in other seasons. Adapt your framing approach to capitalize on each season’s distinctive characteristics rather than trying to force the same techniques year-round.
Addressing Common Challenges
Even with careful planning, natural frame photography presents several challenges that require creative solutions. Rapidly changing light conditions can dramatically alter how your frames appear—be prepared to adjust exposure settings quickly, particularly when photographing birds moving between shadowed frames and brightly lit areas. Wind poses another significant challenge, causing potential framing elements like branches or grasses to move unpredictably; counter this by increasing your shutter speed (minimum 1/1000s for moving elements) and taking advantage of brief lulls in the breeze. Autofocus confusion is common when shooting through frames—most modern cameras allow you to reduce your autofocus points to just one or a small group, helping you target the bird precisely rather than the surrounding frame. Finally, cluttered or distracting natural frames can detract from your subject; address this by changing your position slightly to simplify the frame, using a wider aperture to blur distracting elements, or waiting for better conditions if the situation allows.
Post-Processing Tips for Framed Bird Images

Thoughtful post-processing can significantly enhance the impact of natural frames in your bird photographs. Selective adjustment of contrast, clarity, and sharpness can help differentiate between your subject and the framing elements—typically, you’ll want to enhance these qualities in your bird subject while potentially reducing them slightly in the frames to create subtle visual separation. Vignetting, either natural from the frames or added subtly in post-processing, can strengthen the framing effect by darkening the image edges and directing attention toward the bird. Color adjustments can enhance the relationship between frame and subject—for example, slightly desaturating green foliage frames can make a colorful bird pop more dramatically. When working with partial or imperfect natural frames, careful cropping can sometimes strengthen the framing effect by removing distracting elements or repositioning the frame-to-subject relationship for better balance. Remember that subtle adjustments typically yield more natural-looking results than heavy-handed processing.
Ethical Considerations and Respect for Wildlife
The pursuit of perfectly framed bird photographs should never come at the expense of bird welfare or habitat preservation. Resist the temptation to manipulate natural environments by breaking branches, clearing vegetation, or otherwise altering habitats to create better frames—such actions can damage critical resources birds depend on. When positioning yourself for framed shots, maintain appropriate distances that don’t disturb natural behaviors or cause stress to your subjects; using longer lenses rather than moving closer is almost always the better approach. Be particularly cautious during sensitive periods like breeding season, when disturbance can have serious consequences for nesting success. Natural frame photography often requires spending extended time in one location, making it especially important to follow leave-no-trace principles and minimize your impact on the environment. Remember that no photograph, no matter how aesthetically pleasing, justifies harming or disturbing the birds we seek to capture and appreciate.
Natural framing represents one of the most powerful compositional techniques available to bird photographers, transforming simple bird portraits into contextual, immersive images with depth and narrative quality. By developing your eye for potential frames in any environment, understanding how technical factors like depth of field affect framing relationships, and respecting the natural behaviors of your subjects, you can create bird photographs that stand out for their artistic merit while still accurately representing birds in their natural contexts. The patience and observation skills you develop while searching for perfect natural framing opportunities will enhance all aspects of your bird photography, leading to a deeper connection with your subjects and more meaningful images that celebrate the beauty of birds in their natural habitats.