
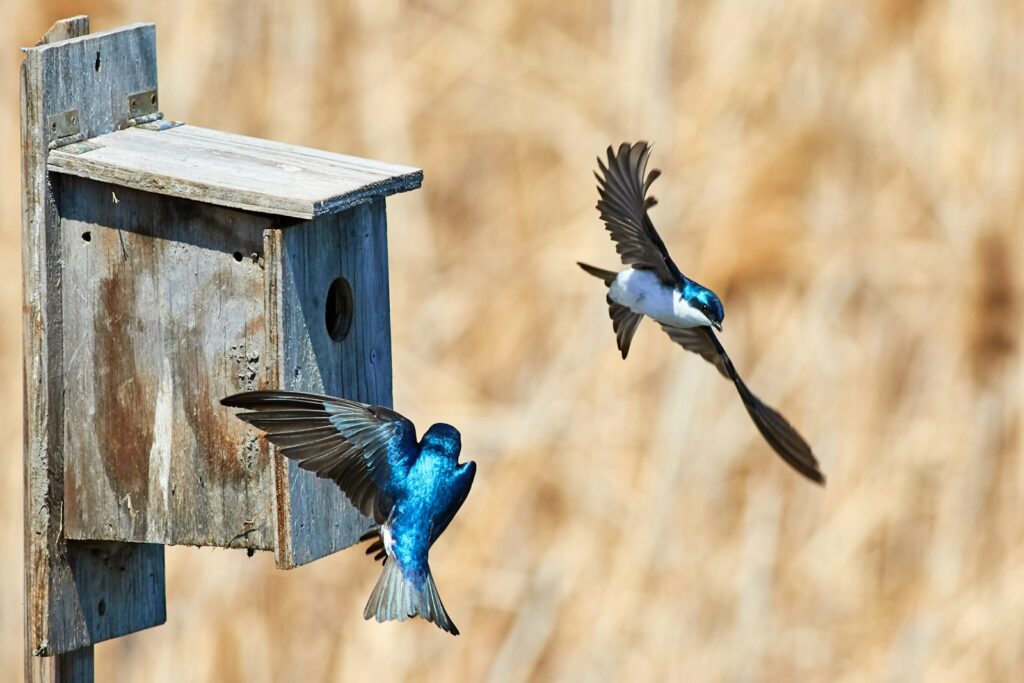
Most birds have remarkable adaptations for surviving harsh weather, but extreme conditions can still pose significant threats. During severe storms, freezing temperatures, or heatwaves, our feathered friends sometimes need a helping hand. Creating a DIY bird shelter can provide crucial protection for local bird populations when they’re most vulnerable. Not only does building a shelter serve as an engaging weekend project, but it also creates a lasting contribution to your local ecosystem. Whether you’re an experienced birder or simply want to help wildlife in your community, constructing a weather-resistant shelter is a rewarding way to support bird conservation while connecting with nature.
Understanding Why Birds Need Shelters During Harsh Weather
While birds have evolved remarkable survival tactics for harsh weather conditions, modern challenges have complicated their natural resilience. Habitat loss from urban expansion has drastically reduced the availability of natural shelters like dense vegetation, hollow trees, and protected undergrowth. Climate change has also introduced more frequent and severe weather events that can overwhelm birds’ natural coping mechanisms, particularly during breeding seasons when they’re caring for vulnerable nestlings. Additionally, non-native species and landscaping practices have eliminated many of the native plants that birds historically relied on for protection. By creating purpose-built shelters, we can help mitigate these modern challenges and support local bird populations during their most vulnerable moments.
Selecting the Optimal Location for Your Bird Shelter
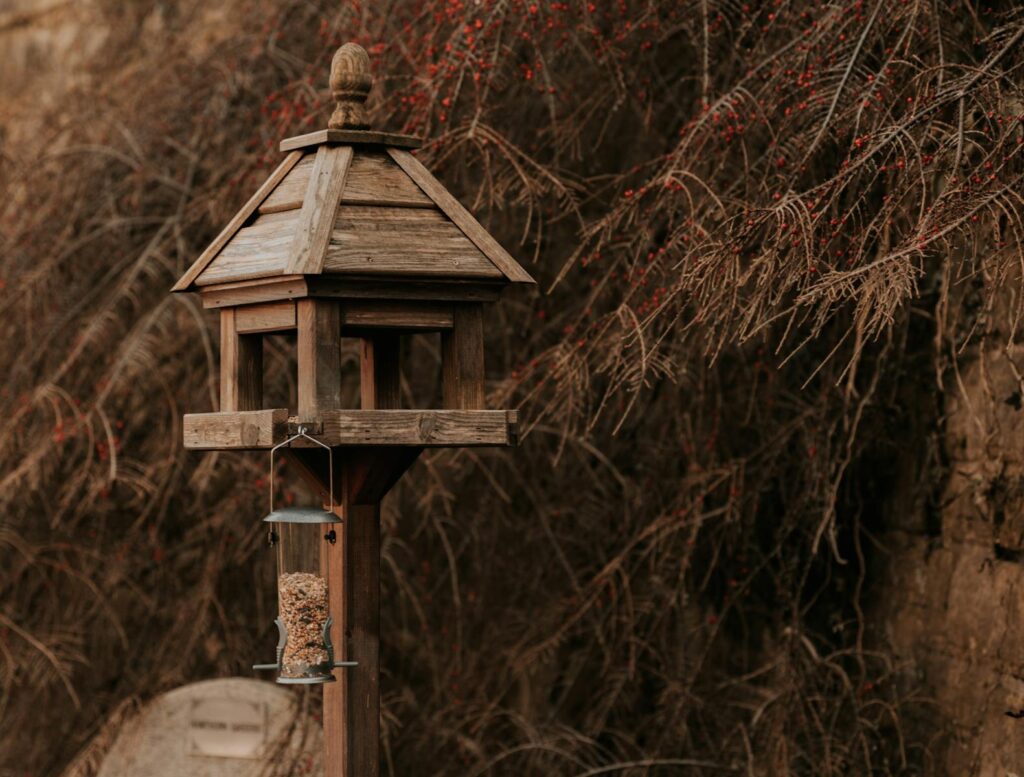
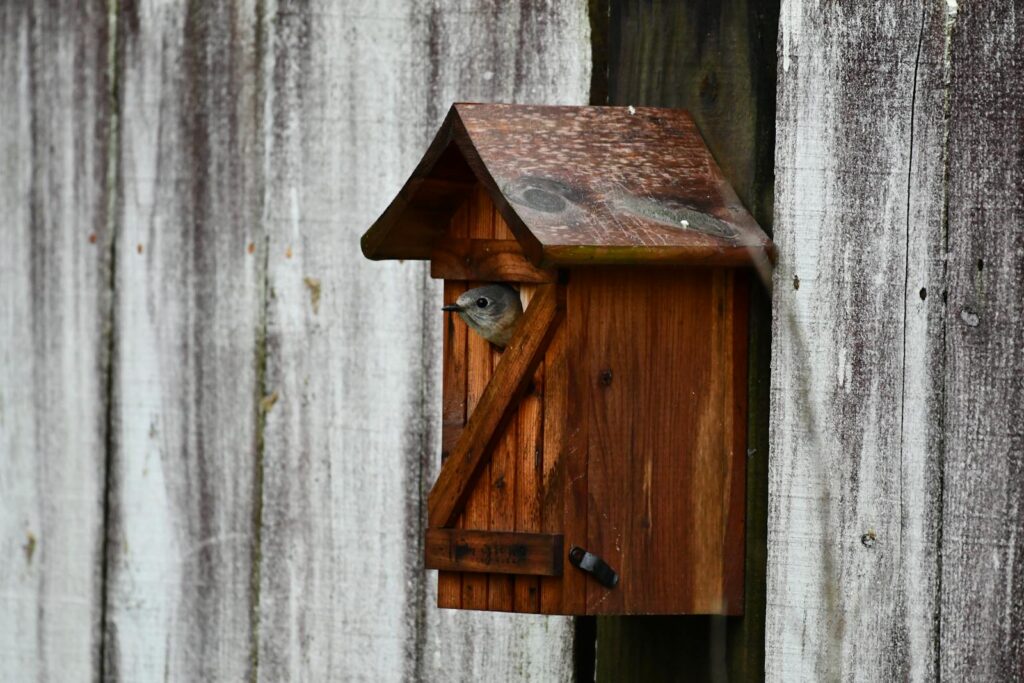
The effectiveness of your shelter largely depends on its placement, as location significantly impacts both usage and protection levels. Position your shelter at least five feet above ground to deter predators, with the entrance facing away from prevailing winds (typically southeast in North America) to prevent rain and snow from blowing inside. Ensure the shelter is placed near natural windbreaks like shrubs, trees, or structures that can buffer strong gusts while still allowing birds clear flight paths for quick entry and exit. Proximity to existing food sources such as bird feeders or natural food-bearing plants can increase the likelihood of birds discovering and utilizing your shelter during harsh conditions. Finally, consider placing multiple smaller shelters in different microhabitats around your property rather than one large shelter, as this accommodates different species’ preferences and provides backup options if one location becomes compromised.
Essential Materials for Weather-Resistant Bird Shelters
Selecting appropriate materials ensures your shelter will withstand the elements while providing proper insulation and ventilation for its avian occupants. Untreated cedar, pine, or exterior-grade plywood (at least ¾ inch thick) offers excellent weather resistance without exposing birds to harmful chemicals present in pressure-treated lumber. For fasteners, choose exterior-grade screws rather than nails, as they provide superior holding power during high winds and won’t work loose with temperature fluctuations. Add natural insulation materials like dried grass, pine needles, or clean straw rather than synthetic options that might contain harmful chemicals or retain excessive moisture. If waterproofing is necessary, opt for water-based exterior paint or natural linseed oil rather than chemical sealants, applying only to exterior surfaces and allowing thorough drying before installation. For areas with extreme precipitation, consider adding a small metal roof overhang to direct water away from the entrance.
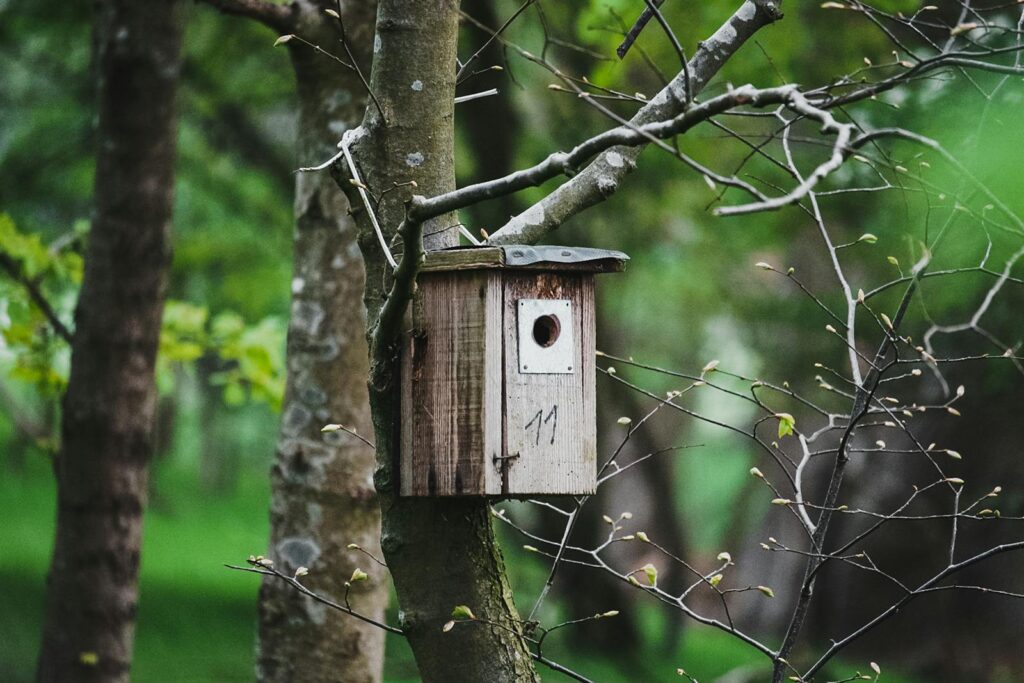
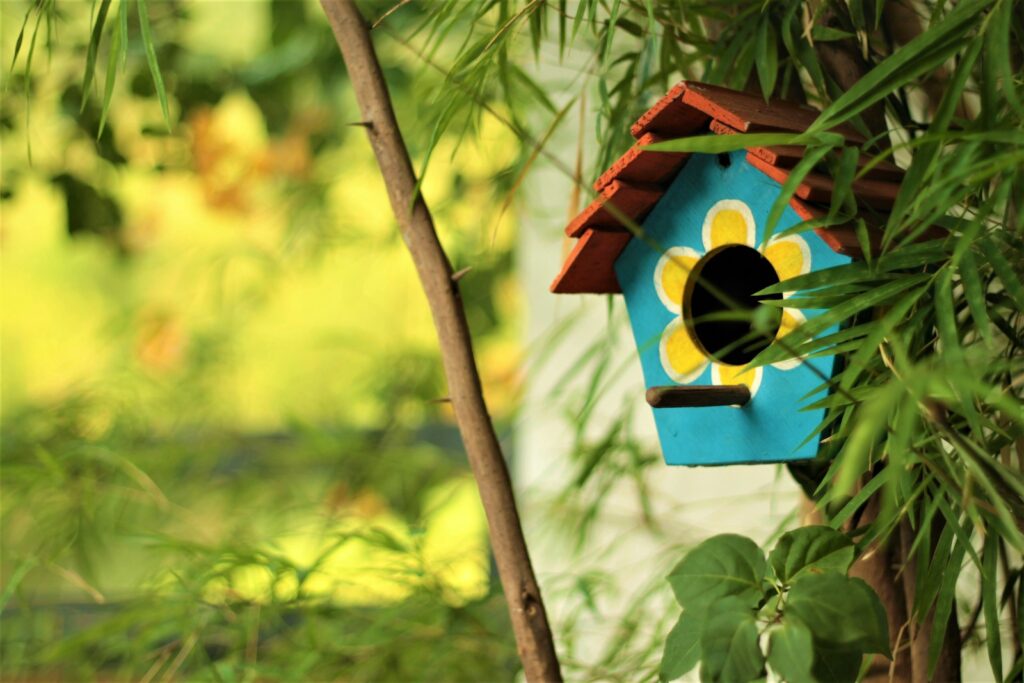
Basic Box Shelter Design for Beginners
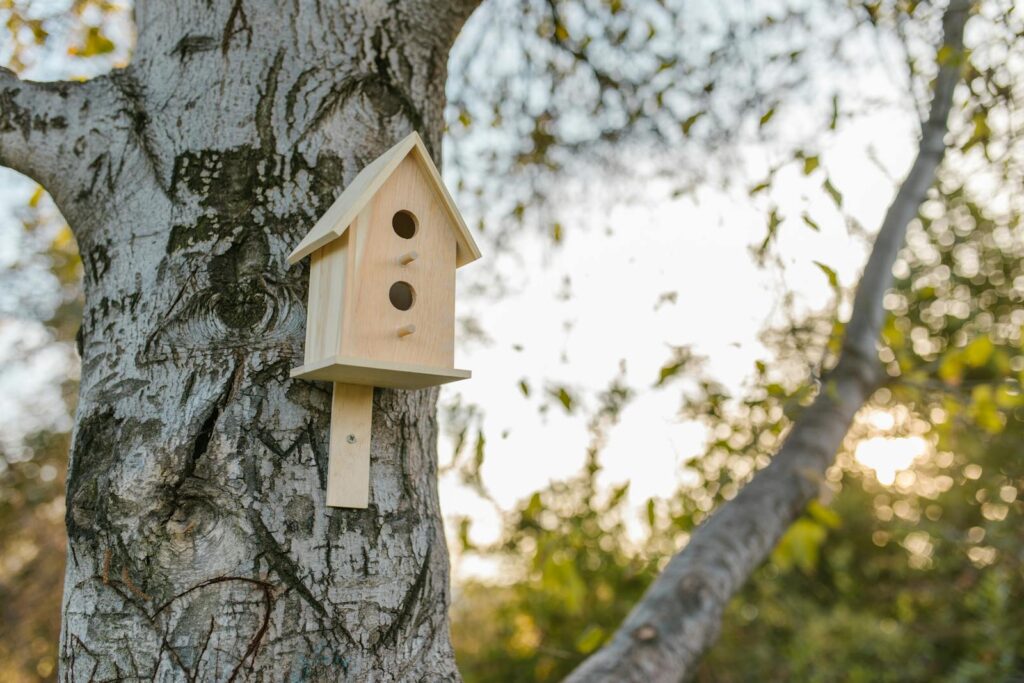
The simplest effective bird shelter design resembles a traditional birdhouse but with specific modifications for weather protection. Start with a rectangular box approximately 8 inches wide, 8 inches deep, and 12 inches tall, using ¾-inch wood for durability. Create a sloped roof with a 15-20 degree angle to facilitate water runoff, extending it 2-3 inches beyond the front to shield the entrance from driving rain or snow. Position the entrance hole 2-3 inches below the roof line, sizing it between 1.5-2 inches in diameter to accommodate most small to medium songbirds while excluding larger predators. Unlike nesting boxes, weather shelters benefit from a slightly larger entrance to facilitate quick entry during sudden weather changes. Add at least four ¼-inch drainage holes in the floor and several small ventilation holes near the top of the sides to prevent condensation buildup, which can be deadly in freezing temperatures.
Advanced Roosting Pocket Designs for Winter Protection
Roosting pockets offer excellent cold-weather protection, particularly for smaller birds that benefit from their globe-shaped design that conserves body heat. These shelters can be constructed using natural materials like grapevine, woven grasses, or small flexible branches formed into a tight ball approximately 6-8 inches in diameter with a 2-inch entrance hole. The dense construction creates multiple insulating air pockets that trap heat while still allowing necessary ventilation. For added durability, create a wire frame using chicken wire or hardware cloth formed into a sphere, then weave natural materials through and around it, ensuring the interior remains free of sharp wire ends. Position these roosting pockets in clusters in sheltered locations, as many small birds will roost together for communal warmth during extremely cold weather. Unlike rigid box shelters, these flexible designs move slightly in the wind, making them particularly attractive to species like chickadees, finches, and wrens that naturally seek dense vegetation for winter protection.
Creating Multi-Chamber Community Shelters
For locations experiencing prolonged harsh weather, multi-chamber shelters can accommodate more birds while providing enhanced insulation through shared body heat. Design these larger shelters with 3-5 separate compartments divided by interior walls, each with its own entrance hole positioned at different heights and facing different directions to reduce competition and accommodate various species’ preferences. Construct the shelter approximately 24 inches wide, 12 inches deep and 18 inches tall, with compartments roughly 6-8 inches wide each. Include interior perches in each chamber positioned away from entrance holes to allow birds to roost without being exposed to drafts. Add thicker insulation between the outer walls and roof by creating a double-wall system with a half-inch gap filled with natural insulating materials like cork, dried moss, or wood shavings. These community shelters are particularly valuable during ice storms or blizzards when birds may need to shelter in place for extended periods, though they require more materials and construction skill than simpler designs.
Incorporating Natural Brush Piles as Supplementary Shelter
Natural brush piles offer excellent complementary protection to constructed shelters and can be created with minimal cost using yard trimmings and fallen branches. Begin by laying several logs or thick branches parallel to each other as a foundation, creating elevated gaps that allow birds to quickly retreat underneath if threatened. Layer progressively smaller branches in a crisscross pattern above this base, creating a structure approximately 4-5 feet across and 3 feet high, with multiple entry points of various sizes throughout. Intersperse the pile with evergreen boughs, which provide additional wind protection and maintain their coverage through winter months when deciduous branches are bare. Position these brush piles near food sources but away from bird feeders to prevent attracting predators to feeding areas, ideally placing them against existing windbreaks like fences or hedges. These natural shelters are particularly attractive to ground-feeding birds like juncos, sparrows, and towhees that prefer protection close to the ground.
Adapting Shelters for Extreme Heat Protection
While many bird shelter discussions focus on cold weather, extreme heat can be equally dangerous for birds, requiring specific design adaptations. Construct heat-resistant shelters using reflective materials like light-colored wood or add a reflective white roof surface to minimize heat absorption during intense sunlight. Maximize ventilation by increasing the number and size of ventilation holes, potentially adding mesh-covered openings along the upper sides to create cross-ventilation without exposing birds to predators. Position these summer shelters in naturally shaded locations that receive morning sun but afternoon shade, particularly beneath deciduous trees that provide cooling leaf coverage during the hottest months. Consider adding external shade features like extended roof overhangs or attached brush that create microclimate cooling effects through evapotranspiration. For regions with extreme summer temperatures, create specialized cooling shelters by attaching a small, shallow water reservoir to the roof that enables evaporative cooling of the structure below without wetting the interior.
Essential Maintenance Practices for Bird Shelters
Regular maintenance ensures your bird shelters remain safe and functional throughout changing weather conditions. Conduct monthly exterior inspections during the harsh weather season, checking for loose joints, water infiltration, or damage from falling branches or other debris. After severe weather events, perform immediate checks for structural stability and clear any blocked entrance holes or ventilation openings that might have accumulated ice, snow, or debris. Replace natural insulation materials at least once per year, ideally before winter or rainy seasons begin, as these materials can compress or develop mold over time. Clean shelters thoroughly between seasons using a mild solution of one part bleach to nine parts water, allowing them to dry completely before adding fresh insulation material. Monitor for signs of unwanted occupants like wasps or invasive bird species, addressing these issues promptly to maintain the shelter’s availability for native birds during critical weather events.
Specialized Adaptations for Regional Weather Challenges

Different regions require specific shelter adaptations to address their particular weather challenges. In northern regions with heavy snowfall, increase roof pitch to 25-30 degrees and extend roof overhangs to 3-4 inches to prevent snow accumulation from blocking entrances. For coastal areas prone to hurricanes or strong storms, reinforce shelters with additional screws at joints and secure them to permanent structures using hurricane straps or heavy-duty mounting brackets. In desert regions with extreme temperature fluctuations, create thicker-walled shelters using double-wall construction with an insulating air gap or natural insulation like dried cactus fiber between walls. Residents of rainy Pacific Northwest areas should incorporate small awnings above entrance holes and drill additional drainage holes to prevent internal moisture accumulation. For humid southeastern states, prioritize ventilation with additional mesh-covered openings and use naturally rot-resistant woods like cedar or cypress that can withstand prolonged moisture exposure without deteriorating.
Enhancing Shelter Effectiveness with Landscaping
Strategic landscaping around your bird shelters significantly enhances their effectiveness and attractiveness to local bird populations. Plant dense evergreen shrubs like juniper or holly within 10-15 feet of shelters to create natural windbreaks that reduce wind chill and provide additional protection during severe weather events. Incorporate native berry-producing plants such as dogwood, elderberry, or viburnum nearby to provide emergency food sources when normal foraging is impeded by ice, snow, or flooding. Create varying vegetation heights around shelters to accommodate different species’ comfort levels, with some preferring direct flights to elevated entrances while others prefer hopping up through graduated plant heights. Leave patches of unmowed areas with native grasses and wildflowers to provide natural nesting materials and additional food sources through seed production. This integrated shelter-and-landscape approach creates a more complete habitat system that supports birds through multiple challenges rather than addressing only immediate weather protection.
Monitoring and Improving Your Shelter Design
Systematic observation helps refine your shelter designs to better serve local bird populations during harsh weather. Set up a simple monitoring schedule during extreme weather events, observing from a distance with binoculars to identify which species use the shelters and how they interact with different design features. Keep notes on specific behaviors like hesitation at entrances, difficulty with perch placement, or competition between species, using these observations to inform future improvements. Consider installing a wildlife camera positioned to capture shelter usage without disturbing the birds, providing valuable insights into nighttime or severe weather usage patterns when direct observation is difficult. Experiment with different entrance hole sizes, shelter heights, and materials in different locations around your property, treating your shelter project as an evolving experiment rather than a one-time construction effort. Share your observations and design improvements with local bird conservation groups or online communities, contributing to collective knowledge about effective bird protection strategies.
Community Approaches to Bird Shelter Projects
Expanding your individual shelter efforts into community projects multiplies their impact while creating valuable educational opportunities. Organize neighborhood build days where families can construct multiple shelters together using shared tools and bulk materials, reducing per-shelter costs while creating deeper community engagement with local bird conservation. Partner with schools to incorporate shelter building into science curriculum, teaching students about bird adaptations, weather patterns, and habitat conservation through hands-on construction projects. Approach local parks departments about installing community-built shelters in public green spaces, potentially incorporating educational signage about the importance of wildlife protection during extreme weather events. Create a neighborhood shelter map documenting various designs and locations, allowing residents to coordinate placement for maximum coverage during severe weather while avoiding unprotected gaps in available shelter. These community approaches not only increase the number of available shelters but also build broader awareness about the challenges birds face during increasingly unpredictable and severe weather conditions.
Creating DIY bird shelters represents a tangible way to support local wildlife through increasingly unpredictable weather patterns. By understanding birds’ specific needs during harsh conditions and implementing thoughtful designs with appropriate materials, you can provide crucial protection that helps maintain healthy bird populations in your area. The most effective approach combines purpose-built shelters with supportive natural elements like brush piles and strategic landscaping, creating a comprehensive safety network for birds during their most vulnerable times. Whether you’re constructing a simple box shelter, weaving roosting pockets, or organizing community-wide shelter initiatives, your efforts make a meaningful difference in birds’ ability to withstand environmental challenges. As weather patterns become increasingly volatile due to climate change, these small acts of conservation grow increasingly important, allowing us to remain responsible stewards of the natural world that surrounds and sustains us.