
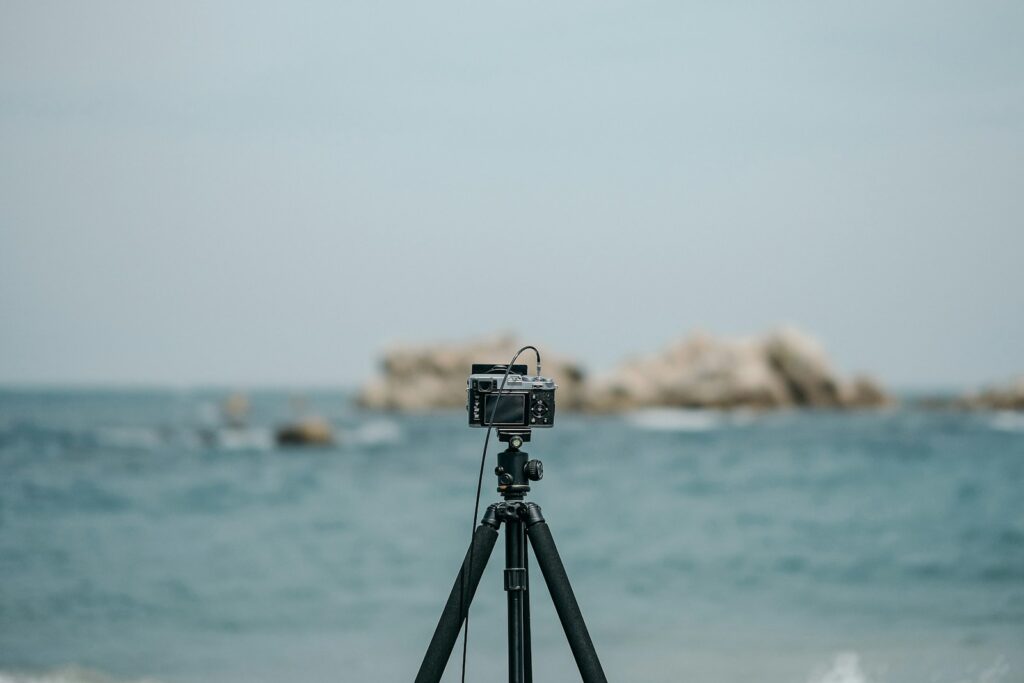
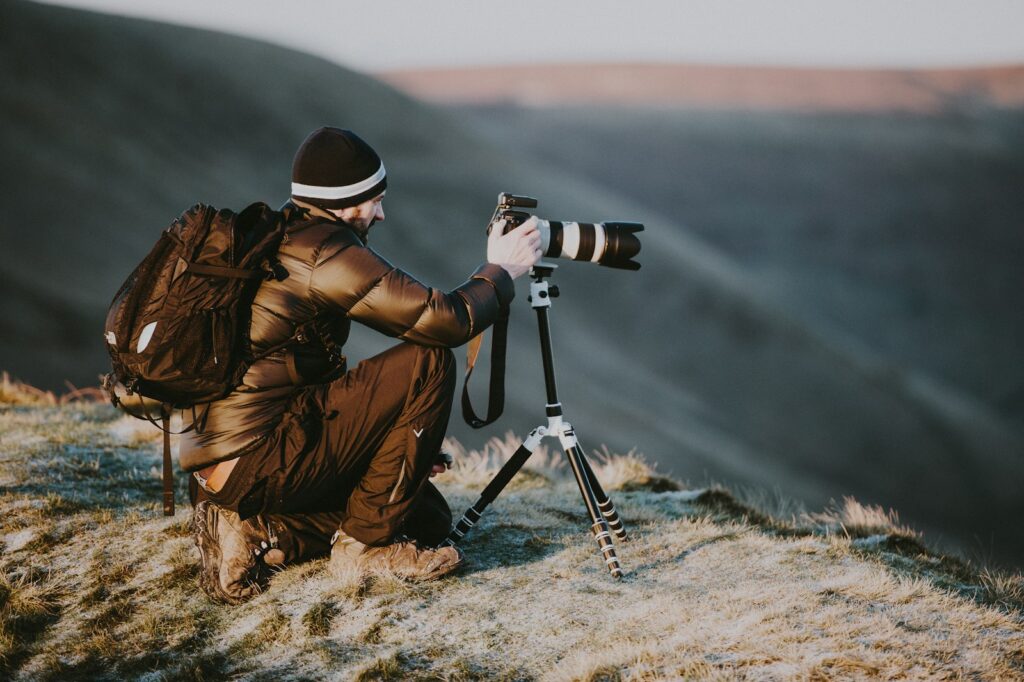
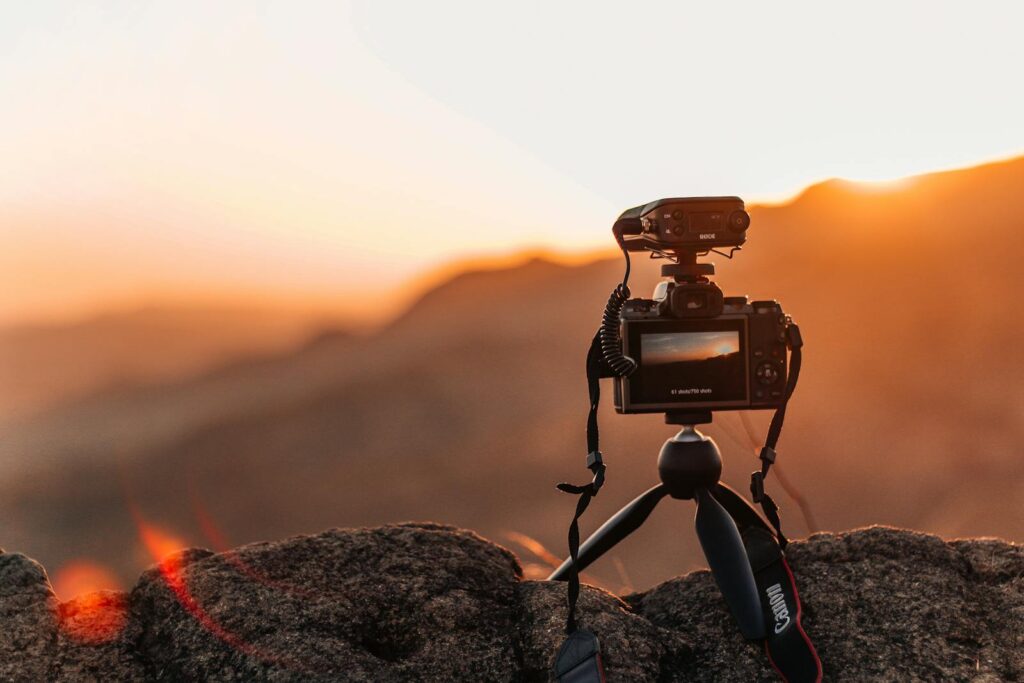
Finding the perfect tripod for bird photography can transform your outdoor shooting experience from frustrating to fulfilling. Birds are notoriously challenging subjects—they move quickly, often appear at a distance, and rarely pose on command. A quality tripod provides the stability needed for sharp images when using heavy telephoto lenses, especially in challenging lighting conditions. But with countless options available, choosing the right one demands careful consideration of your specific needs as a bird photographer. This guide will walk you through the essential factors to consider when selecting a tripod that will help you capture those magnificent avian moments.
Understanding Why Tripods Matter for Bird Photography
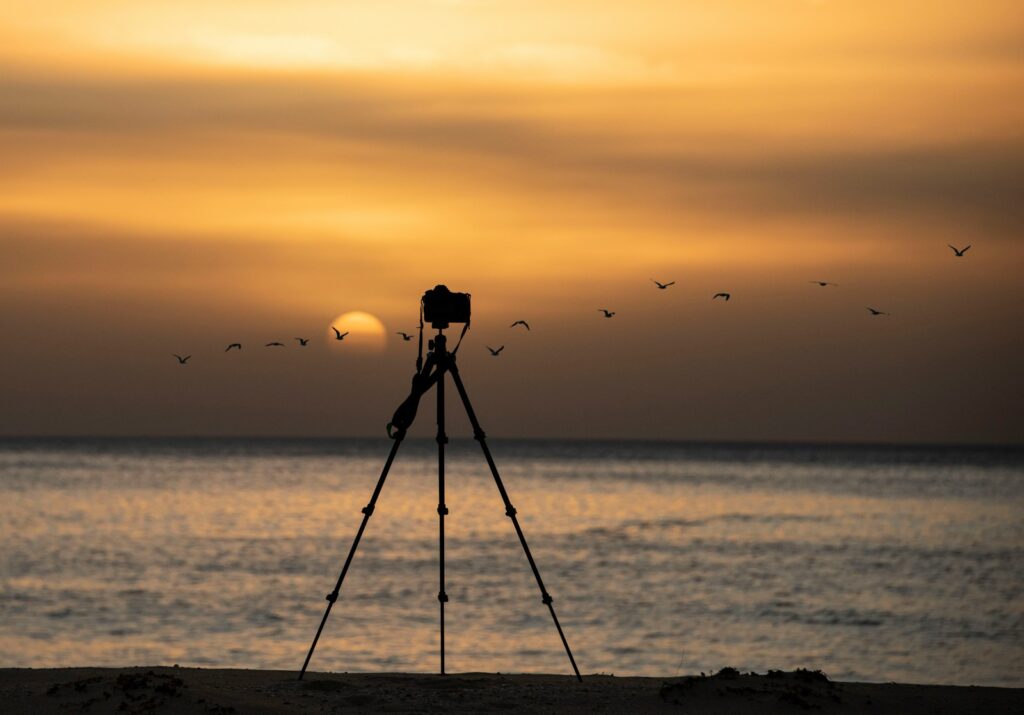
Bird photography presents unique challenges that make tripods essential equipment rather than optional accessories. When photographing birds, you’ll typically use telephoto lenses (often 300mm or longer), which magnify even the slightest camera movement, potentially resulting in blurry images. These lenses are also considerably heavier than standard lenses, causing photographer fatigue when hand-holding for extended periods. Additionally, many bird photography opportunities occur during early morning or evening hours when light is limited, requiring slower shutter speeds that are nearly impossible to hold steady without support. A tripod also allows you to maintain your composition when waiting for the perfect moment, which is particularly valuable when photographing birds at nests or feeders, where patience is required.
Weight vs. Stability: Finding the Right Balance

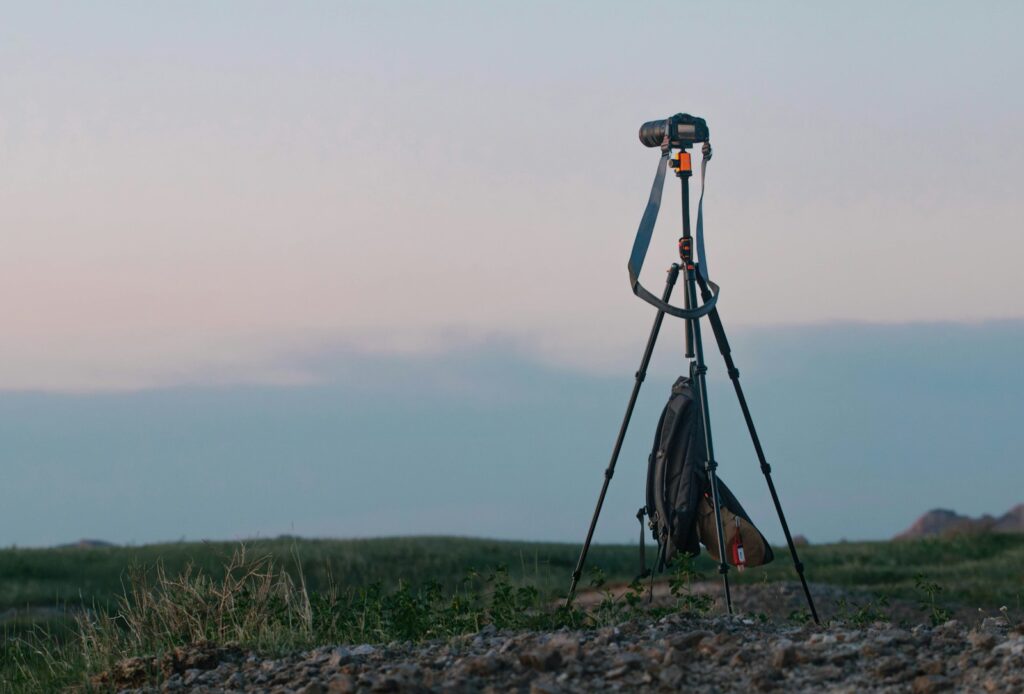
The relationship between tripod weight and stability represents one of the most important tradeoffs in tripod selection for bird photographers. Heavier tripods naturally provide more stability, reducing vibration and maintaining steadiness even with substantial lenses attached. However, as a bird photographer, you’ll likely be hiking to remote locations, navigating uneven terrain, and potentially traveling considerable distances with your equipment. A tripod that’s too heavy will quickly become burdensome, potentially causing you to leave it behind on future outings. Carbon fiber tripods strike an excellent balance for most birders, offering significant stability while weighing 30-40% less than their aluminum counterparts. When evaluating tripods, consider your physical capabilities, typical hiking distances, and the weight of your camera/lens combination to determine an acceptable tripod weight you’ll use consistently.
Maximum Height Considerations
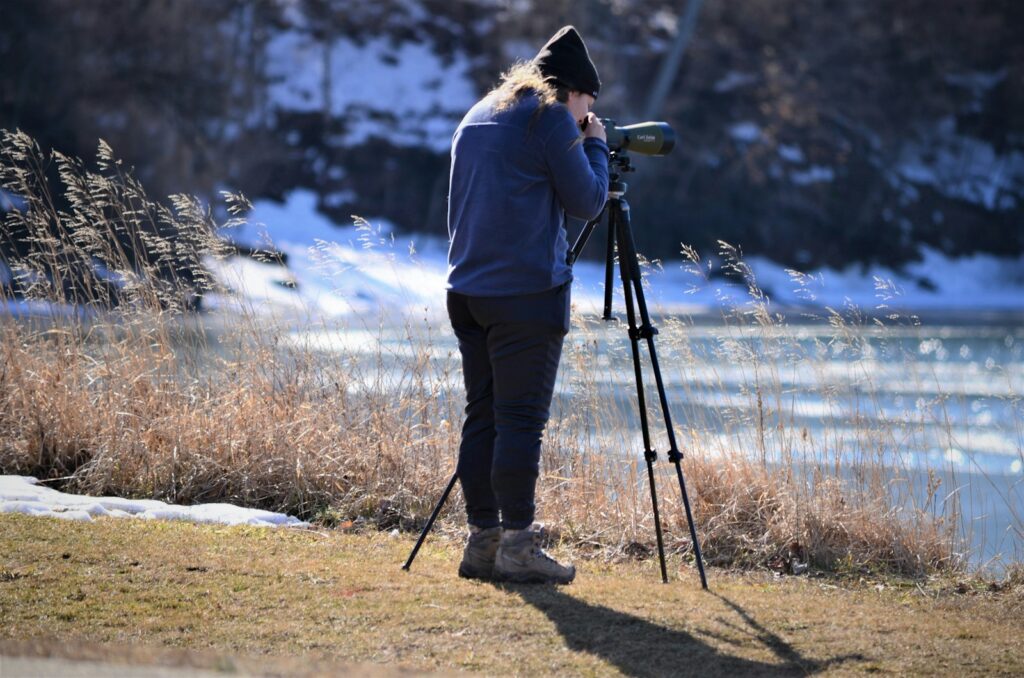
The maximum extended height of a tripod significantly impacts both comfort and practical shooting considerations for bird photography. When photographing birds, particularly those in trees or flight, you’ll frequently need to point your camera upward, making a tripod that extends to at least eye level essential for comfortable shooting without stooping or craning your neck for extended periods. Remember to account for the additional height added by your tripod head and camera when determining if a tripod reaches your eye level. Some scenarios might require even greater height, such as shooting over tall vegetation or from elevated positions on hillsides. While taller tripods tend to be heavier and more expensive, the ergonomic benefits often justify these tradeoffs for serious bird photographers who spend hours in the field. Consider your height and typical shooting scenarios when determining your minimum height requirements.
Folded Length and Portability
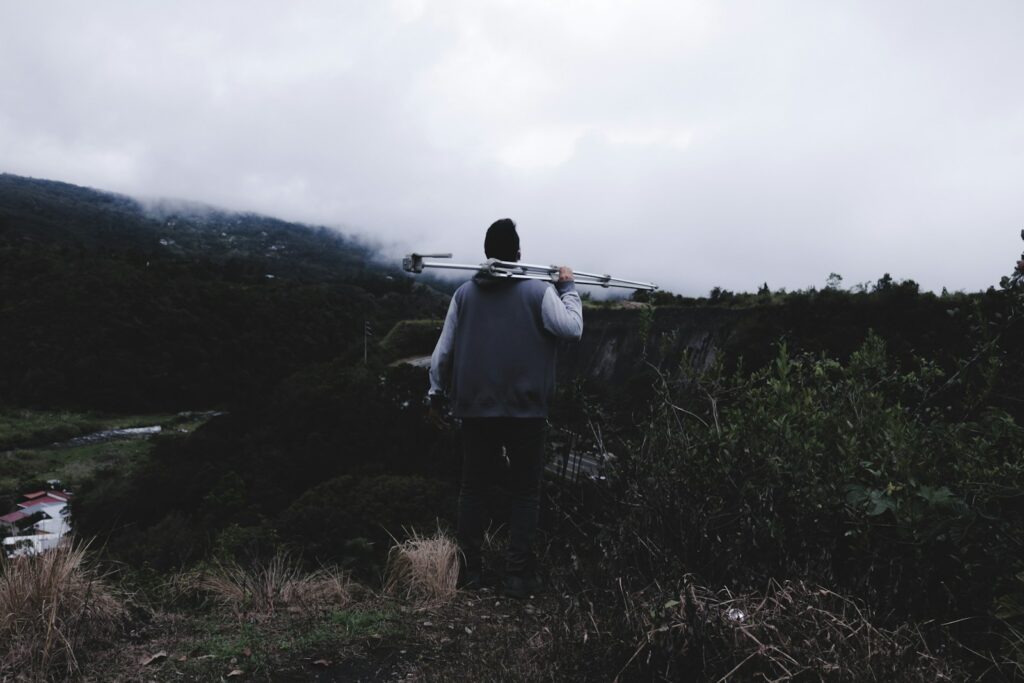
The collapsed length of a tripod directly impacts its portability and convenience for bird photography outings. Bird photographers often travel to diverse locations, whether driving to different habitats or flying to international destinations. A tripod that packs down small enough to fit inside luggage or attach to a backpack provides tremendous versatility. Many modern tripods feature reverse-folding legs that wrap around the center column, reducing packed length by up to 25% compared to traditional designs. Travel tripods specifically focus on minimizing folded length, though they sometimes sacrifice other features or stability to achieve this compactness. When evaluating this dimension, consider your typical transportation methods, whether you’ll need to fit the tripod inside luggage, and how you’ll carry it during hiking. Finding the right balance between a compact folded size and the stability/height you need represents a key decision point for birding tripods.
Load Capacity Requirements

The maximum load capacity of a tripod must exceed the combined weight of your camera body, telephoto lens, and tripod head with a safety margin to ensure stability. Bird photography typically involves substantial telephoto lenses that can weigh several pounds, creating significant strain on tripod components. Manufacturers list load capacities for their tripods, but it’s wise to stay well below the maximum rating for optimal performance, ideally using only 60-75% of the stated capacity. When calculating your equipment weight, remember to include your heaviest lens, camera body, battery grip if applicable, and the tripod head itself. Additionally, consider future gear upgrades you might make—purchasing a tripod that accommodates heavier equipment than you currently own provides flexibility as your kit expands. For most bird photography setups with DSLRs or mirrorless cameras and telephoto lenses, look for tripods with load capacities of at least 15-20 pounds.
Leg Lock Mechanisms: Twist vs. Flip
Tripod leg locks come in two primary designs—twist locks and flip locks—each offering distinct advantages for bird photographers operating in varied field conditions. Twist locks provide a streamlined profile less likely to catch on clothing or vegetation while moving through dense habitat, and they allow for quick single-handed operation when properly designed. Flip locks (also called lever locks) offer visual confirmation that they’re secured and can be easier to operate while wearing gloves in cold weather, an important consideration for winter bird photography. The quality of implementation matters more than the lock type itself, with high-end versions of both mechanisms performing reliably. When evaluating leg locks, test how quickly you can deploy and collapse the tripod, whether they maintain their tension over time, and how they perform when exposed to sand, mud, or moisture—common elements in bird habitats. Many bird photographers develop strong preferences based on their field experience with different systems.
Material Considerations: Carbon Fiber vs. Aluminum
Tripod material significantly impacts weight, stability, durability, and comfort during field use in various bird photography environments. Carbon fiber has become the preferred material for serious bird photographers due to its exceptional strength-to-weight ratio, offering significant weight savings (typically 30-40%) compared to aluminum alternatives with similar stability characteristics. Beyond weight advantages, carbon fiber better dampens vibrations that can affect image sharpness when using long telephoto lenses, and it doesn’t conduct cold like metal—a meaningful benefit when shooting in winter conditions without gloves. Aluminum tripods remain viable options for photographers on tighter budgets, offering good reliability at lower price points, though they typically weigh more and transmit vibrations longer. Some manufacturers also use basalt fiber or specialized metal alloys that offer performance between traditional aluminum and carbon fiber. For frequent bird photographers who carry their equipment for extended periods, the investment in carbon fiber typically proves worthwhile despite the higher initial cost.
Center Column Considerations
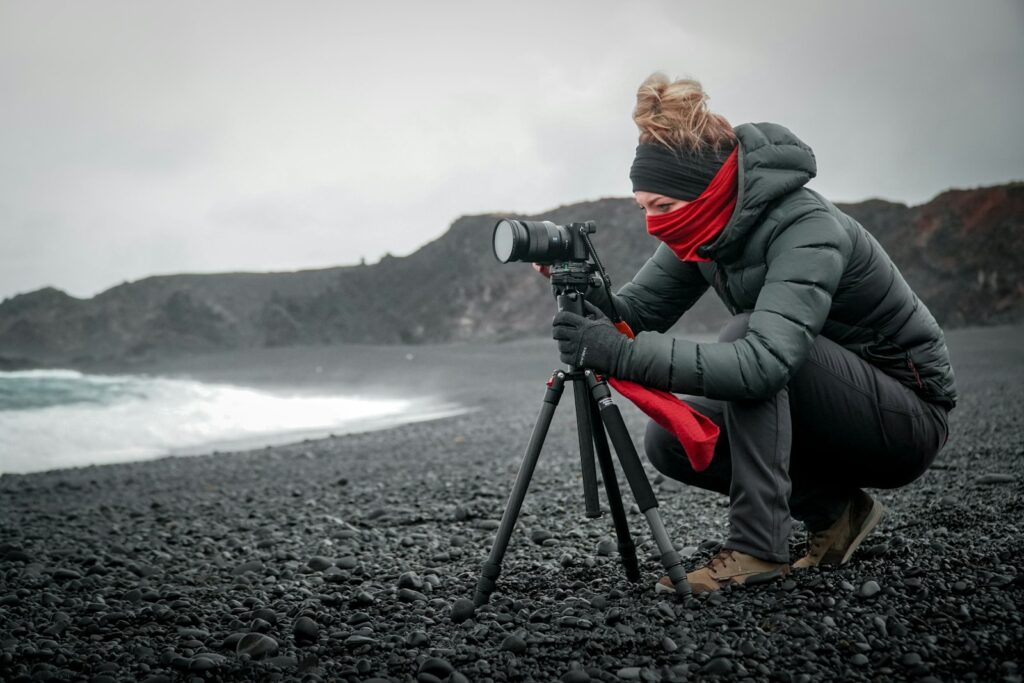
The center column design significantly influences a tripod’s versatility and maximum stability for bird photography applications. While extending a center column increases maximum height, it introduces potential vibration and reduces stability—particularly problematic when using heavy telephoto lenses for birds. Many experienced bird photographers prefer tripods with removable center columns or dual-section columns that can be shortened or removed entirely when maximum stability takes priority over height. Some specialized tripods feature lateral center columns that can be positioned horizontally, enabling low-angle or ground-level shooting for shore birds or ground-dwelling species. When evaluating center columns, check whether the tripod reaches adequate height without extending the column, which provides the most stable configuration. If considering a model with a non-removable column, ensure it includes a hook at the bottom for hanging a stabilizing weight like a camera bag, which can significantly improve stability in windy conditions common in open bird habitats.
Minimum Height Capabilities
The minimum shooting height of a tripod determines your ability to photograph ground-dwelling birds, wading species, or create unique low-angle perspectives that make your bird images stand out. Many bird photographers overlook this specification, focusing primarily on maximum height, but versatile shooting positions enhance creative opportunities in the field. Tripods with independently adjustable leg angles allow you to position the legs at wider angles, significantly reducing the minimum height. Some models feature legs that can spread nearly flat, enabling ground-level shooting without special accessories. When evaluating minimum height capabilities, check whether the center column must be removed to achieve the stated minimum height, and how stable the tripod remains in its lowest configuration. For photographers who frequently target shorebirds, ground-feeding species, or enjoy creating dramatic perspectives, prioritizing a tripod with excellent low-height capabilities provides significant creative advantages in the field.
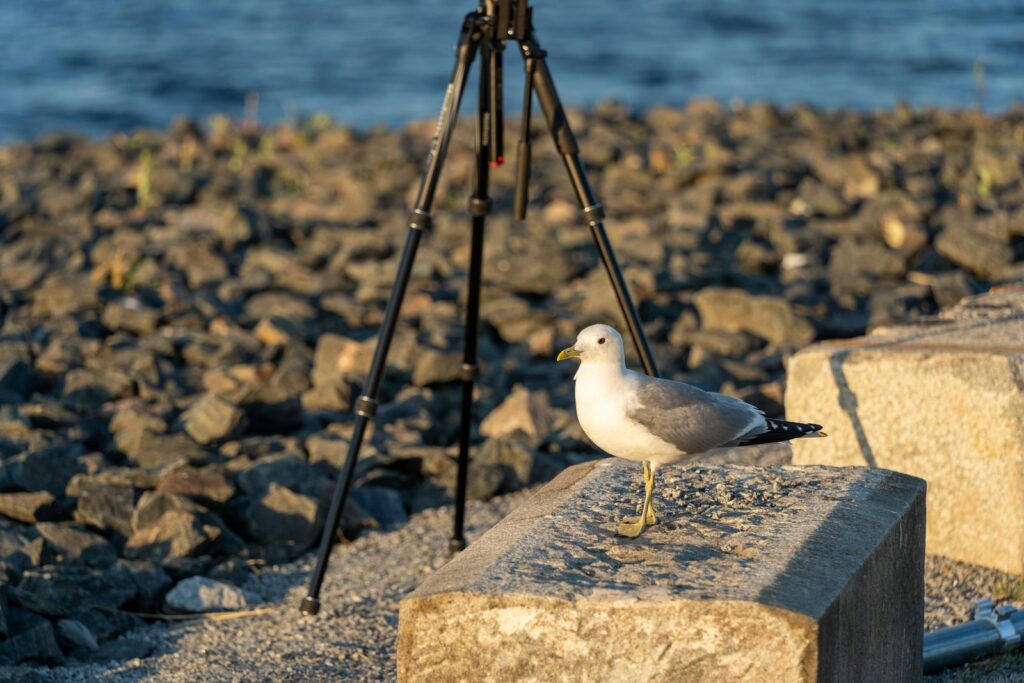
Feet and Terrain Adaptability

The feet of your tripod significantly impact its stability and usability across the diverse environments where bird photography occurs. Most tripods come with rubber feet suitable for general use on flat surfaces, but bird photography often requires setting up on muddy shores, sandy beaches, or uneven forest floors. Look for tripods with interchangeable feet that allow you to swap rubber feet for metal spikes when working on soft ground, providing significantly improved stability. Some advanced models include retractable spikes that can be deployed without changing components. When photographing water birds from shorelines, wide platform feet that prevent sinking into mud or sand can be invaluable. Additionally, consider whether the tripod allows for independent leg angle adjustments, which proves essential when positioning on uneven ground like hillsides or rocky outcrops. The ability to adapt to various terrains expands your opportunities to follow birds into their natural habitats rather than being limited to convenient viewing areas.
Tripod Head Selection for Bird Photography

Selecting the appropriate tripod head is equally important as choosing the legs and represents a critical component of your bird photography support system. Gimbal heads have become the gold standard for serious bird photographers, offering perfectly balanced support for heavy telephoto lenses while enabling smooth tracking of birds in flight. These specialized heads allow the lens to rotate around its center of gravity, providing fluid movement with minimal effort when following fast-moving subjects. Ball heads, while more compact and versatile for general photography, typically lack the precision movement and balance required for sustained use with heavy telephoto lenses. Pan-tilt heads offer precise control over individual axes but generally lack the speed needed for tracking unpredictable bird movements. When selecting a head, ensure its load capacity comfortably exceeds your heaviest camera/lens combination, check that the mounting plate is compatible with your lens foot (Arca-Swiss style plates have become standard), and test the controls to confirm they operate smoothly under load.
Weather Resistance and Durability
Bird photography frequently occurs in challenging environmental conditions that test equipment durability, making weather resistance a crucial consideration when selecting a tripod. Bird activity often peaks during early morning hours when dew covers vegetation, around water bodies where splashing occurs, or during light rain when many birds remain active. Quality tripods feature sealed leg locks that prevent moisture, sand, and dust from compromising internal mechanisms, along with anodized surfaces or special coatings that resist corrosion in humid or saltwater environments. Evaluate how easily the tripod can be disassembled for cleaning after exposure to sand or mud, which is inevitable when photographing shorebirds. Manufacturers rarely provide specific weather-resistance ratings for tripods, so reading user reviews from bird photographers who operate in similar environments provides valuable insight. Investing in a tripod with robust weather sealing and corrosion-resistant materials typically pays dividends through extended service life, even if it demands a higher initial investment.
Budget Considerations and Value Assessment
Establishing a realistic budget requires balancing immediate financial constraints against the long-term value a quality tripod provides for bird photography. Unlike cameras and lenses that may be replaced as technology advances, a well-made tripod often serves photographers for decades, making it reasonable to view this purchase as a long-term investment. Entry-level tripods suitable for bird photography typically start around $200-300 (including head), mid-range options range from $400-700, while professional-grade systems with specialized heads can exceed $1,000. When assessing value, consider the warranty period (better brands often offer 5-10 year guarantees), availability of replacement parts, and the manufacturer’s repair policies. Many photographers who attempt to save money initially end up purchasing multiple inadequate tripods before eventually investing in the quality option they should have bought originally—a phenomenon so common it’s known as “tripod progression disease” among photographers. If budget constraints are severe, consider purchasing a quality used tripod from a reputable brand rather than compromising with a new but inferior model.
Additional Features and Accessories
Several supplementary features and accessories can significantly enhance the functionality of your tripod for bird photography in the field. A built-in bubble level helps ensure straight horizons when composing landscape shots that include birds or when photographing water birds on lakes. Quick-release plates compatible with your specific camera or lens foot enable rapid transitions between tripod-mounted and hand-held shooting when unexpected opportunities arise. Tripod leg warmers or wraps provide comfort when carrying the tripod on your shoulder during cold weather and protect the legs from damage during transport. Some tripods offer accessory mounts on the legs or center column for attaching items like battery packs, small reflectors, or smartphone holders for referencing field guides. A quality carrying case or padded strap designed specifically for your tripod model protects it during travel and convenient transport during shorter movements between shooting locations. When comparing similarly priced tripods, these additional features often differentiate models and can significantly improve your field experience.
Conclusion
Selecting the right tripod for bird photography involves balancing multiple factors including stability, weight, height, portability, and specialized features that enhance field usability. While budget considerations are certainly important, remember that a quality tripod represents a long-term investment in your photographic journey. The perfect tripod enables you to fully utilize your camera gear’s capabilities while remaining practical enough to accompany you consistently into the field. By carefully evaluating each aspect discussed in this guide against your specific needs, shooting style, and physical capabilities, you’ll find a tripod that supports not just your camera but your creative vision for capturing the beauty and behavior of birds in their natural environments.