
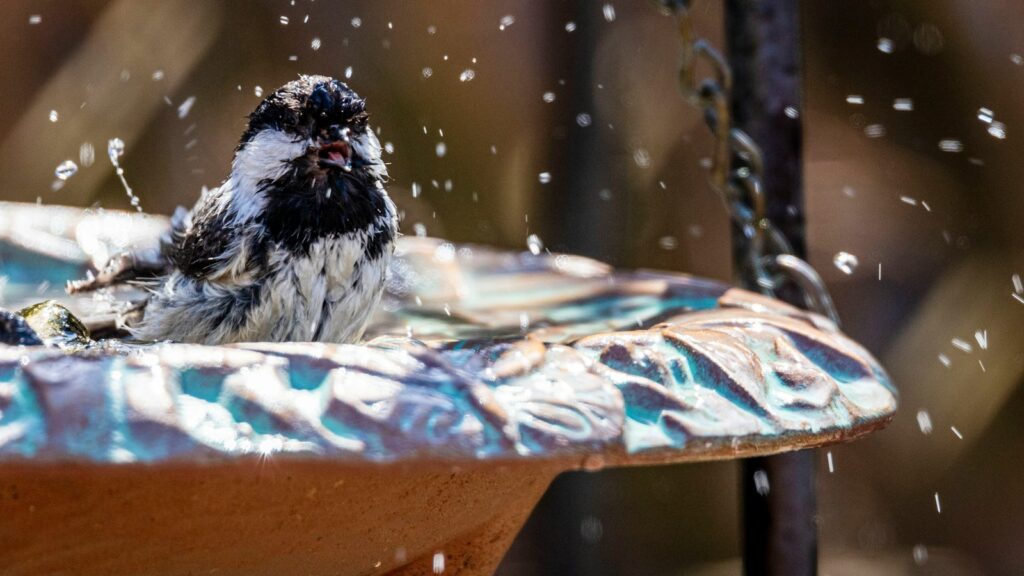
Motion photography can be one of the most challenging yet rewarding aspects of image-making. Whether you’re capturing a sports event, wildlife in action, or simply trying to freeze a fleeting moment, understanding how to photograph movement without unwanted blur is essential. While sometimes blur is an artistic choice, many photographers struggle to achieve the crisp, sharp images of moving subjects they envision. This comprehensive guide will walk you through the techniques, equipment considerations, and practical steps needed to successfully capture motion with exceptional clarity.
Understanding the Science Behind Motion Blur
Motion blur occurs when your camera’s sensor records a subject that changes position during exposure. The longer your shutter remains open, the more opportunity a moving subject has to travel across the frame, resulting in a streaked or blurred appearance. This physical relationship between time and movement is fundamental to photography and cannot be circumvented—only managed. Understanding this principle helps inform all motion photography decisions, from equipment selection to technique. Many photographers mistakenly attribute all blur to camera shake when in fact subject motion is often the culprit. The science of capturing motion involves balancing exposure requirements with the physics of movement, requiring both technical knowledge and practical application.
Mastering Fast Shutter Speeds
The most straightforward technique for freezing motion is using a fast shutter speed. As a general rule, faster-moving subjects require faster shutter speeds—sports and wildlife photography often demand speeds of 1/1000 second or faster. To determine an appropriate starting point, consider both the subject’s speed and its direction relative to your camera. Objects moving perpendicular to your lens (across the frame) appear to move faster than those approaching or receding from your position. Weather conditions and lighting also affect your shutter speed needs; bright conditions make fast shutter speeds easier to achieve while maintaining proper exposure. When photographing people in action, 1/250 second might suffice for walking subjects, while sprinters might require 1/1000 second or faster.
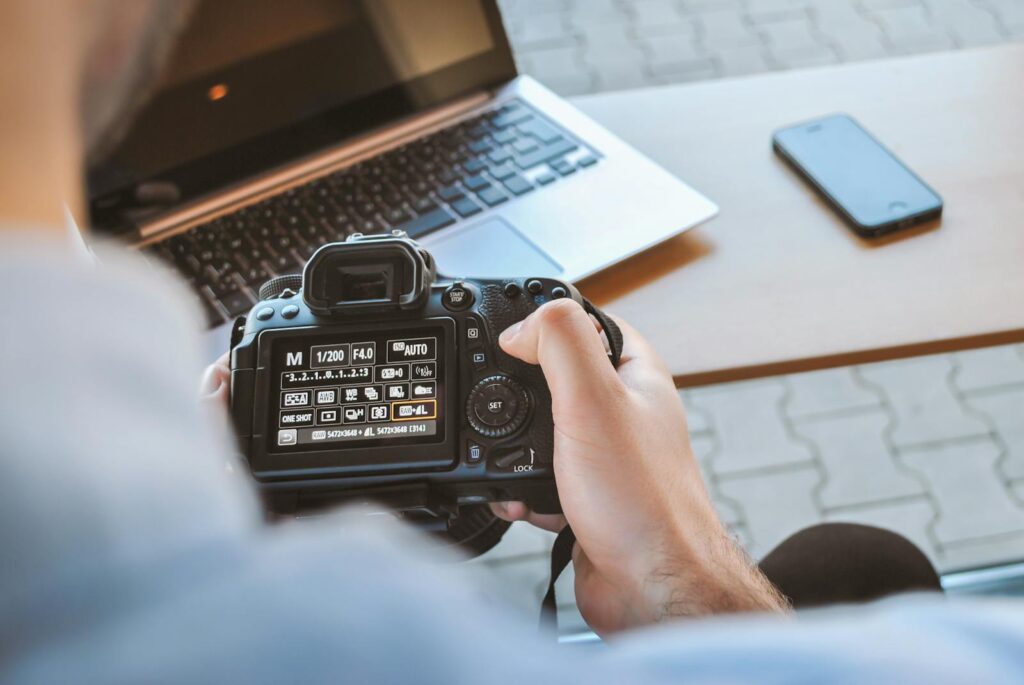
Optimizing Your Camera Settings
Beyond shutter speed, several camera settings can help minimize blur in motion photography. Switching to shutter priority mode (S or Tv on most cameras) allows you to set your desired shutter speed while the camera automatically selects an appropriate aperture. Increasing your ISO sensitivity compensates for fast shutter speeds in challenging lighting conditions, though be mindful of introducing noise at very high ISO values. Many modern cameras offer various burst or continuous shooting modes that capture multiple frames in rapid succession, increasing your chances of getting the perfect moment. Some advanced cameras also feature customizable autofocus settings specifically designed for tracking moving subjects, which can be invaluable for consistently sharp results. Experimenting with these settings before crucial shooting situations will help you determine the optimal configuration for your specific camera model.
Selecting the Right Lens for Motion Photography
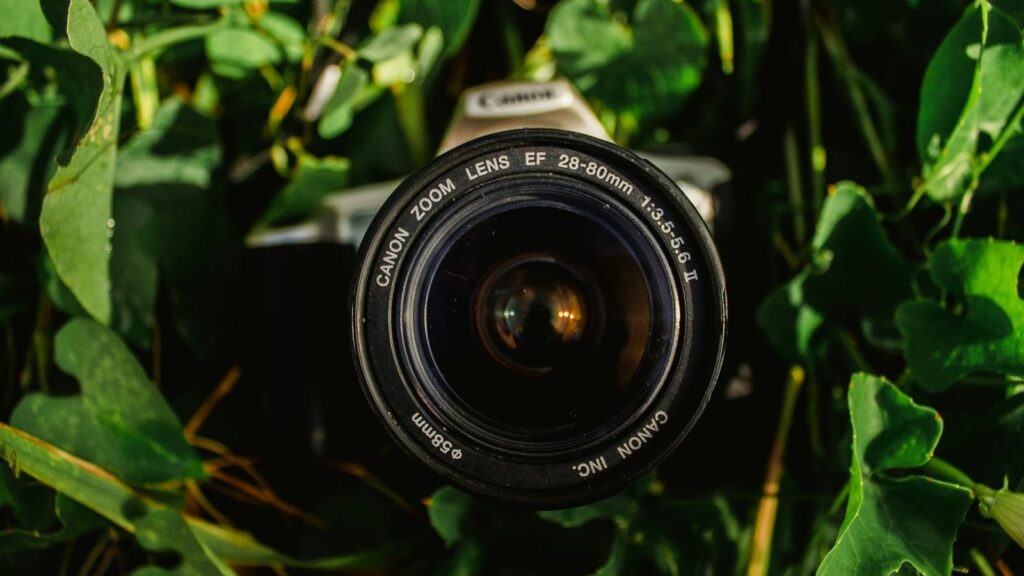
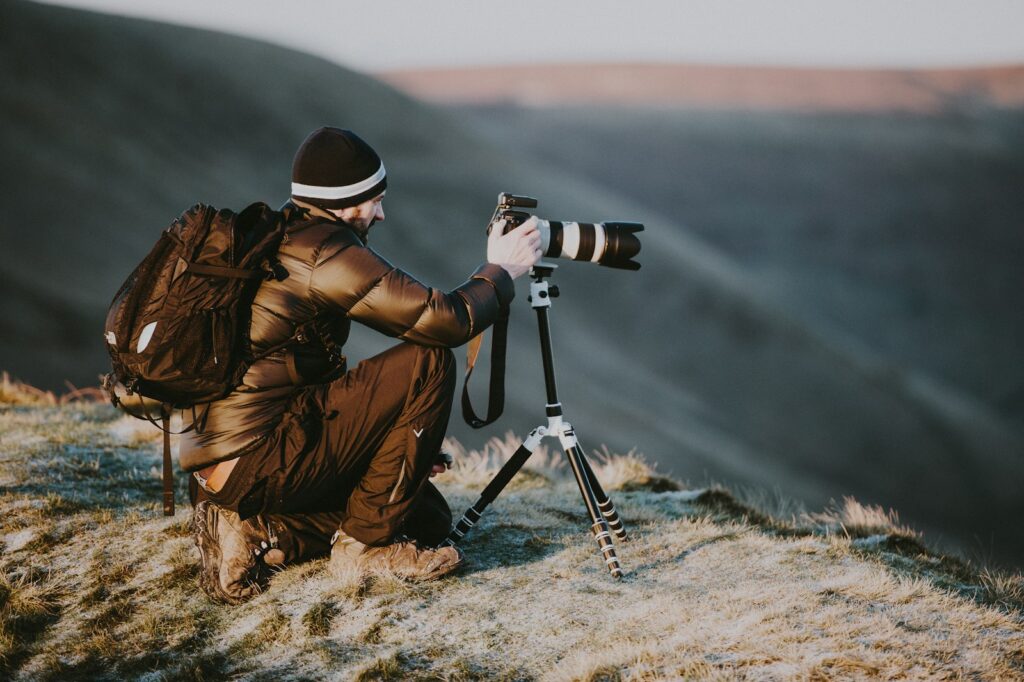
Lens selection significantly impacts your ability to capture sharp motion images. Fast lenses with wide maximum apertures (f/2.8 or wider) allow more light to reach the sensor, enabling faster shutter speeds even in challenging lighting conditions. Telephoto lenses are often preferred for sports and wildlife photography as they provide necessary reach while compressing perspective, though they require more careful handling to prevent camera shake. Image stabilization technology (IS, VR, OSS, etc.) can be beneficial for handholding longer lenses, though it primarily addresses camera movement rather than subject motion. Prime lenses typically offer superior sharpness and light-gathering capabilities compared to zoom lenses, making them excellent choices for motion photography when you can predict your subject’s position. Consider your specific shooting scenarios when investing in lenses for motion photography, as different situations may call for different optical solutions.
Leveraging Panning Techniques

Panning is a sophisticated technique that keeps moving subjects sharp while intentionally blurring the background to convey a sense of speed and movement. The approach involves tracking your subject with your camera while using a moderately slow shutter speed, typically between 1/15 and 1/60 second depending on subject speed. Successful panning requires smooth body movement, pivoting from the hips rather than just moving your arms, and maintaining a consistent tracking speed throughout the exposure. Practice following through with your movement even after the shutter closes to ensure smoothness throughout the capture. The technique works particularly well for subjects moving on predictable paths like vehicles on a racetrack or runners on a straight course. Panning creates a distinctive aesthetic that balances sharpness and blur to create dynamic, engaging images of motion.
Using Flash to Freeze Motion
Flash photography provides a powerful tool for freezing motion through its extremely brief duration of light—often 1/1000 second or faster at lower power settings. This brief burst of illumination effectively stops motion regardless of your camera’s shutter speed setting. Off-camera flash setups offer more creative control and can produce dramatic results when strategically positioned. High-speed sync (HSS) technology allows flash synchronization above your camera’s typical sync speed, enabling flash use with very fast shutter speeds. For subjects at predictable positions, using rear-curtain sync forces the flash to fire at the end of the exposure, creating a sharp final image with motion trails leading to it rather than away from it. When working with flash outdoors or in variable lighting, consider using flash as fill light combined with ambient exposure for natural-looking results with frozen motion.
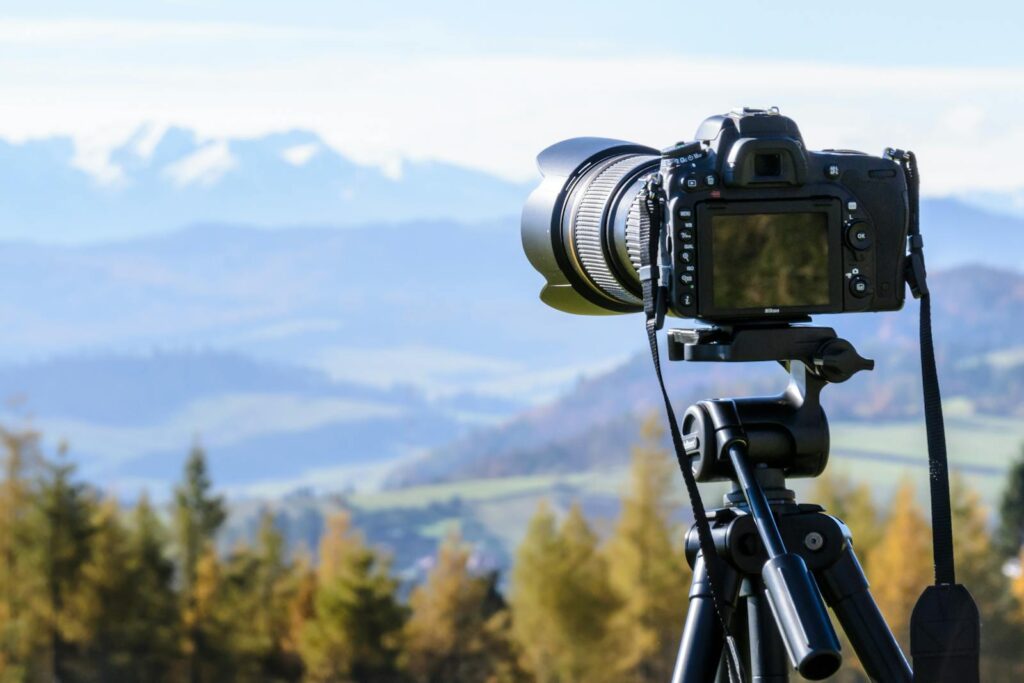
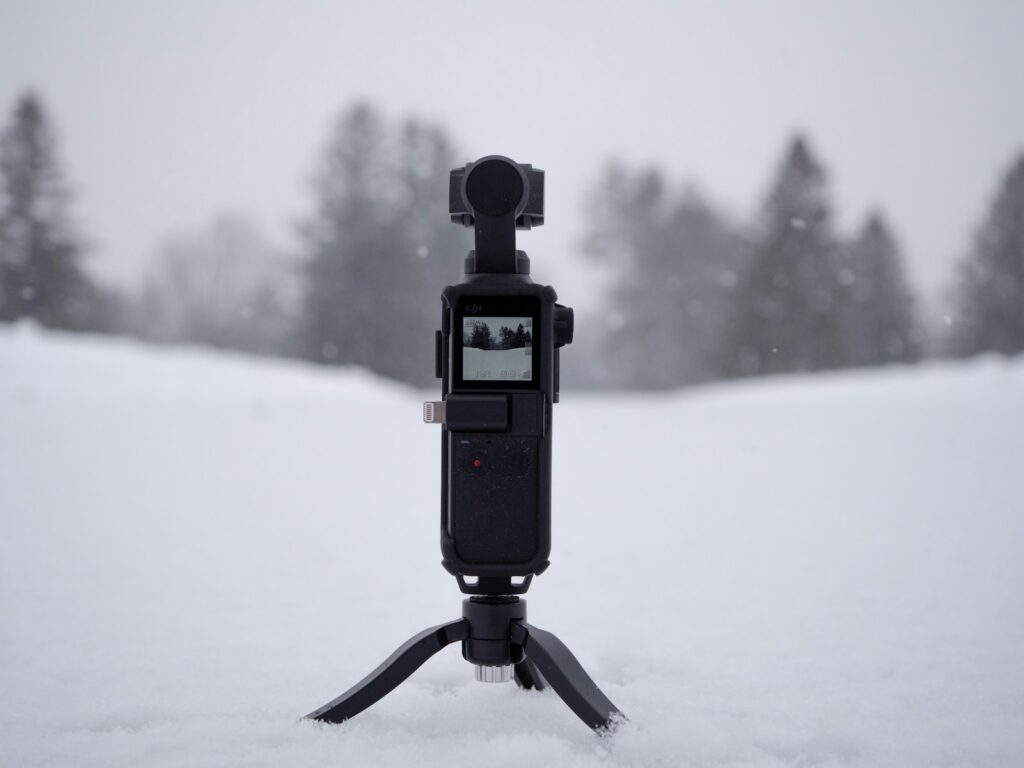
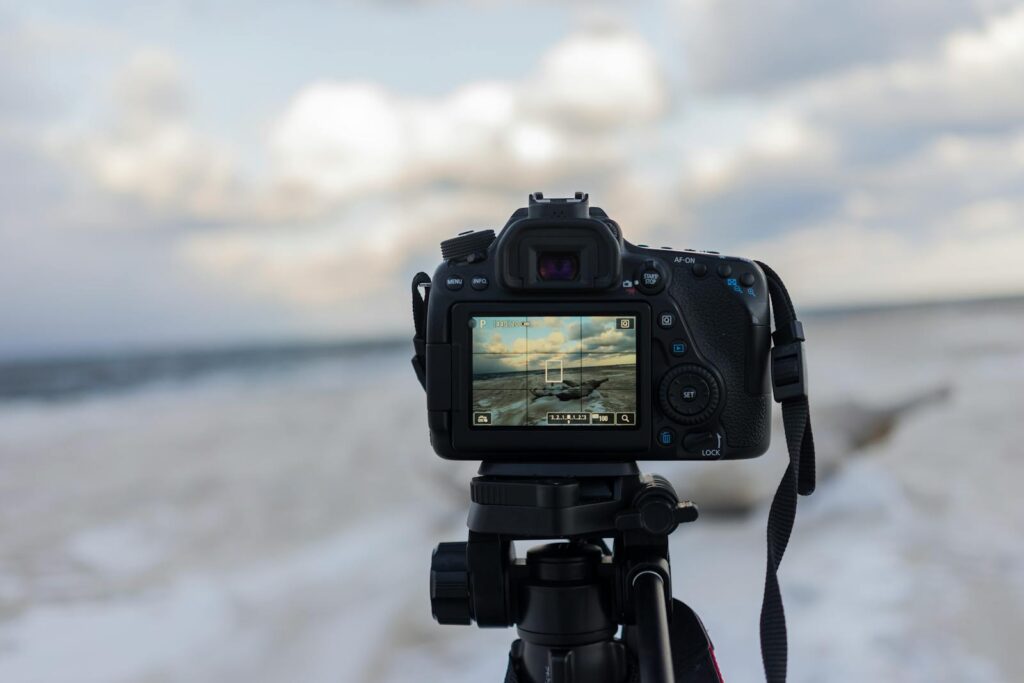
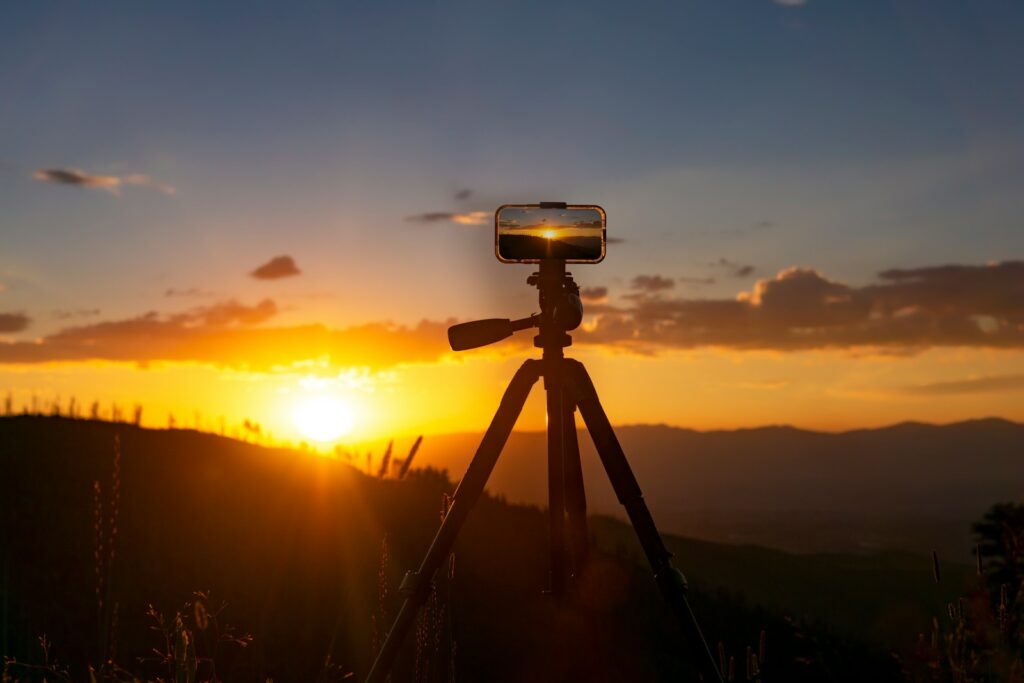
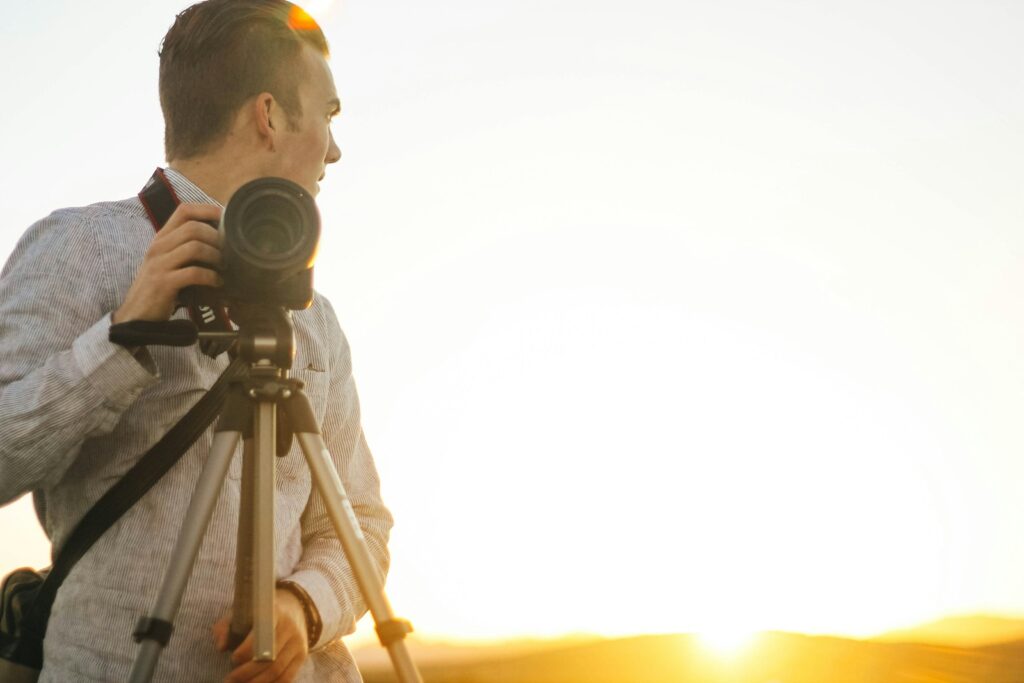
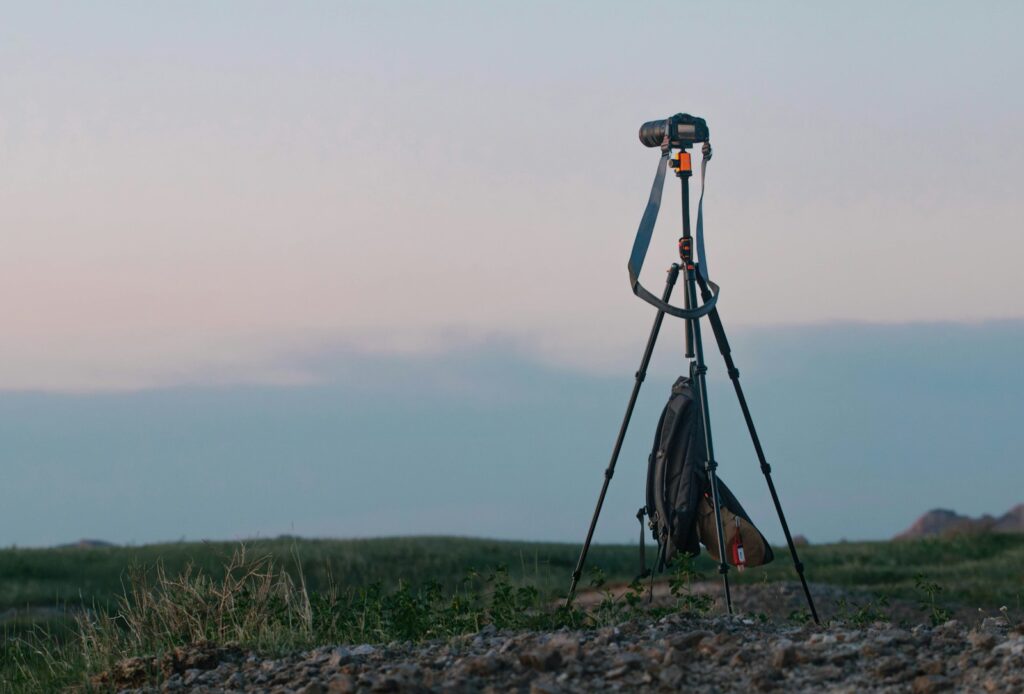
Achieving Stability with Tripods and Monopods
Camera stability remains crucial even when using fast shutter speeds, as even slight camera movement can compound with subject motion to create blur. A quality tripod provides maximum stability for situations where you can remain in a fixed position, particularly valuable in low-light conditions or when using longer lenses. For more mobile shooting scenarios, monopods offer a practical compromise between stability and flexibility, allowing quick repositioning while still providing vertical support. When using support systems, consider remote shutter release options or your camera’s self-timer function to eliminate vibration from physically pressing the shutter button. Ball heads or fluid heads facilitate smoother tracking of moving subjects compared to pan-tilt heads with separate axis controls. For wildlife and sports photographers who need both stability and mobility, specialized shoulder rigs or chest harnesses can provide support while maintaining quick response capabilities.
Anticipating the Decisive Moment
Technical mastery alone won’t produce exceptional motion photographs without the crucial skill of anticipation. Studying your subject’s behavior patterns before shooting helps predict movements and position yourself optimally. Sports photographers develop an understanding of game mechanics to anticipate where peak action will occur, while wildlife photographers learn species behaviors to predict decisive moments. Pre-focusing on areas where you expect action allows faster response times when the moment arrives. Developing this predictive ability requires patience, observation, and familiarity with your subject matter. The photographer Henri Cartier-Bresson famously described the “decisive moment”—that split second when visual elements align perfectly—and capturing motion without blur often comes down to being prepared for precisely these fleeting instants.
Mastering Autofocus for Moving Subjects
Modern autofocus systems offer sophisticated tracking capabilities, but require proper configuration and technique for optimal results with moving subjects. Continuous autofocus modes (AF-C or AI Servo) continuously adjust focus as subjects move, essential for maintaining sharpness throughout a sequence. Many cameras allow customization of tracking sensitivity, acceleration/deceleration response, and erratic movement handling—settings worth exploring for your typical subjects. Focus point selection significantly impacts tracking success; using expanded focus areas or zone focusing can help maintain focus on unpredictably moving subjects. Back-button focus techniques separate focus activation from shutter release, giving you more control over when the camera attempts to refocus. Pre-focusing on anticipated positions and using focus limiters (available on some lenses) can improve autofocus speed and reliability by restricting the focus range to relevant distances.
Controlling Depth of Field for Motion

Strategic depth of field management helps create sharp images of moving subjects even when perfect focus isn’t maintained throughout the entire movement. Wider apertures (smaller f-numbers) create shallow depth of field, which can be problematic for subjects moving toward or away from the camera as they may quickly move outside the plane of sharp focus. Stopping down to middle apertures (f/5.6-f/8) increases depth of field, providing a larger “acceptable focus zone” that accommodates some subject movement during exposure. Understanding hyperfocal distance—the focus distance that maximizes depth of field from a specific point to infinity—can be particularly useful for environmental motion photography where both moving subjects and context need to remain sharp. For subjects moving in unpredictable patterns, increasing depth of field provides insurance against slight focus errors, though at the cost of requiring more light or higher ISO settings.
Post-Processing Techniques for Sharper Motion Images
Even with perfect technique, some motion images benefit from thoughtful post-processing to maximize perceived sharpness. Careful application of sharpening filters can enhance edge definition without introducing artifacts, particularly when applied selectively to the moving subject rather than the entire frame. Noise reduction becomes important when using higher ISO values to achieve fast shutter speeds, with modern software offering sophisticated algorithms that reduce noise while preserving detail. Contrast adjustments can improve the perception of sharpness by increasing the definition between adjacent areas. For images with slight motion blur, specialized deconvolution sharpening tools like those in advanced editing software can sometimes recover detail, though they work best on minimal blur rather than significant motion issues. Remember that while post-processing can enhance a good capture, it cannot fully compensate for fundamental technical problems in the original exposure.
Creative Applications of Motion Control
Once you’ve mastered the technical aspects of freezing motion, you can begin exploring creative applications that blend sharpness and blur for artistic effect. Partial motion blur, where key elements remain sharp while secondary elements show movement, can create compelling visual narratives about speed and action. Stroboscopic flash techniques capture multiple sharp images of a subject at different points in its movement within a single frame, creating a visual timeline of motion. Multiple exposure photography overlays several distinct moments in time, illustrating movement progression while maintaining clarity at each key position. Long exposure photography with brief moments of flash illumination can create images showing both the complete path of movement and sharp instances of the subject along that path. These creative techniques transform basic motion control into expressive visual storytelling that goes beyond simple documentation.
Troubleshooting Common Motion Photography Problems
Even experienced photographers encounter challenges when capturing motion without blur. If your images show unexpected motion blur despite fast shutter speeds, check for camera shake, particularly when using longer lenses which magnify even slight movements. When autofocus consistently misses moving subjects, verify that you’re using continuous focus modes and appropriate focus points, and consider adjusting tracking sensitivity settings. Underexposed images resulting from fast shutter speeds may require aperture adjustments, ISO increases, or additional lighting. If your flash synchronization produces partial frame exposure, you may be exceeding your camera’s sync speed limit and need to activate high-speed sync mode. For subjects appearing sharp in the viewfinder but blurry in captured images, your viewfinder refresh rate may not accurately represent the actual movement—try burst shooting to increase your chances of capturing the ideal moment. Understanding these common issues and their solutions helps troubleshoot problems in the field when opportunities for reshooting may be limited.
Mastering motion photography without unwanted blur represents one of photography’s most rewarding challenges. The techniques described—from mastering shutter speed and stability to leveraging flash and anticipation—provide a comprehensive toolkit for capturing sharp images of moving subjects. Remember that successful motion photography combines technical mastery with artistic vision and intuitive timing. Practice these approaches consistently across different scenarios to develop both the skills and instincts needed for reliably capturing crisp motion images. As with many photographic disciplines, the journey toward mastery is ongoing, with each shooting opportunity offering new learning experiences. By applying these principles and continuously refining your approach, you’ll transform motion from a photographic obstacle into a creative opportunity.