
Nature photography is a rewarding hobby that allows you to capture the beauty and behavior of wildlife in their natural habitat. While many photographers travel to distant locations for their shots, creating a photography hideout in your own yard can provide endless opportunities to photograph birds, small mammals, and other creatures that visit your space. A well-designed hideout lets you observe and photograph wildlife without disturbing them, resulting in more natural and authentic images. In this comprehensive guide, we’ll walk through everything you need to know to build an effective photography hideout right in your backyard.
Understanding the Purpose of a Photography Hideout
A photography hideout, also known as a blind or hide, is essentially a camouflaged shelter designed to conceal your presence from wildlife. The primary purpose is to allow you to observe and photograph animals without altering their natural behavior. When animals don’t know they’re being observed, they act naturally—feeding, grooming, playing, and interacting in ways they wouldn’t if they sensed human presence. Photography hideouts come in various forms, from simple portable structures to permanent installations, but they all serve the same purpose: to make you invisible to your subjects. By blending into the environment, you’ll capture more authentic wildlife moments and dramatically improve your nature photography portfolio.
Assessing Your Yard and Wildlife Opportunities
Before building your hideout, take time to study your yard and identify wildlife hotspots. Observe your space at different times of day to note which animals visit and where they tend to congregate. Pay attention to natural feeding areas, water sources, or corridors that animals use to travel through your property. Weather patterns and seasonal changes can also impact wildlife activity, so keep track of these variations over time. This observation period is crucial—it will help you determine the best location for your hideout and inform design decisions like size, height, and viewing angles. Remember that some spots may be excellent for morning photography while others might be better for evening light, so you might consider multiple hideout locations depending on your photography goals.
Selecting the Perfect Location
The ideal location for your photography hideout balances proximity to wildlife activity with practical considerations like access and comfort. Position your hideout downwind from where animals typically gather, as many creatures have a keen sense of smell and might detect your presence otherwise. Consider the direction of sunlight throughout the day—you’ll want to avoid shooting directly into the sun, so position your hideout accordingly. Natural backdrops like flowering bushes, ponds, or bird feeders can create attractive settings for your photographs. Also, think about the seasons and how foliage changes might affect visibility and lighting throughout the year. Finally, ensure your chosen spot doesn’t disrupt wildlife patterns or damage sensitive habitat areas in your yard.
Choosing Between Permanent and Portable Hideouts
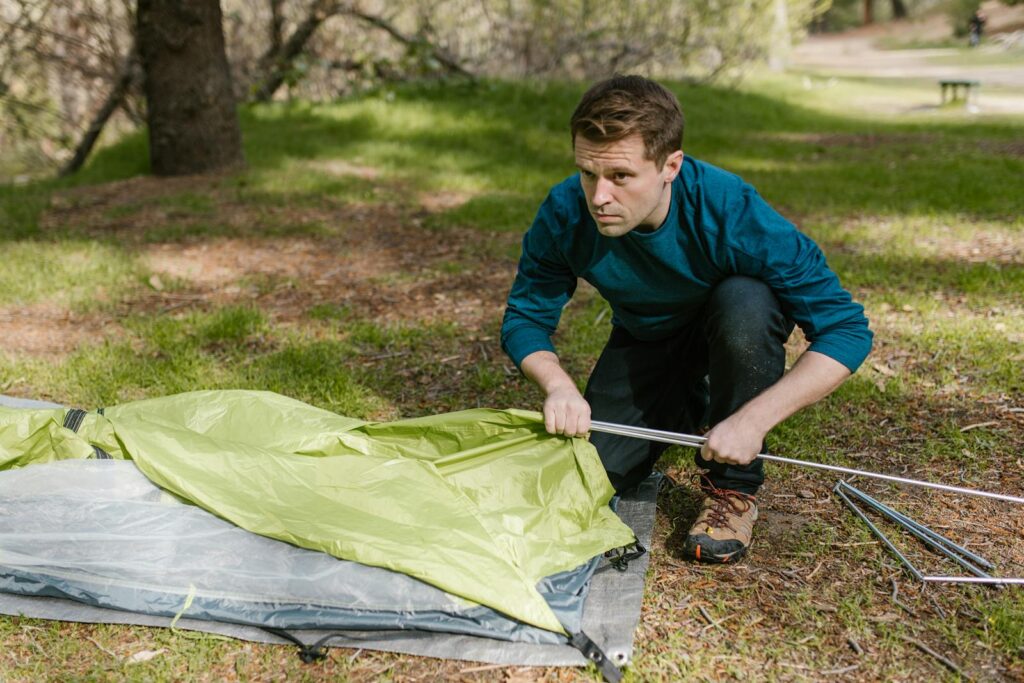
Photography hideouts generally fall into two categories: permanent structures and portable blinds. Permanent hideouts offer superior stability, weather protection, and comfort for extended photography sessions. They can be customized with specific viewing ports, bench seating, and even insulation for year-round use. However, they require significant investment and commitment to a single location. Portable hideouts, on the other hand, provide flexibility to move with changing wildlife patterns and seasonal variations. These pop-up structures are typically lightweight, easy to assemble, and considerably less expensive than permanent options. Many photographers start with portable blinds to test locations before committing to a permanent structure. Your choice should reflect your photography goals, budget, and the variability of wildlife activity in your yard.
Essential Materials for Building Your Hideout
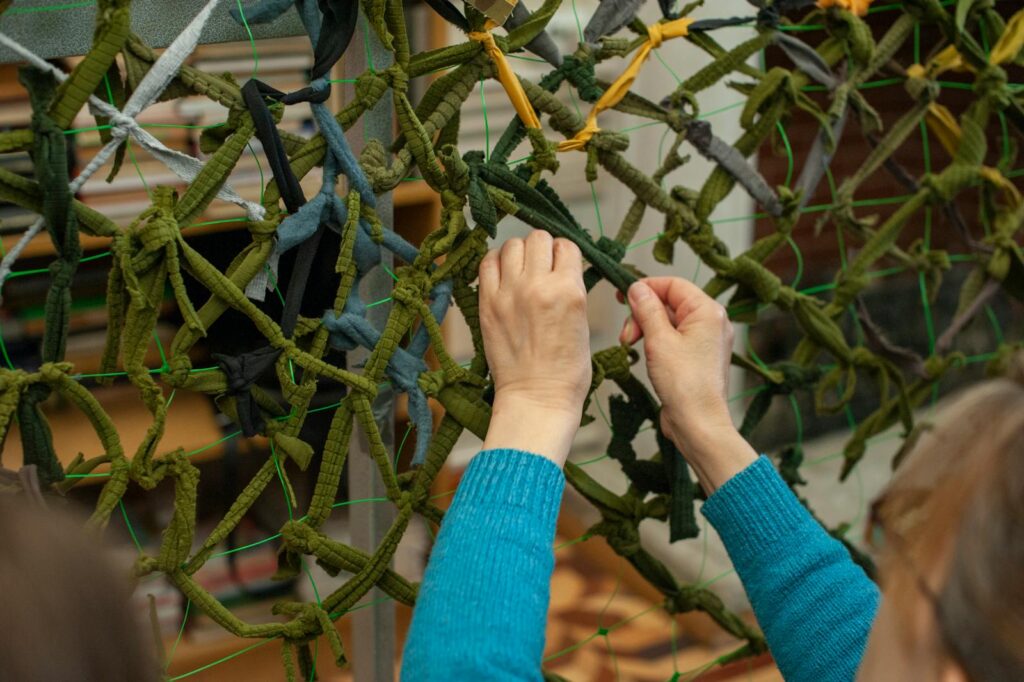
The materials you choose for your photography hideout will depend on your budget, building skills, and whether you’re creating a permanent or temporary structure. For permanent hideouts, weather-resistant lumber treated for outdoor use forms a solid foundation, while exterior-grade plywood works well for walls and roofing. Camouflage netting, burlap, or outdoor fabric in natural colors helps blend the structure into its surroundings. For portable hideouts, lightweight aluminum poles, waterproof canvas, and adjustable guy lines create a versatile setup. Regardless of style, you’ll need viewing ports—these can be created using mesh fabric that you can photograph through, or adjustable flaps that open silently. Don’t forget practical additions like weatherproof caulk to seal permanent structures, non-reflective paint for all exposed surfaces, and dark fabric for the interior to minimize reflections from your equipment.
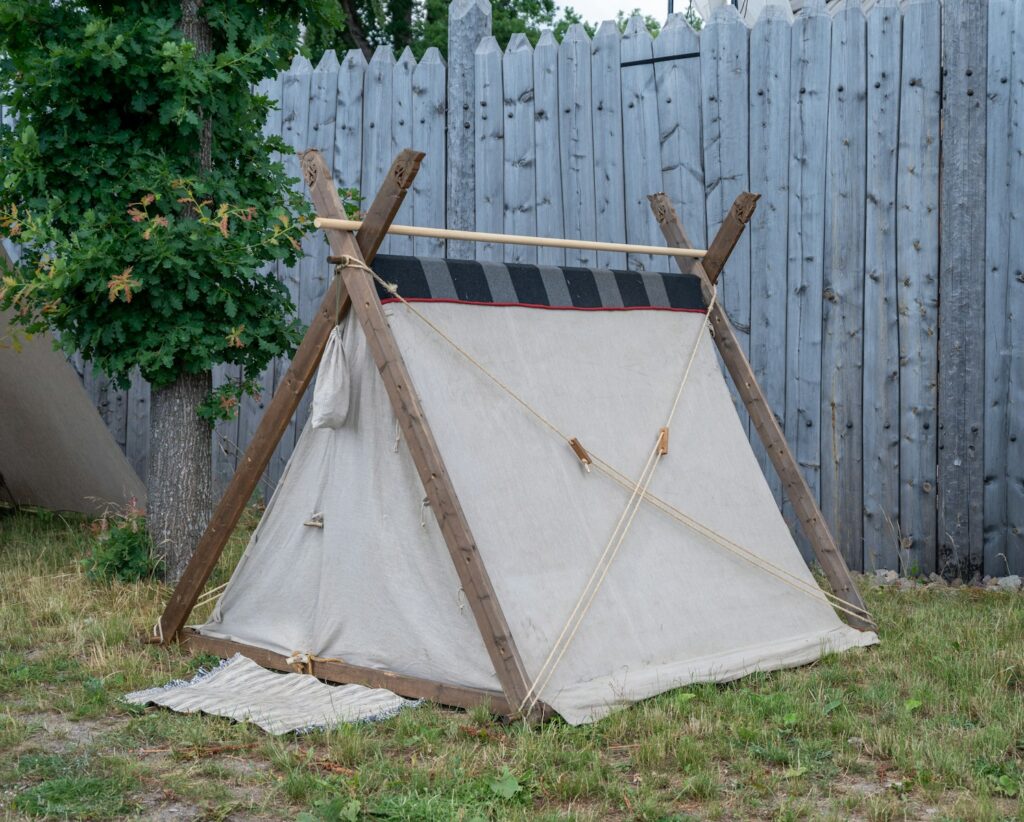
Designing a Simple A-Frame Hideout
An A-frame design offers an excellent balance of simplicity and functionality for beginning hideout builders. Start with a base measuring approximately 4×4 feet, which provides enough room for you and your equipment without becoming cumbersome. Construct the frame using 2×2-inch lumber, creating a classic triangular shape that stands about 5 feet tall at its peak. Cover the frame with camouflage fabric or burlap, leaving a flap for entry and smaller openings for your camera lens and viewing. Secure the fabric with staples or heavy-duty hook-and-loop fasteners to allow adjustments as needed. This design sheds rain effectively and can be easily constructed in a weekend with basic tools. For added stability, consider adding diagonal braces inside the structure and staking the base securely to the ground, particularly if you live in a windy area.
Building a Weatherproof Box Blind

A box blind offers superior protection from the elements, making it ideal for year-round photography in various weather conditions. Construct a frame using 2×4 lumber, creating a cube or rectangular structure approximately 4×4 feet at the base and 6 feet tall—this allows comfortable standing or seated shooting positions. Cover the frame with exterior plywood and add a simple pitched roof with asphalt shingles or corrugated metal for water drainage. Include a door on one side and create adjustable viewing ports on the remaining three sides at different heights to accommodate various shooting angles and seated or standing positions. Install a small shelf for camera equipment and a comfortable stool or chair that allows height adjustment. For temperature control, add screened vents near the floor and ceiling to create airflow, and consider adding insulation if you’ll be photographing in extreme temperatures.
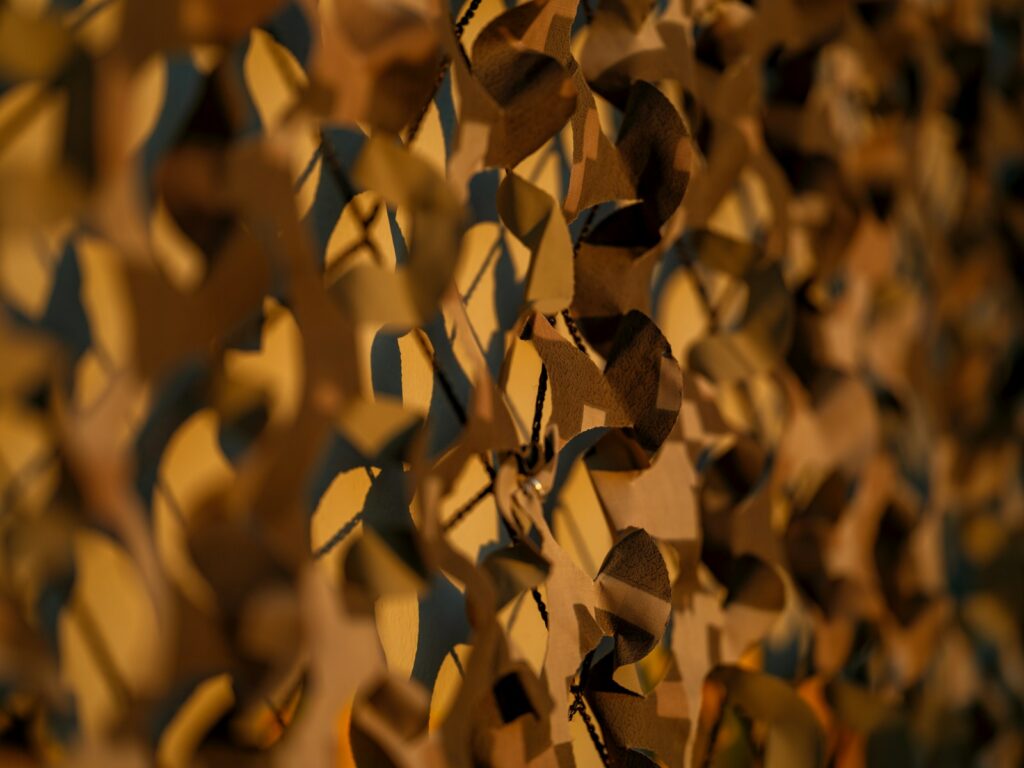
Camouflaging Your Hideout Effectively
Proper camouflage is essential for a successful photography hideout, as animals can be extremely sensitive to new or unusual objects in their environment. Start by painting your structure in muted earth tones that match the surrounding landscape—browns, greens, and grays work well in most settings. After the base camouflage is applied, add texture by attaching natural materials like brush, branches, or artificial foliage to break up the outline of your hideout. Be sure to camouflage the roof as well, as birds and tree-dwelling animals may spot your blind from above. Change your camouflage seasonally if necessary—what works in summer greenery might stand out dramatically against winter snow. Finally, reduce your hideout’s scent by avoiding perfumes, tobacco, or strong-smelling foods when using it, and consider treating the exterior with products designed to reduce human scent if you’re photographing particularly wary animals.
Creating Comfortable and Functional Viewing Ports
Well-designed viewing ports are crucial for successful wildlife photography from a hideout. These openings must allow unobstructed views for your camera while minimizing your visibility to wildlife. For permanent structures, create ports approximately 12 inches wide by 8 inches high, positioned at comfortable shooting height when seated. Cover these openings with black mesh fabric that you can shoot through, or install silent-operating flaps that can be adjusted based on the position of your subject. In portable blinds, create vertical zippered slits that can be opened just enough for your lens. Consider adding small one-way viewing windows separate from your camera ports—these allow you to scan for wildlife without exposing your lens until you’re ready to shoot. For added versatility, create viewing ports at different heights to accommodate both seated and standing photography, or to capture ground-dwelling animals as well as birds at feeders.
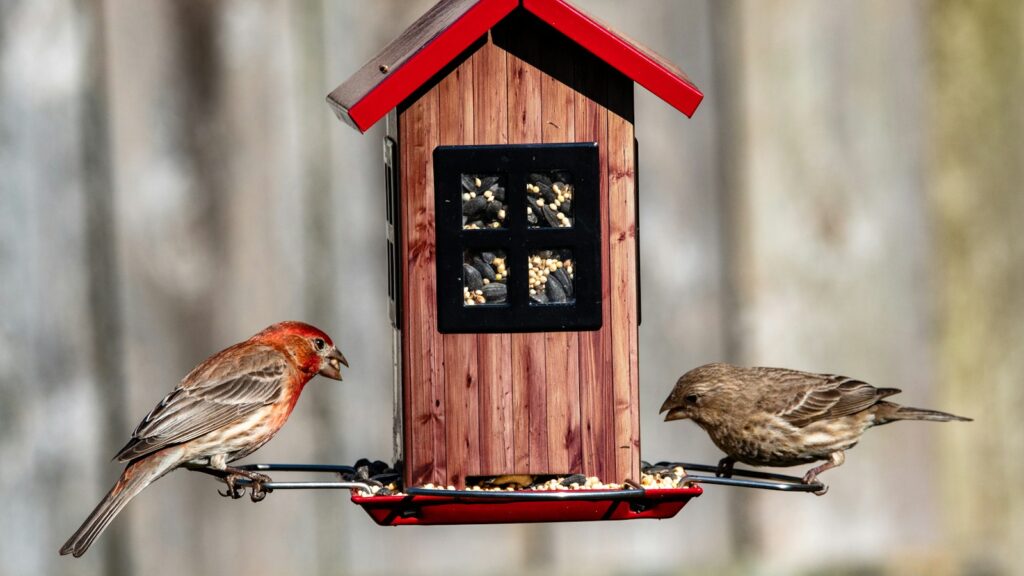
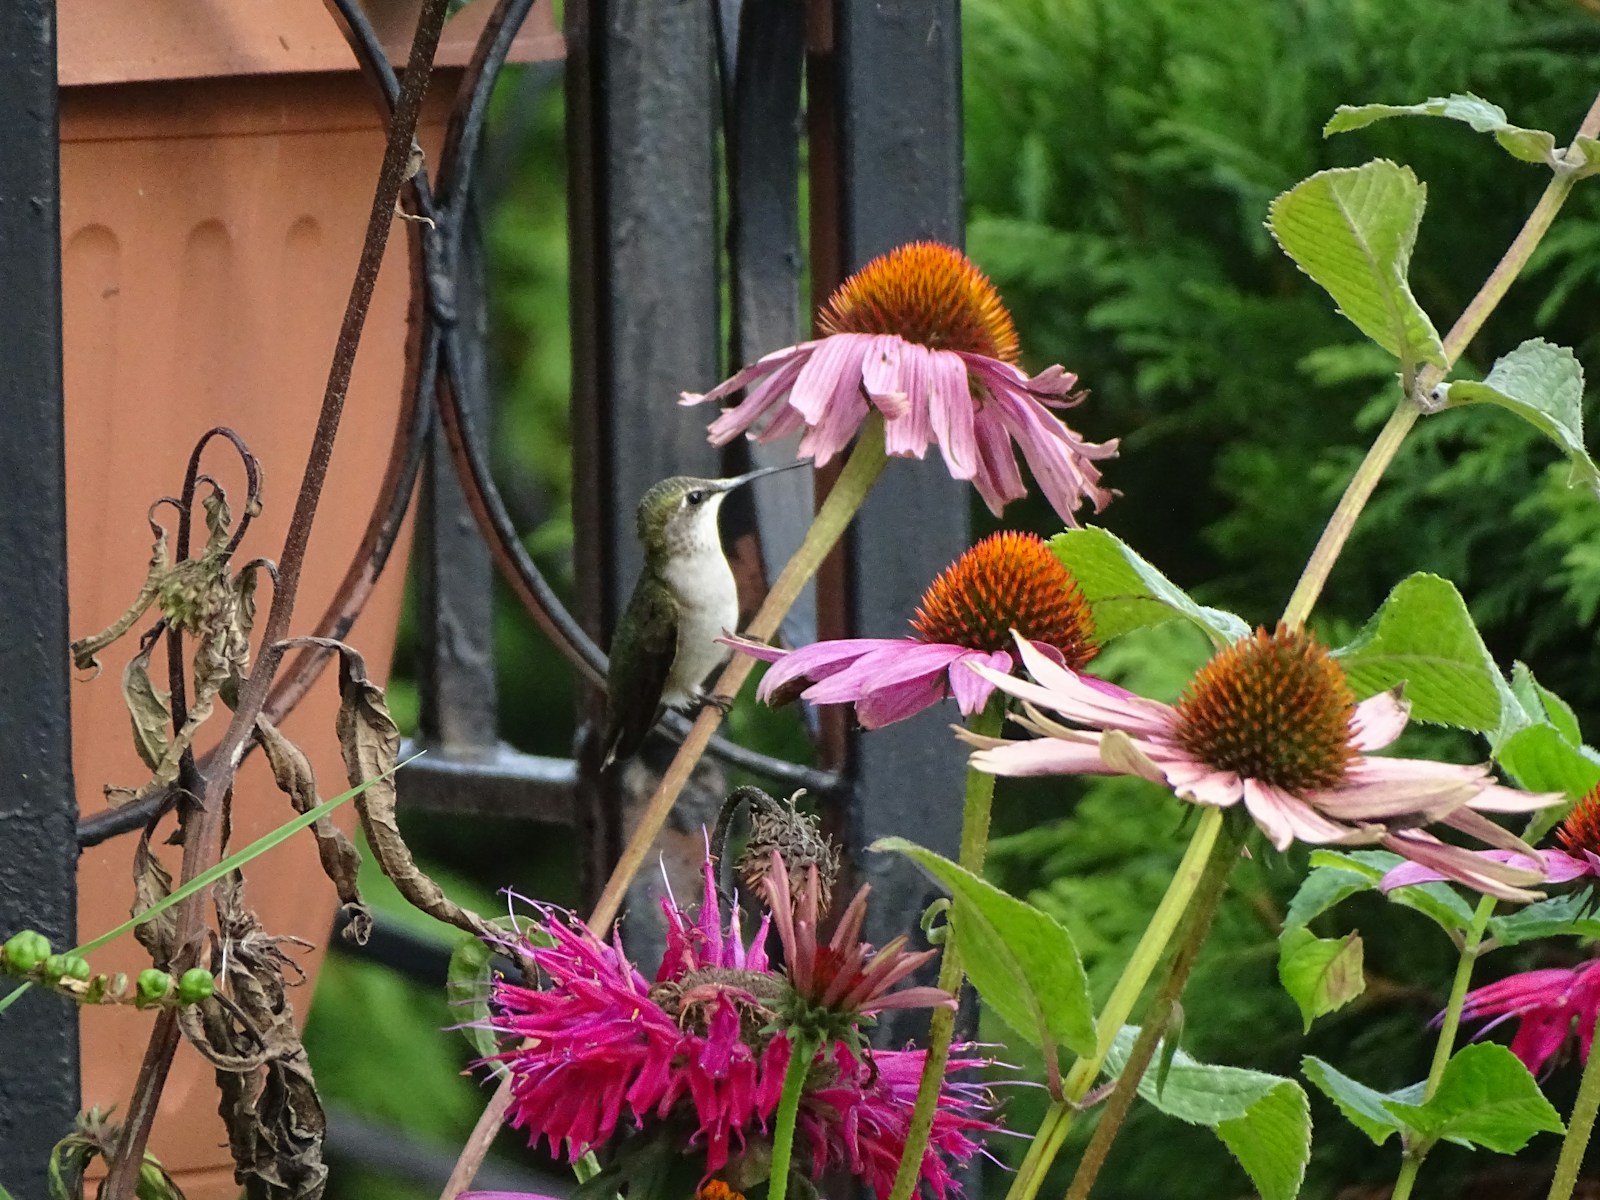
Setting Up Attractive Wildlife Features
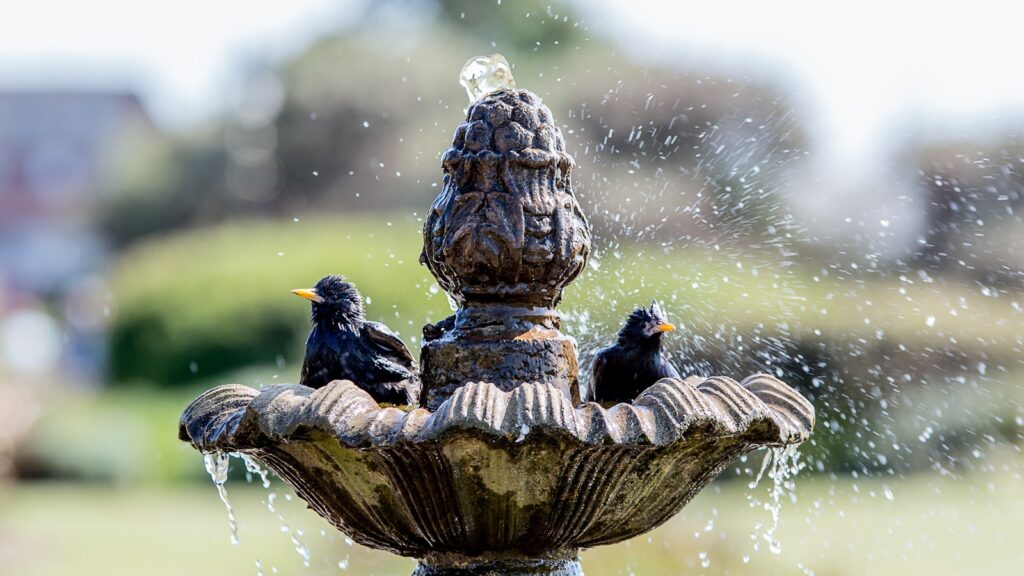
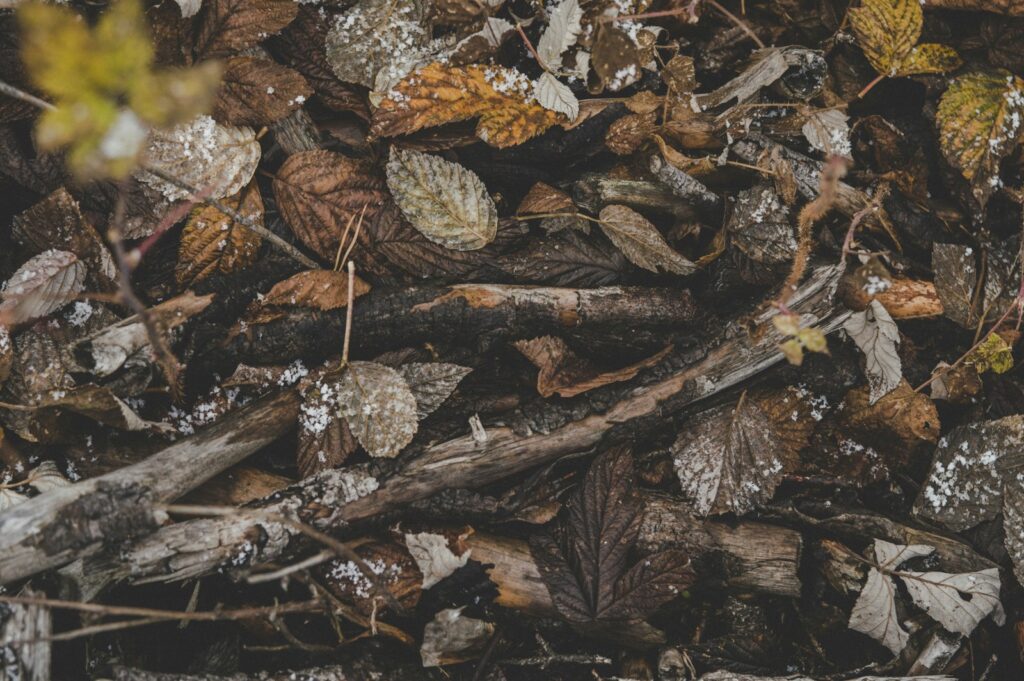
Your photography hideout will be most effective when positioned near features that naturally attract wildlife. Bird feeders are perhaps the most common attraction, but consider creating a diverse habitat that appeals to various species. Install a water feature like a bird bath or small pond, which attracts not only birds but also mammals, reptiles, and insects—especially in dry weather. Plant native flowering species that attract butterflies and hummingbirds, and include berry-producing shrubs that provide natural food sources. A brush pile positioned at an appropriate distance from your hideout can attract small mammals and ground-feeding birds. When creating these wildlife magnets, position them with photography in mind—consider the background, lighting at different times of day, and distance from your hideout (typically 10-20 feet works well for most camera lenses).
Preparing for Comfort During Long Sessions
Wildlife photography often requires lengthy waiting periods, so making your hideout comfortable is essential for capturing those perfect moments. Start with a quality seat—a padded swivel stool allows silent movement to track subjects while maintaining comfort. During cooler weather, portable heat packs can keep your hands warm and nimble for camera adjustments without the noise of electric heaters. In summer, battery-operated fans provide silent cooling, while proper ventilation prevents your hideout from becoming uncomfortably hot. Keep a supply of water and non-crunchy snacks like energy bars to sustain you during long sessions. Consider including a silent timepiece to track the golden hours of photography without checking your phone, which can emit light that might be visible to wildlife. Organize your space with hooks for equipment and a small shelf for immediate necessities to avoid rustling through bags when wildlife appears.
Practicing Ethical Wildlife Photography
A backyard photography hideout comes with ethical responsibilities toward the wildlife you’re photographing. Always prioritize the wellbeing of your subjects over getting the perfect shot. This means maintaining appropriate distances, avoiding disruption during sensitive times like nesting or mating seasons, and never baiting animals with unnatural foods simply to photograph them. If you notice signs of stress in an animal—such as alarm calls, nervous behavior, or reluctance to approach familiar areas—reduce your presence or relocate your hideout. Be especially cautious around nesting birds, as abandonment due to human disturbance can be fatal for young. Before sharing your photos online, consider whether revealing the location might lead to habitat disruption from other photographers. Remember that ethical wildlife photography creates beautiful images while respecting and protecting the creatures that make those images possible.
Adapting Your Hideout for Different Seasons
A truly versatile photography hideout accommodates shooting throughout the year, adapting to changing seasons and wildlife patterns. For winter photography, add insulation to permanent structures and include a small platform to keep your feet off the cold ground. Position your hideout to take advantage of winter’s unique lighting conditions and bare branches that can make wildlife more visible. During spring and summer, enhance ventilation to prevent overheating and consider adding mosquito netting to viewing ports. Your camouflage should also change with the seasons—bright green materials that blend perfectly in summer may stand out dramatically against fall foliage or winter snow. Throughout the year, adjust your photography schedule to coincide with peak wildlife activity, which often changes seasonally. By adapting your hideout and practices to seasonal variations, you’ll capture diverse wildlife images while maintaining comfort in changing conditions.
Building a photography hideout in your yard opens up a world of wildlife photography opportunities without requiring travel to distant locations. Whether you choose a simple portable blind or invest in a permanent structure, the key to success lies in thoughtful placement, effective camouflage, and patient observation. Your backyard hideout will not only improve your photography skills but also deepen your connection to local wildlife and enhance your understanding of their behavior patterns. As you spend time in your hideout, you’ll develop an intimate knowledge of your yard’s ecosystem and the creatures that inhabit it, resulting in increasingly compelling and authentic photographs. With proper maintenance and seasonal adaptations, your photography hideout will provide years of rewarding wildlife encounters right outside your door.