
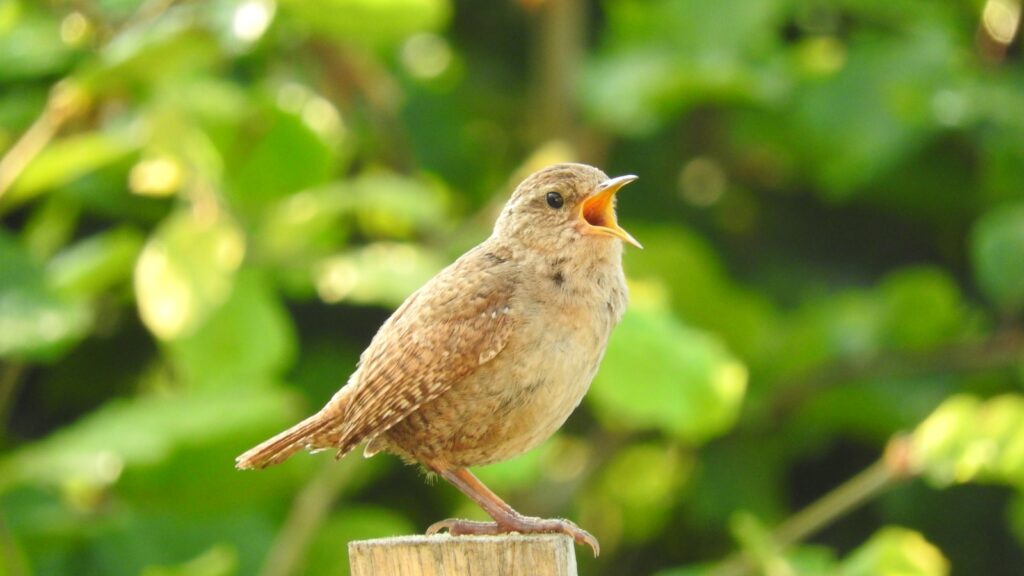
Wrens are delightful, energetic little birds that can bring joy and activity to your garden. These small, vocal birds are known for their beautiful songs and fascinating nesting behaviors. Creating a proper nesting box specifically designed for wrens not only attracts these charming birds to your outdoor space but also provides them with a safe haven for raising their young. Whether you’re a seasoned birder or just beginning to explore the wonderful world of backyard birdwatching, building a wren house can be a rewarding project that benefits both you and your feathered friends. This comprehensive guide will walk you through everything you need to know about creating the perfect nesting box that wrens will eagerly claim as their own.
Understanding Wren Preferences and Habits
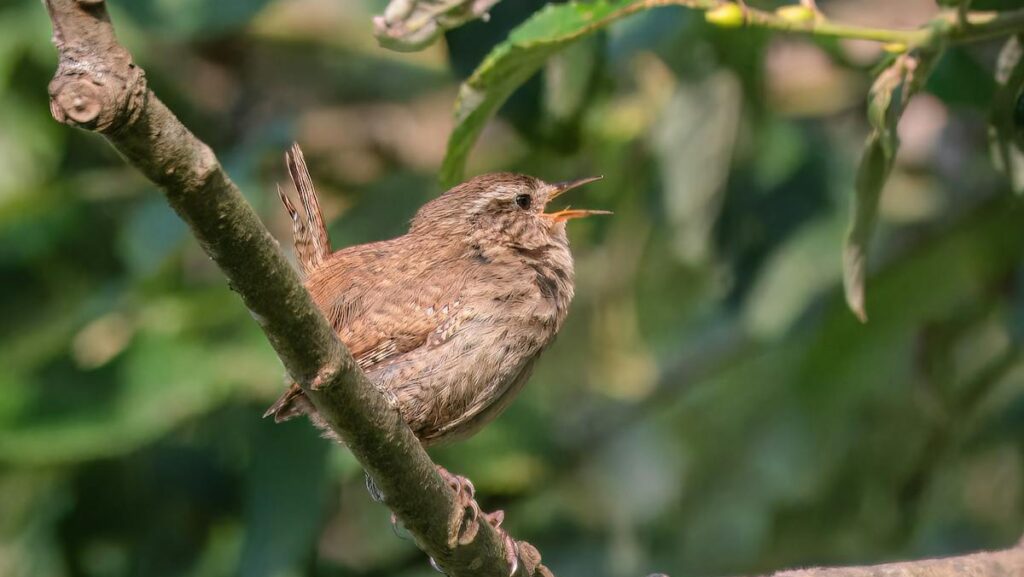
Before you start building a nesting box, it’s essential to understand what makes wrens tick. House wrens, Carolina wrens, and other wren species have specific preferences when it comes to their nesting sites. These small birds typically seek out cavities that offer protection from predators and harsh weather while providing enough space for their nesting materials and growing families. In the wild, wrens often nest in natural tree cavities, abandoned woodpecker holes, or other small enclosed spaces. They’re territorial during breeding season, with males often filling multiple potential nest sites with twigs before the female selects her preferred location. Understanding these natural behaviors will help you design a nesting box that meets their instinctual needs and increases the likelihood of attracting these charming birds to your garden.
Essential Design Features for a Wren-Friendly Nesting Box
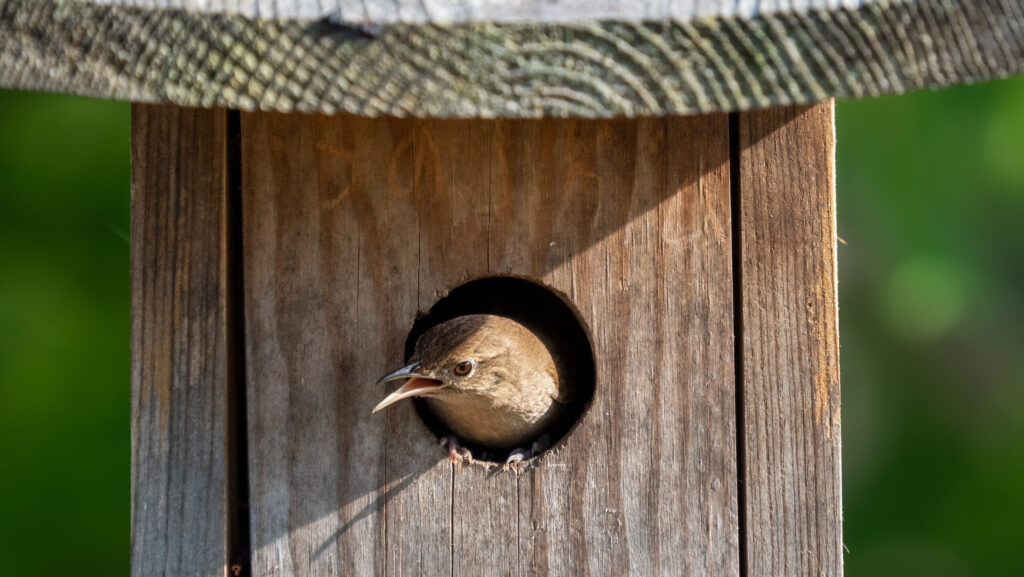
When designing a nesting box for wrens, certain features are non-negotiable if you want to attract these particular birds. The entrance hole size is perhaps the most critical element – it should be approximately 1-1/8 inches in diameter, which is perfect for wrens while excluding larger competitive species like house sparrows. The interior dimensions should provide about 4×4 inches of floor space and a depth of 6-8 inches from the entrance hole to the floor, giving nestlings protection from predators while providing adequate space for the growing family. Ventilation holes near the top of the box and drainage holes in the bottom are essential for maintaining appropriate temperature and humidity levels. Additionally, the roof should overhang the entrance slightly to provide protection from rain, and the box should be constructed without a perch, which can actually attract predators rather than help the wrens.
Selecting the Right Materials for Durability and Safety
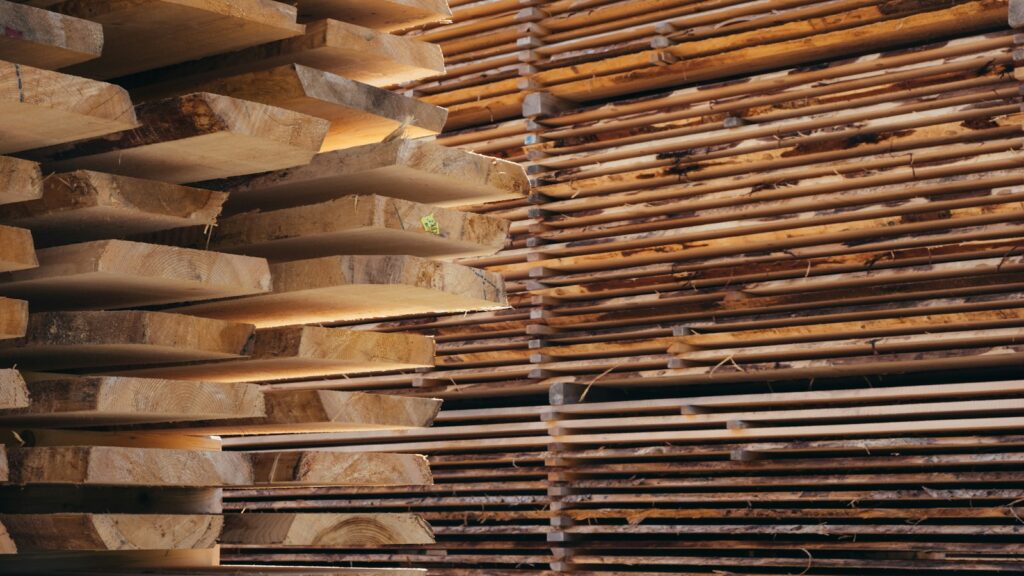
Choosing appropriate materials for your wren house is crucial for both the durability of the structure and the safety of its potential inhabitants. Untreated cedar or redwood are excellent choices as they naturally resist decay and insects without requiring chemical treatments that could harm the birds. Avoid using pressure-treated lumber, which contains chemicals that may be toxic to birds. The wood should be at least 3/4-inch thick to provide adequate insulation against temperature extremes. For fastening the box together, opt for galvanized or stainless-steel screws rather than nails, as they hold better over time and allow for easier disassembly when cleaning is necessary. Any paint or stain applied to the exterior should be non-toxic and limited to the outside surfaces only – the interior should remain unfinished to allow birds to grip the natural wood surface. By selecting high-quality, bird-safe materials, you’ll create a nesting box that can potentially serve generations of wrens for many years.
Tools and Materials Needed for Construction

Gathering the right tools and materials before beginning construction will make your wren house project go smoothly. For tools, you’ll need a saw (hand saw or power saw), drill with various bits including a 1-1/8 inch hole saw for the entrance, screwdriver, measuring tape, square, sandpaper, and potentially a hammer. Materials should include a board of cedar or redwood approximately 1×6 inches and 4 feet long (which can provide enough wood for one complete box), galvanized or stainless-steel screws (1-1/4 to 1-1/2 inches long), a handful of smaller screws for the mounting hardware, and optionally, exterior-grade non-toxic paint or stain for weatherproofing. If you plan to mount the box on a pole, you’ll also need appropriate mounting hardware such as a metal flange or bracket. Having everything prepared ahead of time allows you to focus on the construction process without interruptions, making for a more enjoyable and efficient building experience.
Step-by-Step Construction Guide

Building a wren nesting box is a straightforward process that begins with cutting your wood to the proper dimensions. Cut one piece at 4×8 inches for the back (extending longer at the top and bottom for mounting), two side pieces at 4×8 inches (with angled tops for the roof slope), one front piece at 4×8 inches with a 1-1/8 inch entrance hole drilled about 6 inches up from the bottom, one floor piece at 4×4 inches, and one roof piece at approximately 6×8 inches to allow for overhang. After cutting, sand all edges smooth to prevent injuries to both birds and builders. Assemble by attaching the sides to the back, then add the floor, making sure it’s positioned about 1/4 inch up from the bottom edge to prevent water accumulation. Add the front panel, and finally attach the roof so that it can be opened for annual cleaning. Drill several 1/4-inch drainage holes in the floor and small ventilation holes near the top of the sides. The construction process typically takes between 1-2 hours, depending on your woodworking experience and tool availability.
Adding Special Features to Enhance Functionality

While a basic wren house will certainly attract birds, incorporating a few special features can significantly enhance its functionality and appeal. Consider designing your box with a hinged or pivoting roof or side wall that can be opened for easy cleaning at the end of each nesting season, securing it with a simple hook or latch when closed. Installing a predator guard below the entrance hole can provide additional protection against raccoons, cats, and snakes that might otherwise raid the nest. Some builders create a small overhang above the entrance hole to provide additional protection from driving rain. For monitoring purposes, you might consider adding a small, transparent observation window with a secure cover that can be opened occasionally to check on nest progress without disturbing the birds. These additional features require only minimal extra effort during construction but can dramatically improve the functionality of your wren house and the safety of its inhabitants.
Optimal Placement for Attracting Wrens
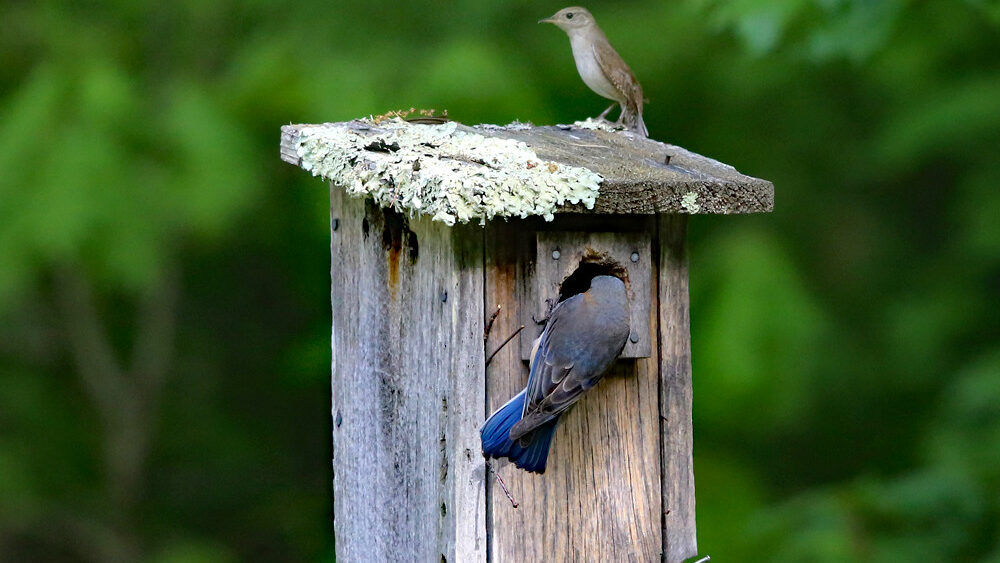
The location of your wren house can make all the difference in whether wrens decide to make it their home. Mount the nesting box 5-10 feet above the ground, facing away from prevailing winds and afternoon sun to help maintain comfortable temperatures inside. Wrens prefer partial shade and protection, so placing the box near shrubs or small trees provides cover for fledglings’ first flights while still allowing clear flight paths to the entrance. Space multiple boxes at least 15-20 feet apart, as male wrens are territorial during breeding season. Avoid mounting boxes too close to bird feeders, which attract activity that might disturb nesting birds. For added protection, consider mounting on a metal pole with a baffle to deter climbing predators rather than directly on trees where squirrels, raccoons, and snakes can easily access the nest. Proper placement not only increases your chances of attracting wrens but also provides them with a secure environment for successfully raising their young.
Timing Your Installation for Maximum Success
Installing your wren house at the right time significantly increases your chances of attracting nesting pairs. In most regions of North America, the ideal time to install wren houses is in late winter or early spring, about 4-6 weeks before the local breeding season begins. For many areas, this means February or March, giving the birds time to discover the box before they begin selecting nesting sites in earnest. House wrens can have multiple broods per season, so even a mid-spring installation might attract later nesters or provide options for second broods. If you’ve missed the prime installation window, don’t worry – mounting your wren house during summer or fall still allows time for birds to discover it before the next breeding season, as many species scout potential nesting locations year-round. Additionally, leaving the box up year-round provides potential roosting sites during harsh winter weather, potentially helping birds survive cold nights while ensuring they’re familiar with your box when breeding season arrives.
Maintenance and Cleaning Requirements

Proper maintenance is essential for keeping your wren house safe and attractive to birds year after year. At minimum, the nesting box should be thoroughly cleaned once annually, typically in late fall or winter after the breeding season has ended and before the next year’s nesting begins. Wearing gloves, remove the old nesting material completely and scrub the interior with a stiff brush to remove droppings and potential parasites. A solution of one part bleach to nine parts water can be used for disinfection if needed, followed by thorough rinsing and drying before reinstallation. Throughout the year, periodically check that the box remains securely mounted and that drainage holes remain clear. Monitor for signs of predator attempts or damage and make repairs promptly. Avoid checking the box frequently during active nesting, as disturbances can cause parents to abandon eggs or nestlings. With proper maintenance, a well-built wren house can last for many years and host numerous successful broods.
Common Mistakes to Avoid
Even well-intentioned bird enthusiasts can make mistakes when building and installing wren houses that might discourage these birds from taking up residence. One common error is making the entrance hole too large, which allows competitive species or predators to access the nest – stick strictly to the 1-1/8 inch diameter that’s perfect for wrens. Another mistake is adding a decorative perch beneath the entrance hole, which actually helps predators gain access rather than assisting the wrens, who don’t need or use perches to enter their nests. Placing the box in full sun can create dangerously high temperatures inside during summer months, potentially harming eggs or nestlings. Using interior paints or treatments can expose birds to harmful chemicals, so always leave the inside natural and untreated. Finally, placing boxes too close together encourages territorial disputes among male wrens, while mounting them directly on trees without predator guards virtually invites nest raiders. By avoiding these common pitfalls, you’ll create a much more attractive and safer home for your potential wren tenants.
Observing and Enjoying Your Wren Tenants
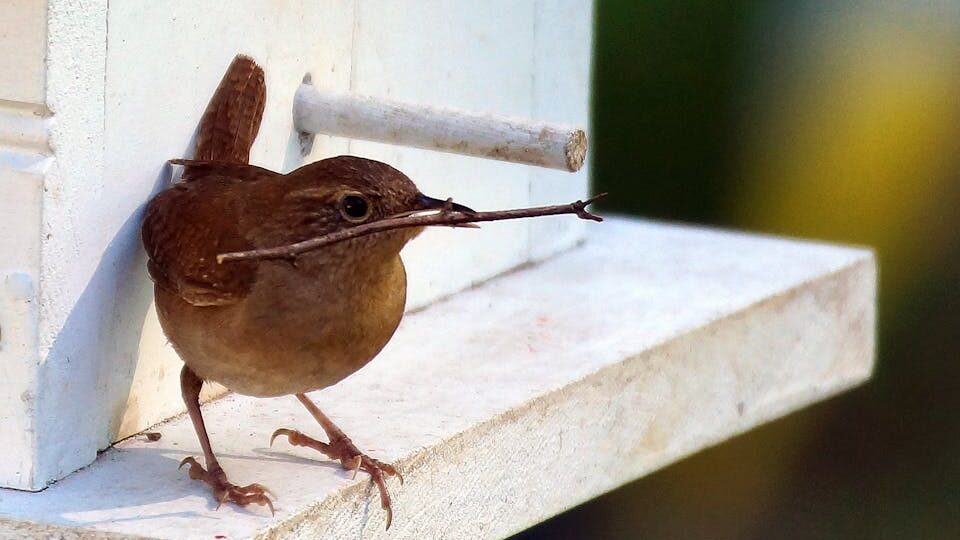
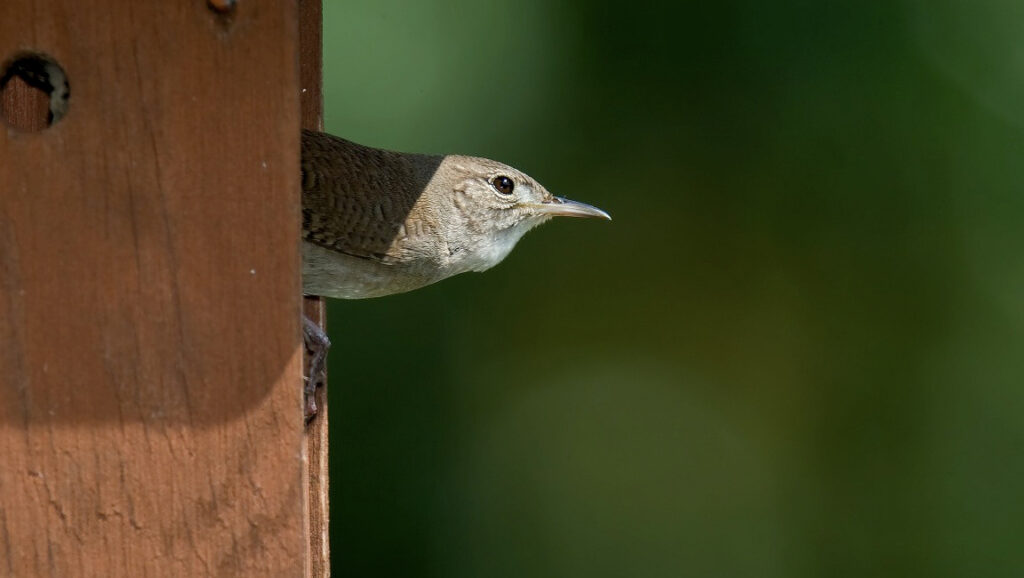
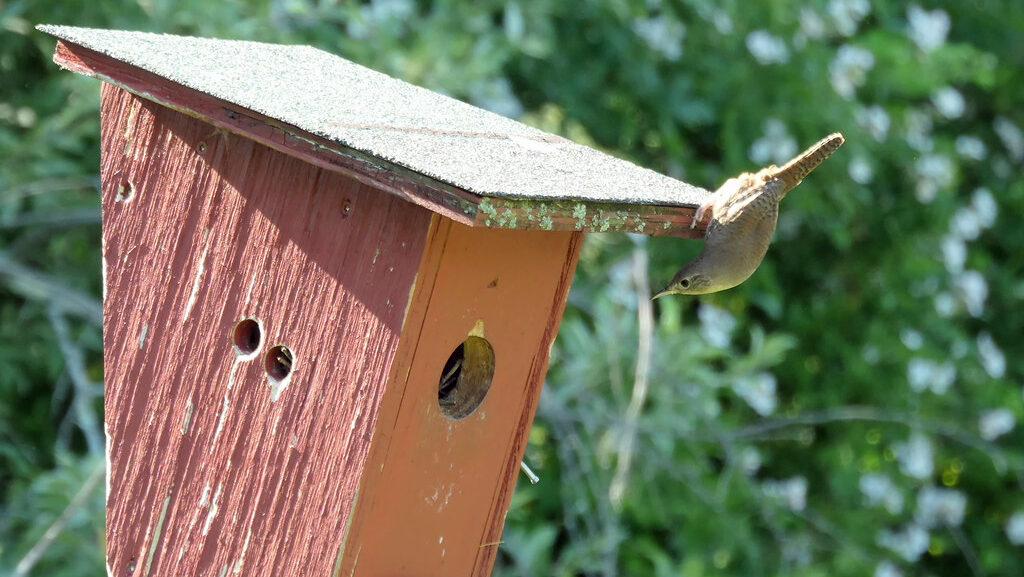
Once wrens have chosen your nesting box, the real enjoyment begins as you observe their fascinating behaviors. You’ll likely first notice the male wren carrying twigs to the box, sometimes filling it completely as he prepares several potential nest sites for female inspection. After a female selects the nest, she’ll modify it with softer materials before laying 5-8 small, speckled eggs. Both parents will become noticeably protective of their territory, with the male’s cheerful, bubbling song increasing in frequency and intensity. Establish a comfortable observation spot at least 30 feet away from the box, using binoculars for a close-up view without disturbing the birds. Consider keeping a journal of activity, noting important events like nest building, egg-laying, hatching (usually visible through increased feeding visits), and fledging. Many wren watchers report that the most exciting day is when the nestlings fledge, typically 15-17 days after hatching, with the entire brood often leaving the nest within hours of each other.
Other Bird Species That Might Use Your Wren House
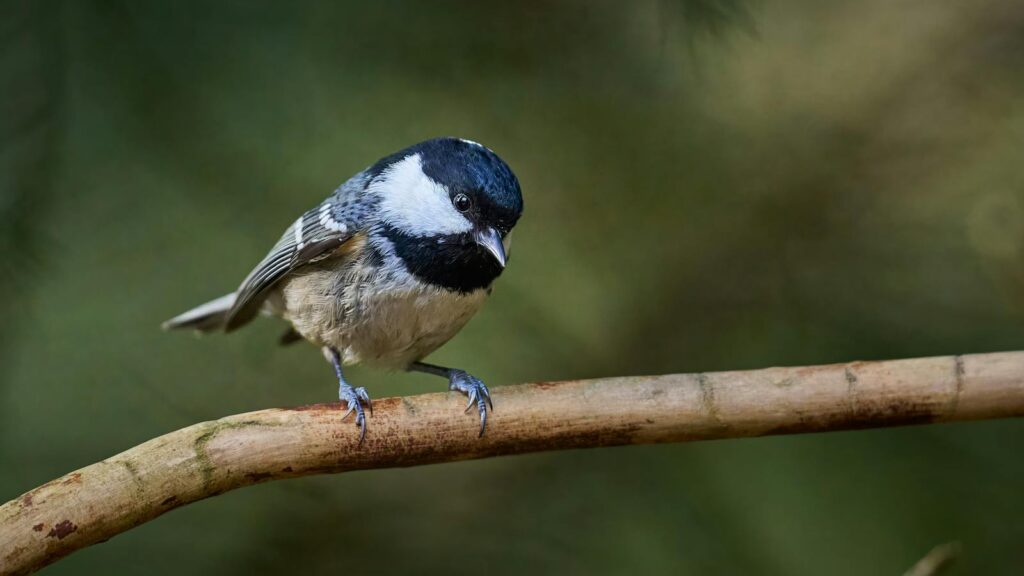
While your nesting box is designed specifically for wrens, you might find other small cavity-nesting birds taking an interest in your carefully crafted home. Chickadees, nuthatches, and titmice may all investigate or even nest in wren houses, particularly if the entrance hole is slightly larger than the recommended 1-1/8 inches. These alternative tenants can be equally delightful to observe, each bringing their own unique behaviors and parenting styles to your backyard habitat. Less desirable occupants might include house sparrows or European starlings, both non-native species that can aggressively displace native birds – if these species become problematic, you might need to temporarily remove the box or modify its design. Occasionally, you might find that flying squirrels, tree frogs, or even certain beneficial insects like paper wasps use an unoccupied wren house during the off-season. While your primary goal may be attracting wrens, providing habitat for other native species is also a valuable contribution to your local ecosystem.
Extending Your Bird-Friendly Habitat
A wren nesting box is just the beginning of creating a truly bird-friendly yard that supports not just wrens but a diversity of local wildlife. Consider planting native shrubs and trees that provide natural cover, nesting sites, and food sources through berries, seeds, or by attracting insects that birds feed on. Establish a reliable water source such as a bird bath or small pond, keeping it clean and filled year-round. Create brush piles or leave some areas of your yard less manicured to provide additional habitat complexity that wrens particularly appreciate for foraging and protection. Reduce or eliminate pesticide use, as these chemicals can reduce the insect populations that wrens depend on to feed their young. Consider installing additional nesting opportunities designed for different species, creating a more diverse bird community. By extending your efforts beyond just providing nesting boxes, you’ll create a more complete ecosystem that supports birds throughout their life cycles and across seasons, making your property a true haven for wildlife while increasing your opportunities for fascinating observations.
Conclusion
Creating a nesting box for wrens is more than just a woodworking project – it’s an invitation to forge a connection with nature and witness the remarkable life cycle of these charismatic birds up close. By following the guidelines in this article, you’ll be well-equipped to build a safe, attractive home that meets the specific needs of wrens while providing years of birdwatching enjoyment for yourself. From the first twigs carried in by the male to the thrilling moment when fledglings take their first flight, hosting wrens offers a front-row seat to one of nature’s most enchanting performances. So gather your materials, follow the plans, and prepare to welcome these energetic, melodious birds into your yard – your efforts will be rewarded with the unique satisfaction that comes from helping wildlife thrive in our increasingly developed world.