
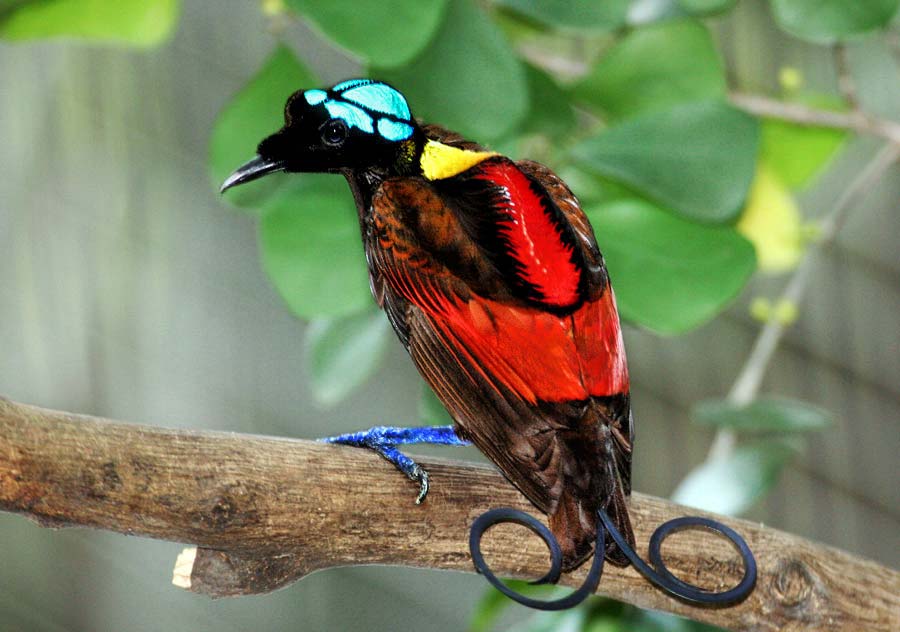
Bird photography presents many challenges, but few scenarios create more striking images than when your subject is backlit. Backlighting occurs when the primary light source is behind your subject, creating dramatic silhouettes, rim lighting, and ethereal glows that transform ordinary birds into extraordinary photographic subjects. Mastering backlit bird photography requires specific technical skills, creative vision, and sometimes a bit of patience as you wait for the perfect moment when light and subject align. Whether you’re a seasoned wildlife photographer or just starting your journey with a camera and a passion for birds, understanding how to work with backlighting can elevate your images from simple documentation to breathtaking art.
Understanding Backlighting in Bird Photography

Backlighting occurs when your main light source—typically the sun—is positioned behind your subject, creating a rim of light around the bird’s outline. This lighting condition presents both incredible creative opportunities and unique technical challenges that differ from standard front or side lighting. When executed properly, backlit images can reveal translucent feathers, create dramatic silhouettes, or produce a golden glow that makes ordinary birds appear magical. The contrast between the bright background and the darker subject adds depth and dimension that flat lighting simply cannot achieve. Understanding the physics of light, how it interacts with your subject, and how your camera interprets these conditions is the foundation for mastering this technique.
Essential Equipment for Backlit Bird Photography

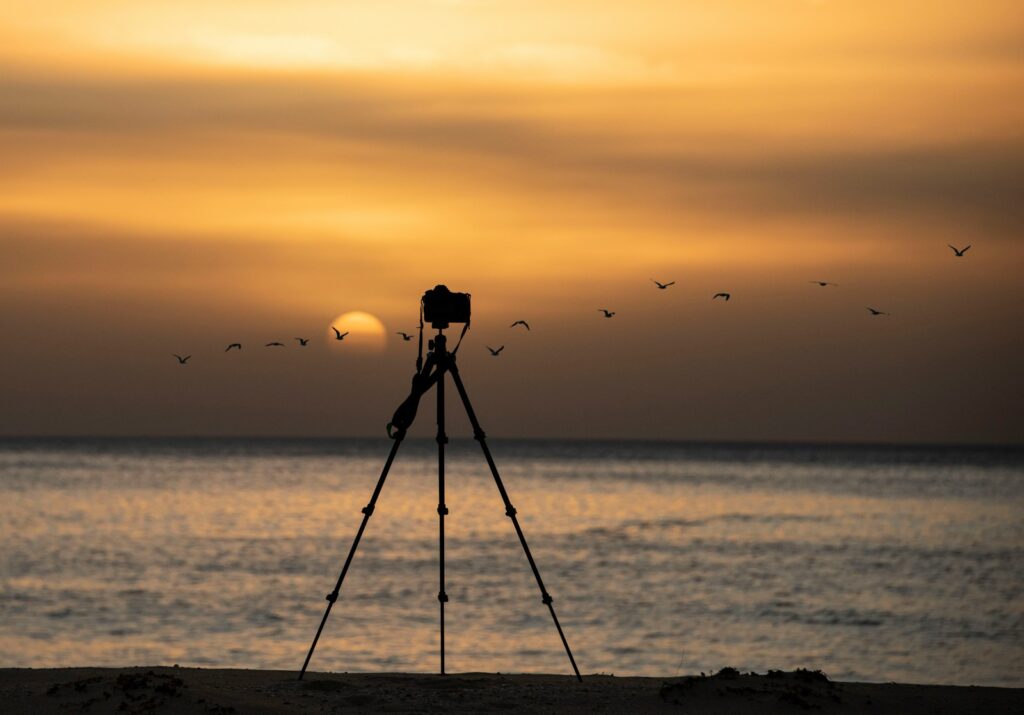
While skill ultimately matters more than gear, certain equipment can make capturing backlit birds considerably easier. A camera with good dynamic range will help manage the extreme contrast between highlights and shadows that backlighting creates. Telephoto lenses with fast apertures (f/2.8-f/4) allow you to collect more light and create a shallow depth of field that can separate your subject from the bright background. A lens hood becomes particularly important when shooting toward light sources to prevent flare and protect image contrast. Consider adding a circular polarizing filter to your kit as it can help manage reflections and enhance colors in backlit scenarios. Additionally, a stable tripod with a smooth gimbal head provides the stability needed for precise framing and sharp images, especially in lower light conditions when longer shutter speeds might be necessary.
Mastering Exposure for Backlit Scenarios

Exposure becomes particularly challenging when photographing backlit birds due to the extreme contrast between the bright background and your potentially darker subject. Your camera’s metering system will often be fooled by the bright background, resulting in an underexposed bird that appears as a silhouette (which may be your creative goal in some cases). For properly exposed birds, you’ll typically need to apply positive exposure compensation, sometimes as much as +1 to +2 stops depending on the brightness difference. Learning to read your histogram becomes essential in these situations, as you’ll need to ensure you’re not blowing out important highlight details while still properly exposing your subject. Many professionals rely on spot metering in this scenario, taking a reading directly from the bird’s body rather than including the bright background in the calculation.
The Art of Shooting Silhouettes

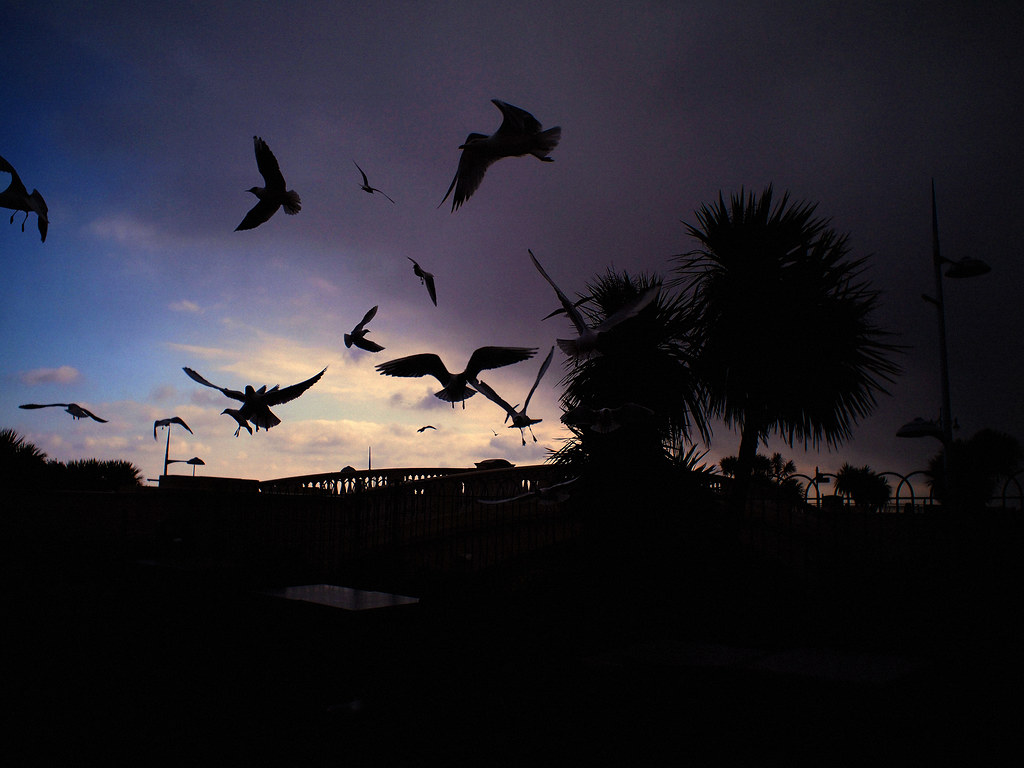
Silhouette photography represents one of the most dramatic approaches to backlit bird photography, where you intentionally underexpose the subject to create a striking dark shape against a bright background. The key to compelling silhouettes lies in finding birds with distinctive, easily recognizable shapes—think herons with their long necks, eagles with their powerful profiles, or small songbirds perched on isolated branches. Position yourself to capture clean outlines without distracting elements merging with your subject’s shape. Exposure for silhouettes requires underexposing for the subject (often by -1 to -2 stops) while ensuring the background retains rich color rather than becoming completely blown out. The most striking silhouettes often occur during the golden hour when the background sky displays vibrant oranges, pinks, and purples that contrast beautifully with the dark bird shape.
Capturing Translucent Feathers with Backlighting
One of the most magical effects of backlighting is how it can reveal the translucent nature of bird feathers, creating a glowing halo effect that’s impossible to achieve with any other lighting condition. This effect works particularly well with birds that have fine feather structures or spread wings, such as egrets, herons, or raptors in flight. To capture this ethereal quality, position yourself so the light passes directly through the feathers toward your lens, slightly overexposing to ensure the translucent effect is properly recorded. The timing of day becomes crucial—early morning or late afternoon sun provides the warm, directional light that makes this effect most pronounced. Pay special attention to your background as well; a darker background will make the glowing feathers stand out dramatically compared to an already bright sky.
Finding the Perfect Angle for Rim Lighting

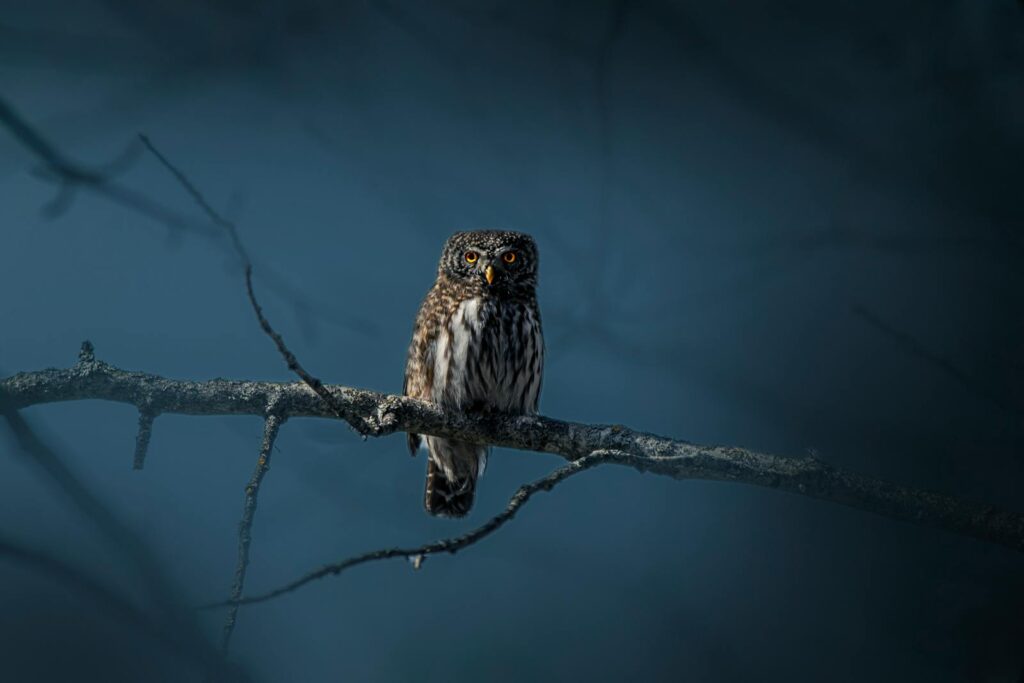
Rim lighting creates a bright outline around your subject, defining its edges while leaving the main body properly exposed—a particularly stunning effect in bird photography. Achieving perfect rim lighting requires precise positioning relative to both your subject and the light source. The ideal angle places the sun just outside your frame, allowing light to wrap around the bird’s contours without causing flare in your lens. Experiment with slight adjustments to your position—sometimes moving just a few feet left or right can dramatically change how the rim light defines your subject. The effect works best when the bird is positioned against a darker background that provides contrast with the bright outline. Morning and evening hours provide lower angles of light that naturally create more pronounced rim effects, especially when combined with atmospheric conditions like light mist or dust.
Working with the Golden Hour
The golden hour—that magical time shortly after sunrise or before sunset—provides the most spectacular lighting conditions for backlit bird photography. During these periods, the sun’s low angle creates warm, directional light that wraps around subjects with a golden glow while casting dramatic long shadows. The softer quality of this light reduces the extreme contrast that can plague midday backlit photography, making exposure management more forgiving. Planning becomes essential for golden hour shoots—research your location beforehand, understanding where birds are likely to be and how the light will interact with them at specific times. Be prepared to work quickly, as the optimal lighting conditions may last only 20-30 minutes. Remember that golden hour light changes rapidly in both intensity and color temperature, requiring you to adjust your exposure and white balance settings throughout your session to maintain consistent results.
Focus Techniques for High-Contrast Situations

Achieving precise focus becomes particularly challenging in backlit situations due to the reduced contrast on your subject and the potential for autofocus systems to be confused by bright backgrounds. When possible, position yourself to focus on areas of the bird that retain some contrast, such as the edge where the bird meets the background or distinctive facial features. Modern cameras with eye-detection autofocus can be invaluable in these situations, though you may need to switch to manual focus for particularly challenging lighting conditions. Back-button focus techniques allow you to separate focus acquisition from shutter release, making it easier to lock focus on a bird and then recompose for better backlighting. Consider using focus bracketing for critical shots where depth of field is limited, taking multiple images at slightly different focus points to ensure at least one captures perfect sharpness on key elements like the eye.
Managing Flare and Maintaining Contrast
Lens flare—those colorful artifacts and contrast-reducing haze that appear when shooting toward bright light sources—represents one of the biggest technical challenges in backlit photography. A quality lens hood provides your first line of defense, physically blocking light from hitting the front element at oblique angles. Position yourself so the sun is partially blocked by your subject or an environmental element like a tree branch to reduce direct light entering your lens. For situations where flare is unavoidable, consider using your hand or a portable flag to shade the front element beyond what your lens hood can accomplish. Some photographers deliberately incorporate flare as a creative element, using it to add warmth and an ethereal quality to their images. Post-processing techniques can help recover contrast lost to flare, though capturing maximum image quality in-camera by minimizing flare effects will always yield superior results.
Best Weather Conditions for Dramatic Backlit Images
While clear skies provide reliable backlighting opportunities, some of the most extraordinary backlit bird images occur under specific weather conditions that interact with light in unique ways. Light fog or mist can diffuse harsh backlighting while adding atmosphere and a painterly quality to your images, particularly effective for creating depth in forest environments. Partially cloudy days offer dynamic lighting conditions where sunbeams break through cloud gaps, creating spotlights that can dramatically illuminate birds against darker surroundings. Dusty conditions, often found in arid environments or during harvesting seasons, can create visible light rays that add dimension to your backlit scenes. Seasonal considerations also matter—autumn and winter often provide lower sun angles throughout the day, extending your shooting window for backlit opportunities, while spring and summer may offer more active bird behavior during the golden hours.
Post-Processing Techniques for Backlit Bird Photos

Post-processing becomes especially important for backlit images due to the extreme dynamic range these photos often contain. Begin by adjusting your exposure carefully, potentially using graduated adjustments to balance the bright background with your subject. Shadow recovery tools can reveal detail in underexposed birds without creating unnatural HDR-like effects that plague many backlit images. Selective contrast adjustments help define the bird’s features that might appear flat in the original capture. Color temperature adjustments can enhance the warm glow of backlighting or correct for the cooler tones that sometimes appear in shadows. For silhouettes, consider increasing the contrast and saturation of the background sky while ensuring the bird remains completely black for maximum impact. When editing translucent feather effects, use targeted clarity and dehaze adjustments to enhance the ethereal glow while maintaining natural-looking results.
Ethical Considerations in Bird Photography

As with all wildlife photography, ethical practices should guide your approach to backlit bird photography. The desire to capture dramatic backlighting should never come at the cost of disturbing nesting birds or altering their natural behavior. Maintain appropriate distances and use telephoto lenses rather than approaching too closely, especially during sensitive breeding seasons. Avoid using flash as a fill light for backlit scenarios, as this can startle birds and potentially affect their vision temporarily. Be particularly mindful when photographing at golden hour near roosting sites, as this coincides with when many birds are returning to rest for the night. Consider the cumulative impact of multiple photographers in popular locations, sometimes backing away from prime positions to reduce collective pressure on wildlife. Following location-specific guidelines and regulations ensures your beautiful images don’t come at the cost of the very subjects you’re celebrating through your photography.
Planning and Patience: The Keys to Success
Perhaps the most important skill in backlit bird photography isn’t technical at all—it’s the combination of careful planning and infinite patience that leads to extraordinary images. Research bird behavior and location patterns to anticipate where subjects will be during optimal lighting conditions. Apps that track sun position can help you visualize exactly where backlighting will occur at specific times and locations, allowing you to plan your shooting position. Weather forecasts become crucial planning tools, helping you target days with ideal conditions for the specific backlit effect you’re seeking. Once in the field, patience becomes your greatest asset—waiting for birds to move into perfect position relative to the light, sometimes requiring hours of observation for mere minutes of shooting opportunity. This methodical approach to backlit bird photography separates casual captures from portfolio-defining images that showcase both technical mastery and artistic vision.
Conclusion
Mastering backlit bird photography represents the perfect intersection of technical skill and artistic vision. The challenges of working with extreme contrast, managing exposure, and achieving precise focus are balanced by the rewards of creating images with emotional impact and visual drama. Whether you’re capturing the glowing translucence of egret feathers at dawn, the powerful silhouette of an eagle against a sunset, or the rim-lit details of a songbird perched in golden hour light, backlighting offers endless creative possibilities. By understanding the principles outlined above and committing to the practice, planning, and patience required, you’ll develop the ability to transform challenging lighting conditions into your most compelling and memorable bird photographs.